
Electrical: Cruise Control LED how to


Thread Starter
Member
Joined: 05-08-05
Posts: 311
Likes: 0
From: California
Cruise Control LED how to
Found the camera, so here we go. Sorry for the quality.
Tools and materials needed:
#1 Phillips screw driver
Small standard screw driver
Small LED of your color preference.(check original for size)Mine said 3.6volt.
Soldering iron
Something to desolder with (I got a sqeeze bulb type desoldering iron from radio shack, works great)
Dremel or file if you can't find a small enough LED
First remove the switch assembly by inserting small, flat object(I used my key") )
)

Next, disconnect the harness

Now we revove the two screws, I didn't the first time and cracked the plastic a little. Woops.

Then gently pry the cover open, this is where not removing the screws sucks

After you pull it all apart desolder the LED (note the direction of the LED) if you connect it backwards, it won't light up.

Insert new LED and solder
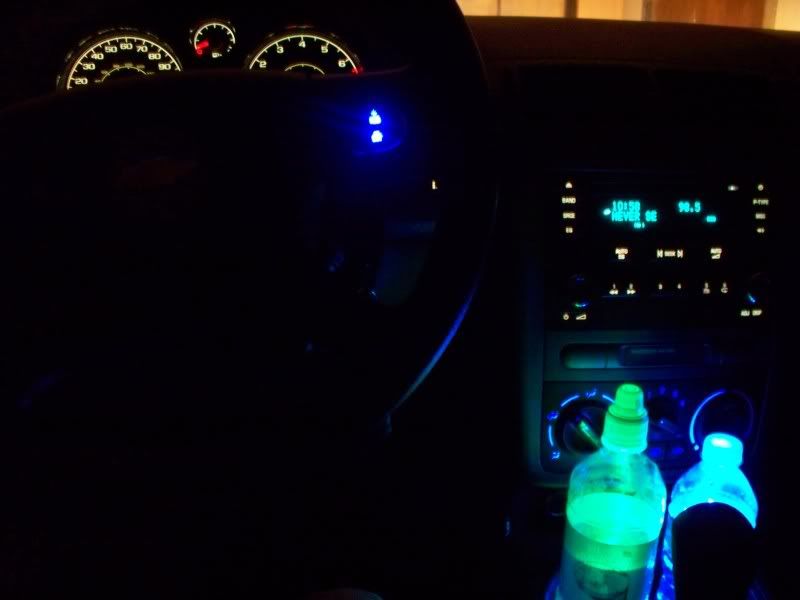
I had to "customize my LED because I couldn't find a blue that was small enough and didn't want another color. Anyways you can see I dremeled the top flat so it doesn't hit the button. The pics don't show it, but I also took part of the LEDs "lip" Off the bottom. Everything must fit nice or the switch feels all wrong when you push it.

Another pic I didn't take is the LED getting a coat of dark blue sharpie ink. Haven't tried it since the sharpie, but during the day, the LED looked fine, but night time it is super bright, so once I got to work, I colored it. We shall see how it works.
Any ways, put everything back together, took a little finess, and reinstall.
Tools and materials needed:
#1 Phillips screw driver
Small standard screw driver
Small LED of your color preference.(check original for size)Mine said 3.6volt.
Soldering iron
Something to desolder with (I got a sqeeze bulb type desoldering iron from radio shack, works great)
Dremel or file if you can't find a small enough LED
First remove the switch assembly by inserting small, flat object(I used my key
Next, disconnect the harness
Now we revove the two screws, I didn't the first time and cracked the plastic a little. Woops.
Then gently pry the cover open, this is where not removing the screws sucks
After you pull it all apart desolder the LED (note the direction of the LED) if you connect it backwards, it won't light up.
Insert new LED and solder
I had to "customize my LED because I couldn't find a blue that was small enough and didn't want another color. Anyways you can see I dremeled the top flat so it doesn't hit the button. The pics don't show it, but I also took part of the LEDs "lip" Off the bottom. Everything must fit nice or the switch feels all wrong when you push it.
Another pic I didn't take is the LED getting a coat of dark blue sharpie ink. Haven't tried it since the sharpie, but during the day, the LED looked fine, but night time it is super bright, so once I got to work, I colored it. We shall see how it works.
Any ways, put everything back together, took a little finess, and reinstall.


Senior Member
Joined: 10-01-06
Posts: 5,134
Likes: 0
From: Maidstone, SK
Nice mod...
I'm thinking about switching all of my interior lighting to red (to match the accents).
Do you guys use radio shack quite a bit?
I've found that my local electronics wholesale depot is alot cheaper... as in <.35 cents per LED (<.25 if I buy more than 100) for the super-bright style.
I'm thinking about switching all of my interior lighting to red (to match the accents).
Do you guys use radio shack quite a bit?
I've found that my local electronics wholesale depot is alot cheaper... as in <.35 cents per LED (<.25 if I buy more than 100) for the super-bright style.

if i can find someone that knows how to solder i'm gonna redo all my leds in my stereo and steering wheel, and this really helps thanks alot... especially cuz i wanted to know how to take that part out to paint it 


Senior Member
Joined: 03-21-07
Posts: 2,048
Likes: 0
From: WestCO STL
found the how to: https://www.cobaltss.net/forums/how-guide-43/how-remove-bezels-steering-wheel-84011/
Last edited by deuce; Aug 27, 2010 at 12:24 AM.


Thread
Thread Starter
Forum
Replies
Last Post