When you click on links to various merchants on this site and make a purchase, this can result in this site earning a commission. Affiliate programs and affiliations include, but are not limited to, the eBay Partner Network.
Any muffler you would be able to put in that small of an area isn't going to quiet it down a ton. But it would take the edge off a little. The bigger the surface area usually the quieter the muffler. Some tracks require a muffler.
Now that would throw a wrinkle in to my plans. I guess I have to reach out to my local track today, if anyone is actually working there or answering the phone.
Definitely next to no room down there for much of a muffler.
If the track requires it, you might be able to find some oval tubing to make the transition past the frame and behind the rear axle where it looks like the space opens up a bit
Now that would throw a wrinkle in to my plans. I guess I have to reach out to my local track today, if anyone is actually working there or answering the phone.
Definitely next to no room down there for much of a muffler.
mission requires mufflers during street legals only. track rentals and race weekends dont require them, unless the specific class your running has a muffler rule.
If the track requires it, you might be able to find some oval tubing to make the transition past the frame and behind the rear axle where it looks like the space opens up a bit
The only way for me to run a pipe over the back axle is to run the NASCAR style oval pipe. But I don't really have space back there either because of the 2 fuel cells taking most of the space. Then, the next big issue with that, is the substantial extra cost for 3.5" oval pipe. The exhaust shop was recommending it to save space. I will get him to give me a price on going that route.
Originally Posted by Sharkey
mission requires mufflers during street legals only. track rentals and race weekends dont require them, unless the specific class your running has a muffler rule.
Originally Posted by BlackielawlessSS
The tracks here in Texas don't require them either, except on street legal days.
Thanks, I did talk to Mission earlier today and that's what I was told. The upside to street legals means more opportunities to go racing so I am going to have to have 2 sets of pipes.
Originally Posted by ProfDNS
I still have to make that video tutorial for you as well. Additionally you should link your site instead of Photobucket
Yesterday, after work I came home to get the car ready to trailer to the exhaust shop. I started by installing the winch in the trailer. That wasn't as painless as I hoped and I still needed to wire it and connect it to a power source. All of that will take about 30 minutes.
Then I pulled out my engine hoist and the 6.0 l dummy block and got it ready to lower in to the engine bay. This is a tedious task as my engine sits 2/3's back under the cowl. I should have unbolted the motor mount and bolted it onto the engine before lowering the engine into the car. It was a bit of a hassle lining up the motor mount bolts doing it the way that I did. At that point, it was put on the empty heads and bolt on the headers. I figured 2 hours of work left so I put everything away for the night. I was up at 5 am and back at it shortly after.
I grabbed the heads and mounted them on the block. Next, I grabbed the passenger side header because it would be the easier of the two. The driver side requires me to remove the steering arm as it needs to be placed through the header tubes. Not a huge task but at 6:30 in the morning, I wanted to do the easy first. So on to bolting up the header.
The header so no. It doesn't fit into the space. I tried a few ways but it doesn't fit and I do not want to damage the ceramic coating. It occurs to me that I have pictures of the headers bolted on to the heads and the block bolted to the motor mount. It also occurs to me, that at the time of those pictures, those header tubes were not welded together. One tube at a time makes it easy to install. I now have 4 tubes and a collector.
The only solution that I can think of is, unbolt the motor mount and lift out the block. I will need to also pull the steering arm and then mount the headers to the heads and try lowering everything back into the engine bay.
Looking at this option makes me think, I need practice pulling a motor so why not start now. A second set of hands would be handy but my wife has no experience and my friends are no longer interested in doing anything mechanically.
I am glad that I had the fabricator make the center section of the upper rad support removable. It is way easier not having that in my way.
Another issue with the fitment of the headers is that I don't want to damage the ceramic coating.
I called the exhaust shop and left a message explaining my issues. Once the block is finally installed, I will arrange for another appointment to move forward. This morning has been disappointing. Having said that, I am going to deal with this over the course of today but first, I'm going back to bed. The problem will still be there when I get up again.
Actually, it does have to go in from underneath and at that it's still a tight fit. There isn't much room and I would never try to do a re & re with a hot motor.
Lessons I learnt over the past 3 days;
There is no easy way to re & re the motor
There is no fast way to re & re the motor
The headers can only be mounted going from the underside of the car.
The motor mount can not be mounted prior to installing the engine
My brake lines need to be rerouted as they are at risk of getting pinched
I can not have the supercharger mounted before installing the motor
I can't have the intake manifold installed before installing the motor
I can't have the headers on before installing the motor
If the car has an engine issue at the track, the likelihood is I'm putting the car in the trailer and going home
The motor install is a real pain due the amount of the motor that sits back in the engine bay
The radiator and intercooler need to be removed prior to re & re the motor
The hood has to be taken off before lifting/lowering the engine
The transmission will not be coming out of the car attached to the motor
Placement of the lifting chains cause the re & re to be a challenge because of where the engine sits
I'm sure that I will continue to learn other tricks to try and speed up the process but considering this stuff was never designed to reside in a Cobalt, I guess I am just going to have to learn more by way of trial and error.
Once the car goes back to the fabricator, Dwain will need to revisit the knuckles on the steering arm. The geometry was changed slightly to allow for installing the alternator down low on the drivers side. With the headers installed, getting everything to connect isn't happening.
Tomorrow I will make another appointment to get the exhaust done.
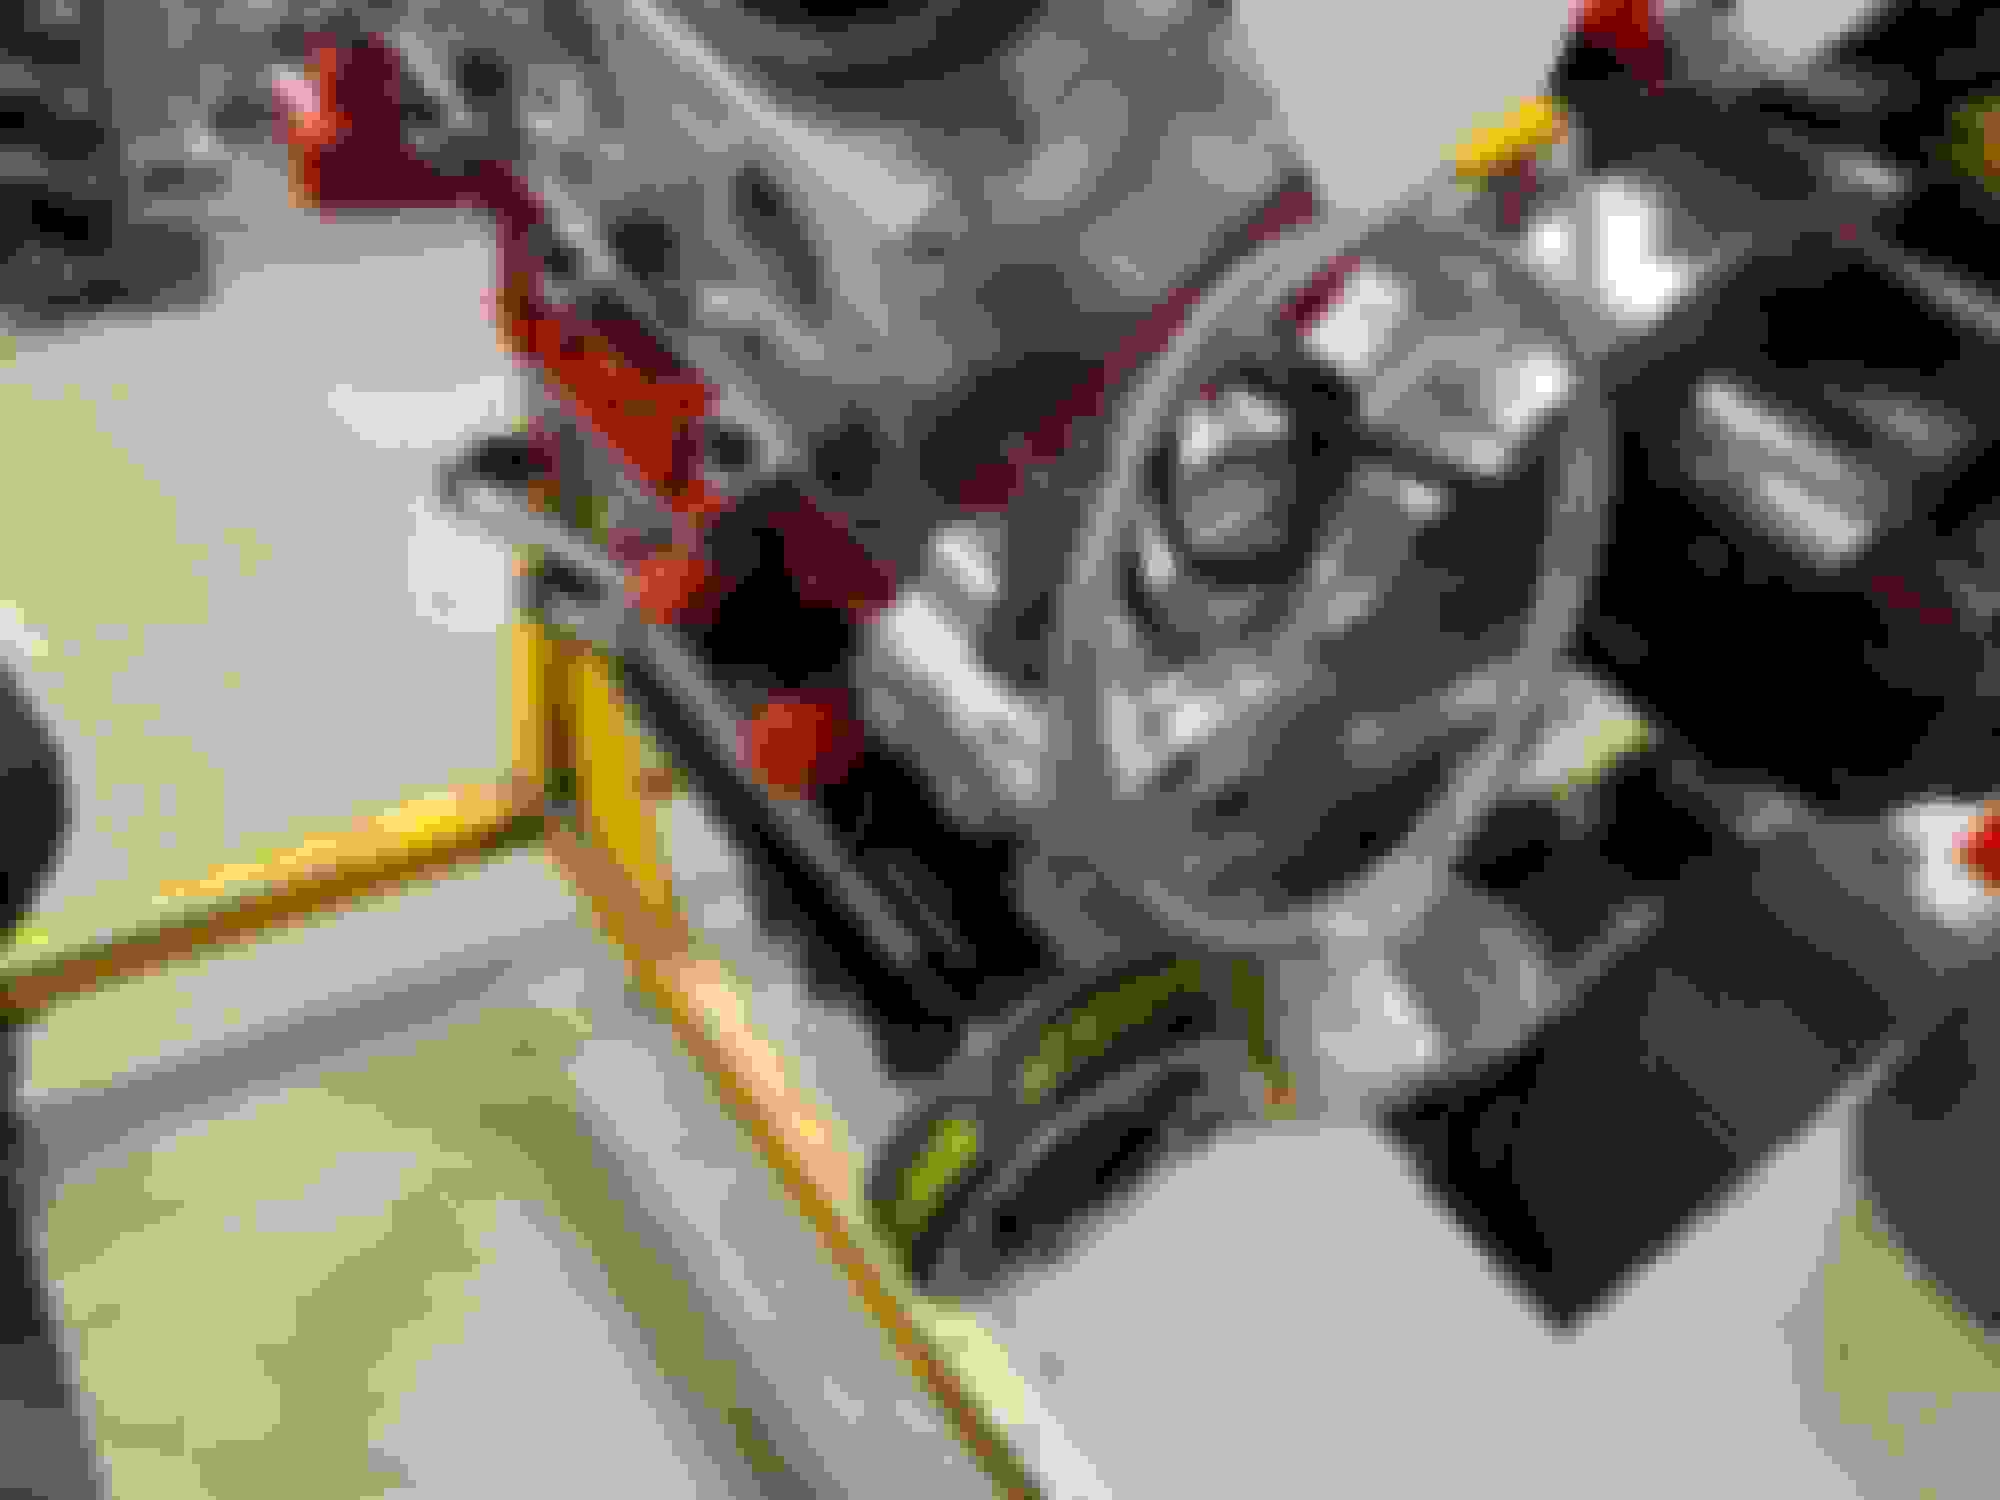
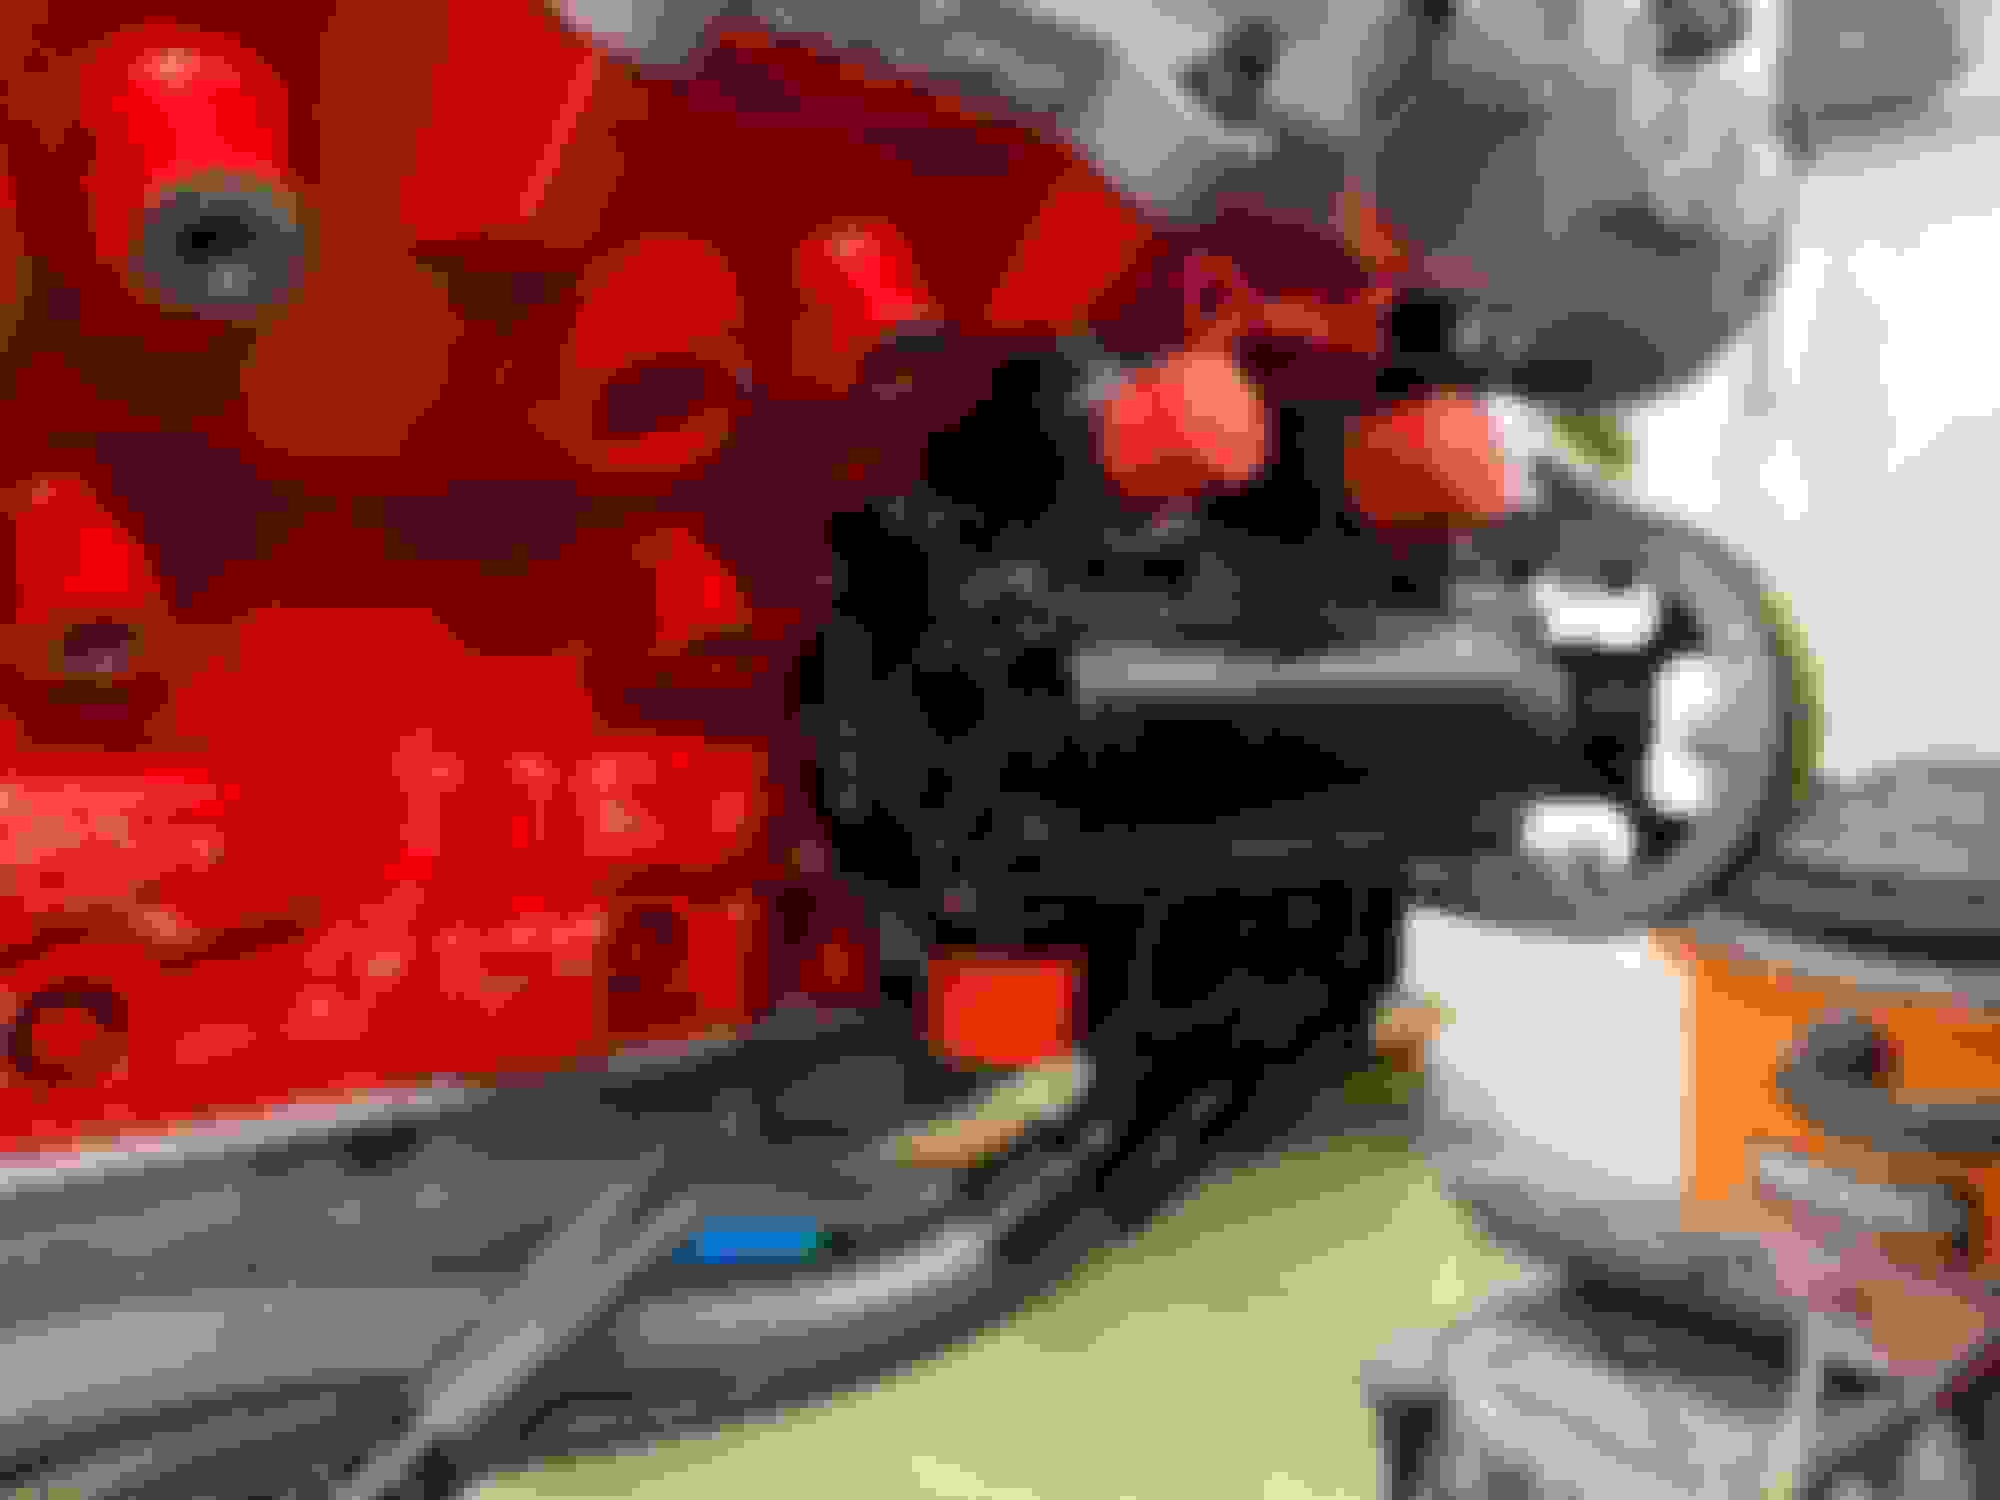
No clearance here at all. Driver's side header bolted on. Passenger side header bolted on. Steering arm/knuckle Steering arm/knuckle
That's a close fit! Its getting closer and closer!
It's getting closer but when I called the exhaust shop he told me it would be a 4 week wait to get the car in. I am trying to source a different shop in hopes I can get it done sooner, much sooner.
My wife is gone for the next 4 days which gives me time to do some more painting in the garage.
I'm also going to try out my winch in the trailer, to make sure it works and to give me some more room to work on my doors, trunk lid, the hood and the bumper surrounds.
Ahh I see it now. You were trying to put the header between the inside of the frame rail and engine instead of outside the frame rail! That will do it.
Here is some inspiration for you as you arent the only one who has a horrible time doing an R&R of an engine... Welcome to the racecar life!
Ahh I see it now. You were trying to put the header between the inside of the frame rail and engine instead of outside the frame rail! That will do it.
Here is some inspiration for you as you arent the only one who has a horrible time doing an R&R of an engine... Welcome to the racecar life!
First, I was hoping no one was going to catch me on that because you are 100% correct.
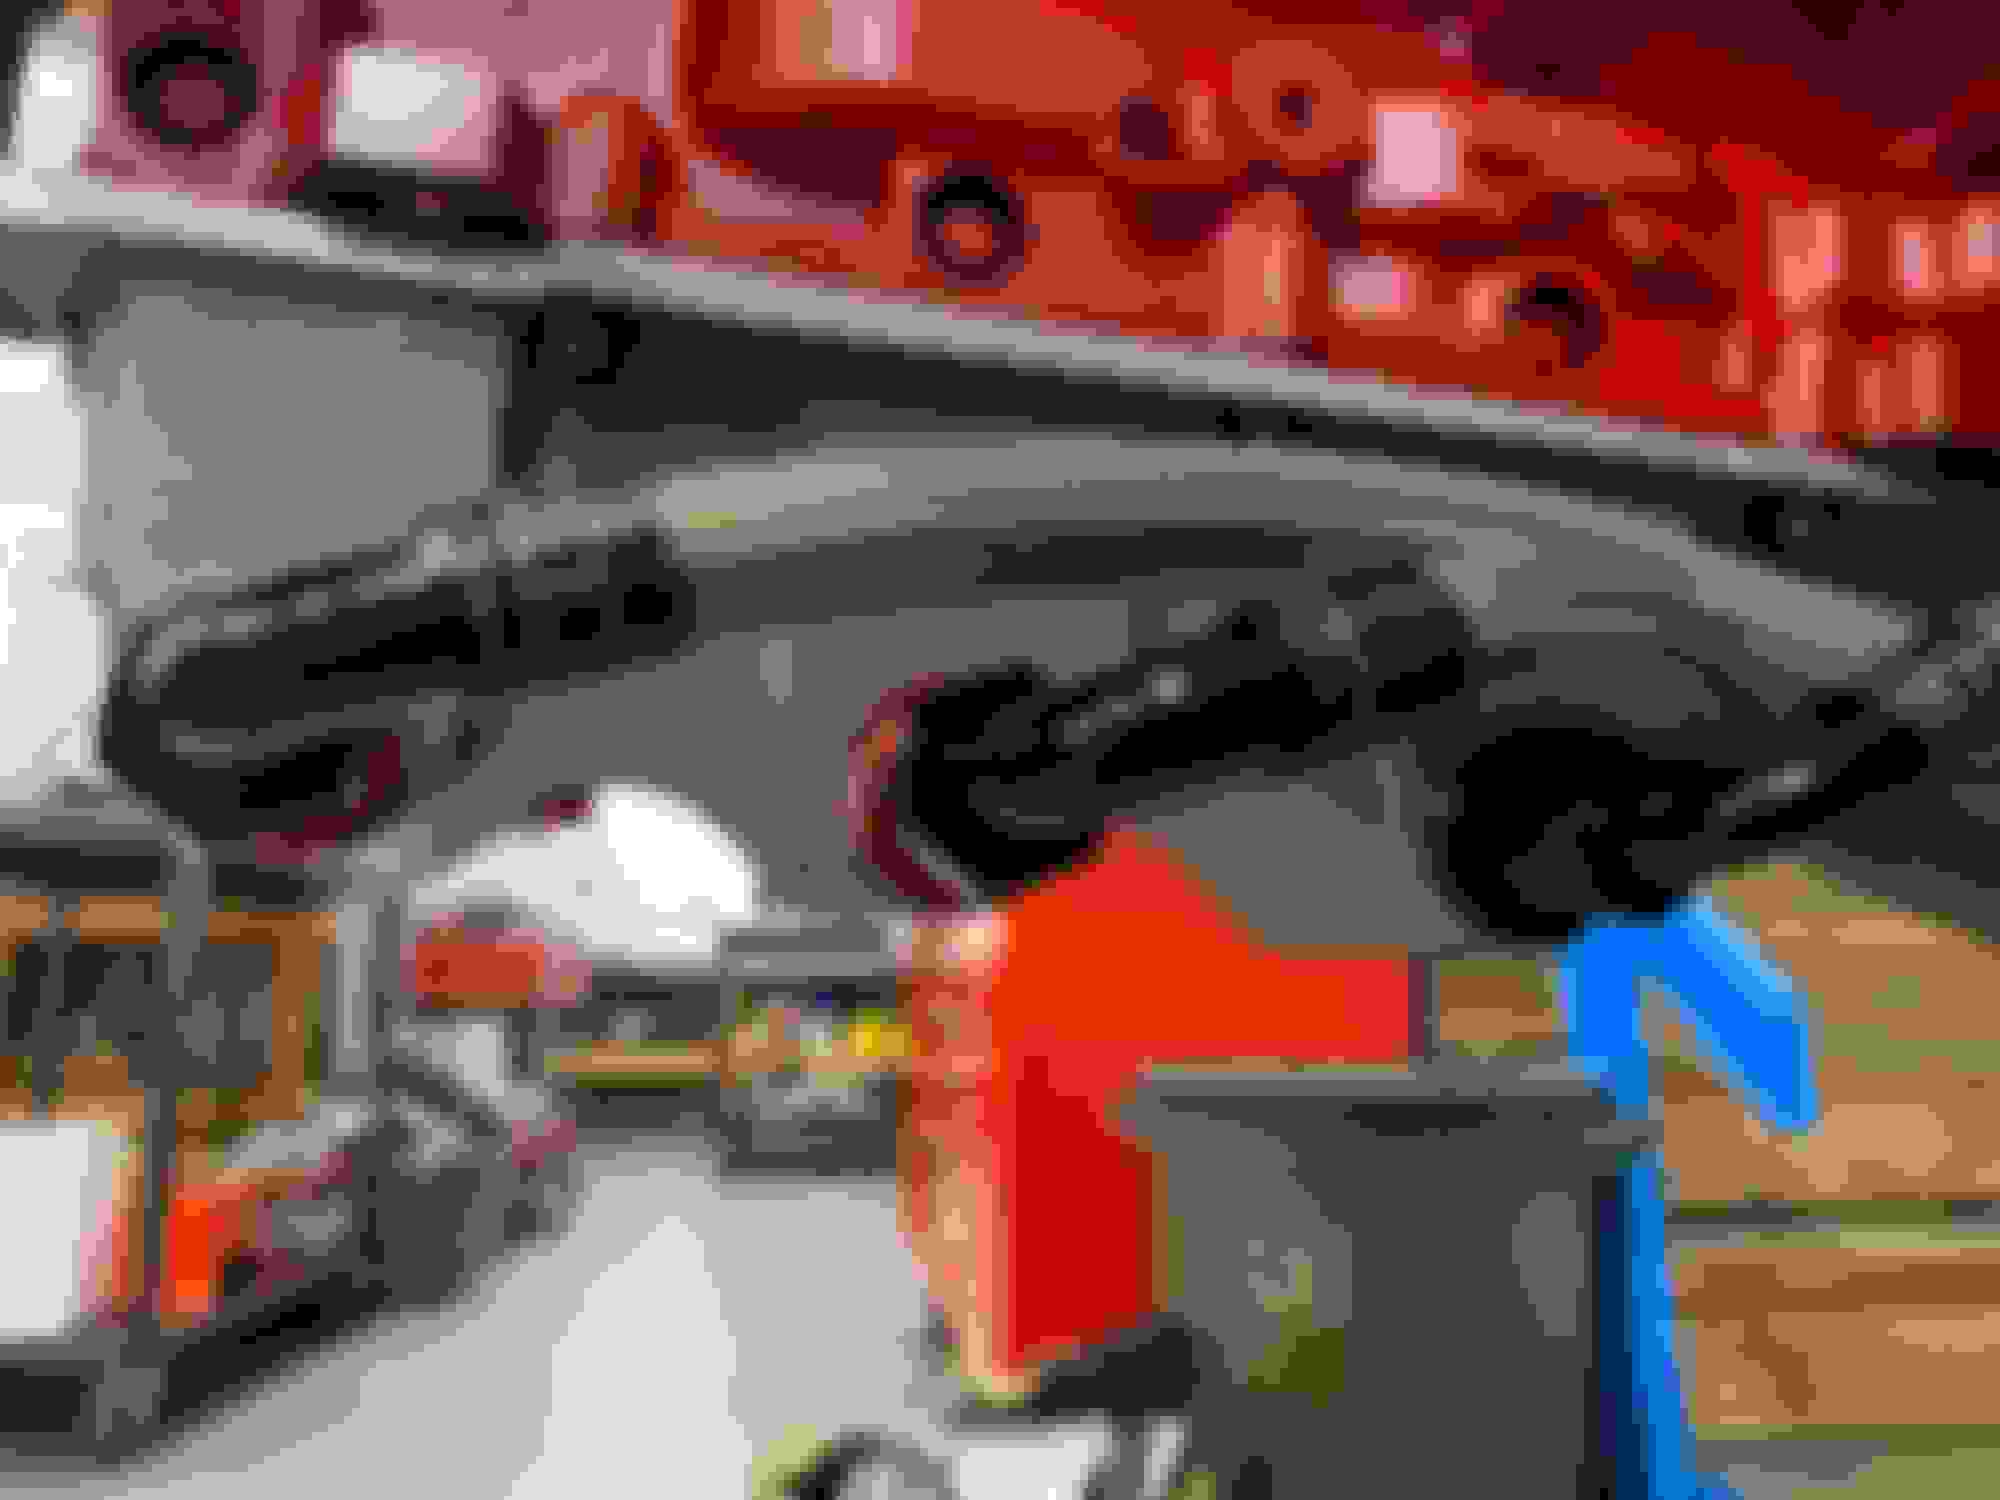
Now looking at the picture it looks like the transmission is in the wrong position.
While I have been hanging back a bit on updating, mostly because of lack of work (I hate being a painter) which hampers me being able to spend on the project.
The upside is that in the lull of steady work, I can continue work on my engine builder's house. That helps because as I work on his house, he has been finishing up some things that he needs to do. I have some pictures of where he is at as well as what I need to get done. I now have 201.5 hours worth of wages with my engine builder with about another 40 hours left to finish his home so his work is covered between what I paid in cash and in trade. The few remaining items that needs to be done, Jim is on top of everything so that when the engine comes home, everything is ready to simply bolt everything on and be ready to go.
The next plan is for Richmond Engines is to mount the supercharger, alternator and the custom motor mount. The time consuming part is that I need to go through all of my bolts and spacers and measure them all. One shop just removed them without marking/identifying them so now I need to measure and identify everything. While this is very annoying/frustrating, it needs to be done.
Front engine right Front engine left Drysump pump 1 Drysump pump 2
We still need to run oil lines from the 3 gallon tank as well as the oil line for the supercharger. This is now an exciting time for me and it helps get me past the lack of regular work for me. When I am on lay-off I find it really hard to spend on the project. I am really hoping for 1 of the many resumes that I have sent out to result in a full time permanent job.
The plan is to have the complete motor installed in the car, including the transmission/drive shaft, so that when the car goes back to the fabricator we can have all 4 corners weighed and balanced. I am also hoping that we can modify the cowling so that makes it easier to install the engine as the engine sits 2/3rd's behind the cowling. There a few items that need to be done but most of those items were paid for in advance including fuel and brake lines, throttle cable.
I am very happy with the work of Richmond Racing Engines and Kremyr Racing and I can not recommend their shops enough. They are top notch all of the way and I really wish I had found them both 14 years ago when I embarked on this odyssey. We are getting so close to the finish line and I hope I get a new job so I can pay for all of the items that need to be paid for.
As 5-Speed suggested, I will be doing the final coats of painting the car, victory red, after all of the other work has been done. Once I get the paint done, it will just be a matter of installing all of the glass and rubber mouldings. Anyone who has experience of doing a home garage paint job cut polish, please give me a how to either, equipment and materials, in this thread or by a private message.
Check out the YouTube channel Paint Society they have some good videos on general car painting info (gun reviews, gun setup, laying base over different materials, getting a good clear, etc, etc) and they do a bit on at home spraying too (more mentioned in the video on if you are doing this at home).
For cut polishing, unless you have experience with a rotary in polishing, check out a polisher like Flex XCE 10-8 125 or Rupes Big Foot LHR12 Mark2.
Thank you, I will check out that website as well as look at those polishers.
While I haven't ever done polishing I have lots experience with orbital sanders and because I have 2 trunk lids, I could use the second one as my practice part if needed.
Originally Posted by ProfDNS
I'll finally have some time this weekend to make that video tutorial for you. Did you make any other videos about the build?
Thanks for doing a tutorial for me. I haven't do any other videos up to this point but there will be plenty, starting once we get to the tuning stage.
Thank you, I will check out that website as well as look at those polishers.
While I haven't ever done polishing I have lots experience with orbital sanders and because I have 2 trunk lids, I could use the second one as my practice part if needed.
Thanks for doing a tutorial for me. I haven't do any other videos up to this point but there will be plenty, starting once we get to the tuning stage.
No problem. And yeah, that makes sense. Maybe a couple walk around videos as well!
back from my crazy work schedule hiatus, good to see there's still updates going on, sucks about work though, too bad you're on the other side of the country from me, I really need to repaint my house bad. working from home has made me realize my idea of finishing the house fast by painting everything the same color is bland and boring as all hell lol.
finally got some of the final parts needed to finish my car too, moser 9" and all the rest of the goodies needed to install it. no commute, nothing to do outside of work besides taking out the quad, all I"ve been doing is paying everything off. hopefully spring we're both up and running at the track.
and of course due to boredom I ordered another toy, can am maverick x3 turbo rr, cause who doesn't need a 195hp turbo charged offroad missile in their life
Paul, I'm not sure how spending 20K on a side by side helps you pay down debt, but that Can-am looks sweet . I too hope we both get to the track this coming spring, but after today I'm disappointed once more.
Last weekend I trailered the car to the exhaust shop, After leaving the shop I get a call to grab more head bolts and take them back to the exhaust shop. Two hours later I get another call saying there wasn't enough clearance for the headers. I knew something wasn't right. After doing a bit of research the issue was simply install the powerglide to line everything up. The kicker is, after wasting last weekend and getting nowhere, the shop owner then tells me 4 more weeks before he can work on the car. And what was worse, he wasn't available to open the shop, for me to pickup the car, until yesterday. More
So I started calling around and found out most "custom" exhaust shops didn't want to work with 3.5" exhaust. What??? Where is the custom??? One shop did give me the name of a shop that should be able to do the job. I emailed that shop yesterday and at 6:20am today he emailed me his cell phone. Everything sounds great and he is willing to do the exhaust for me. So I hook up the trailer and away I go. And then, everything takes crap and my optimism is vaporized. Now it's more of the same of the way the last 14.5 years have gone for this project.
Five minutes away from the shop and I feel a big bump. While I'm processing that bump it happens again and then I have this horrible feeling so I pull into the closest big parking lot. As soon as I get out of the truck my horrible feeling was confirmed. The straps holding the car down came loose. The damage inside and outside was very obvious. I am actually surprised the car wasn't in the middle of the road. I am sure happy I went with full insurance coverage on the trailer. I'm guessing about $3K in damage. Minimal damage to the car as the fenders/hood/doors/trunk lid where not on the car. The cause of the straps coming off? An idiot was driving the truck. That idiot only had 2 straps and put them down on opposite side tow rings. Apparently, that's a recipe for failure.
And guess what, it only gets worse. Once the shop owner takes a look at my car, he recognizes issues with the roll cage, specifically the 7.50 second certification. Showing me diagrams it is clear another half a dozen bars are required to pass the certification. Yes, that would be the same certification that I have supposedly passed and have the sticker for.
Add to all of that wonderful information, I am still un-employed and who knows how long that will last for.
If anyone had a worse day than mine, please fell free to post it up.


 10-23-2020, 08:29 AM