2.2L L61 Performance Tech 16 valve 145 hp EcoTec with 155 lb-ft of torque

jdbaugh1 official "build" thread

Thread Tools
 
Search this Thread
 
Old 06-19-2019, 09:05 AM
  #451  
Senior Member
Thread Starter
iTrader: (1)
 
jdbaugh1's Avatar
 
Join Date: 02-03-16
Location: Kansas
Posts: 6,433
Received 358 Likes on 319 Posts
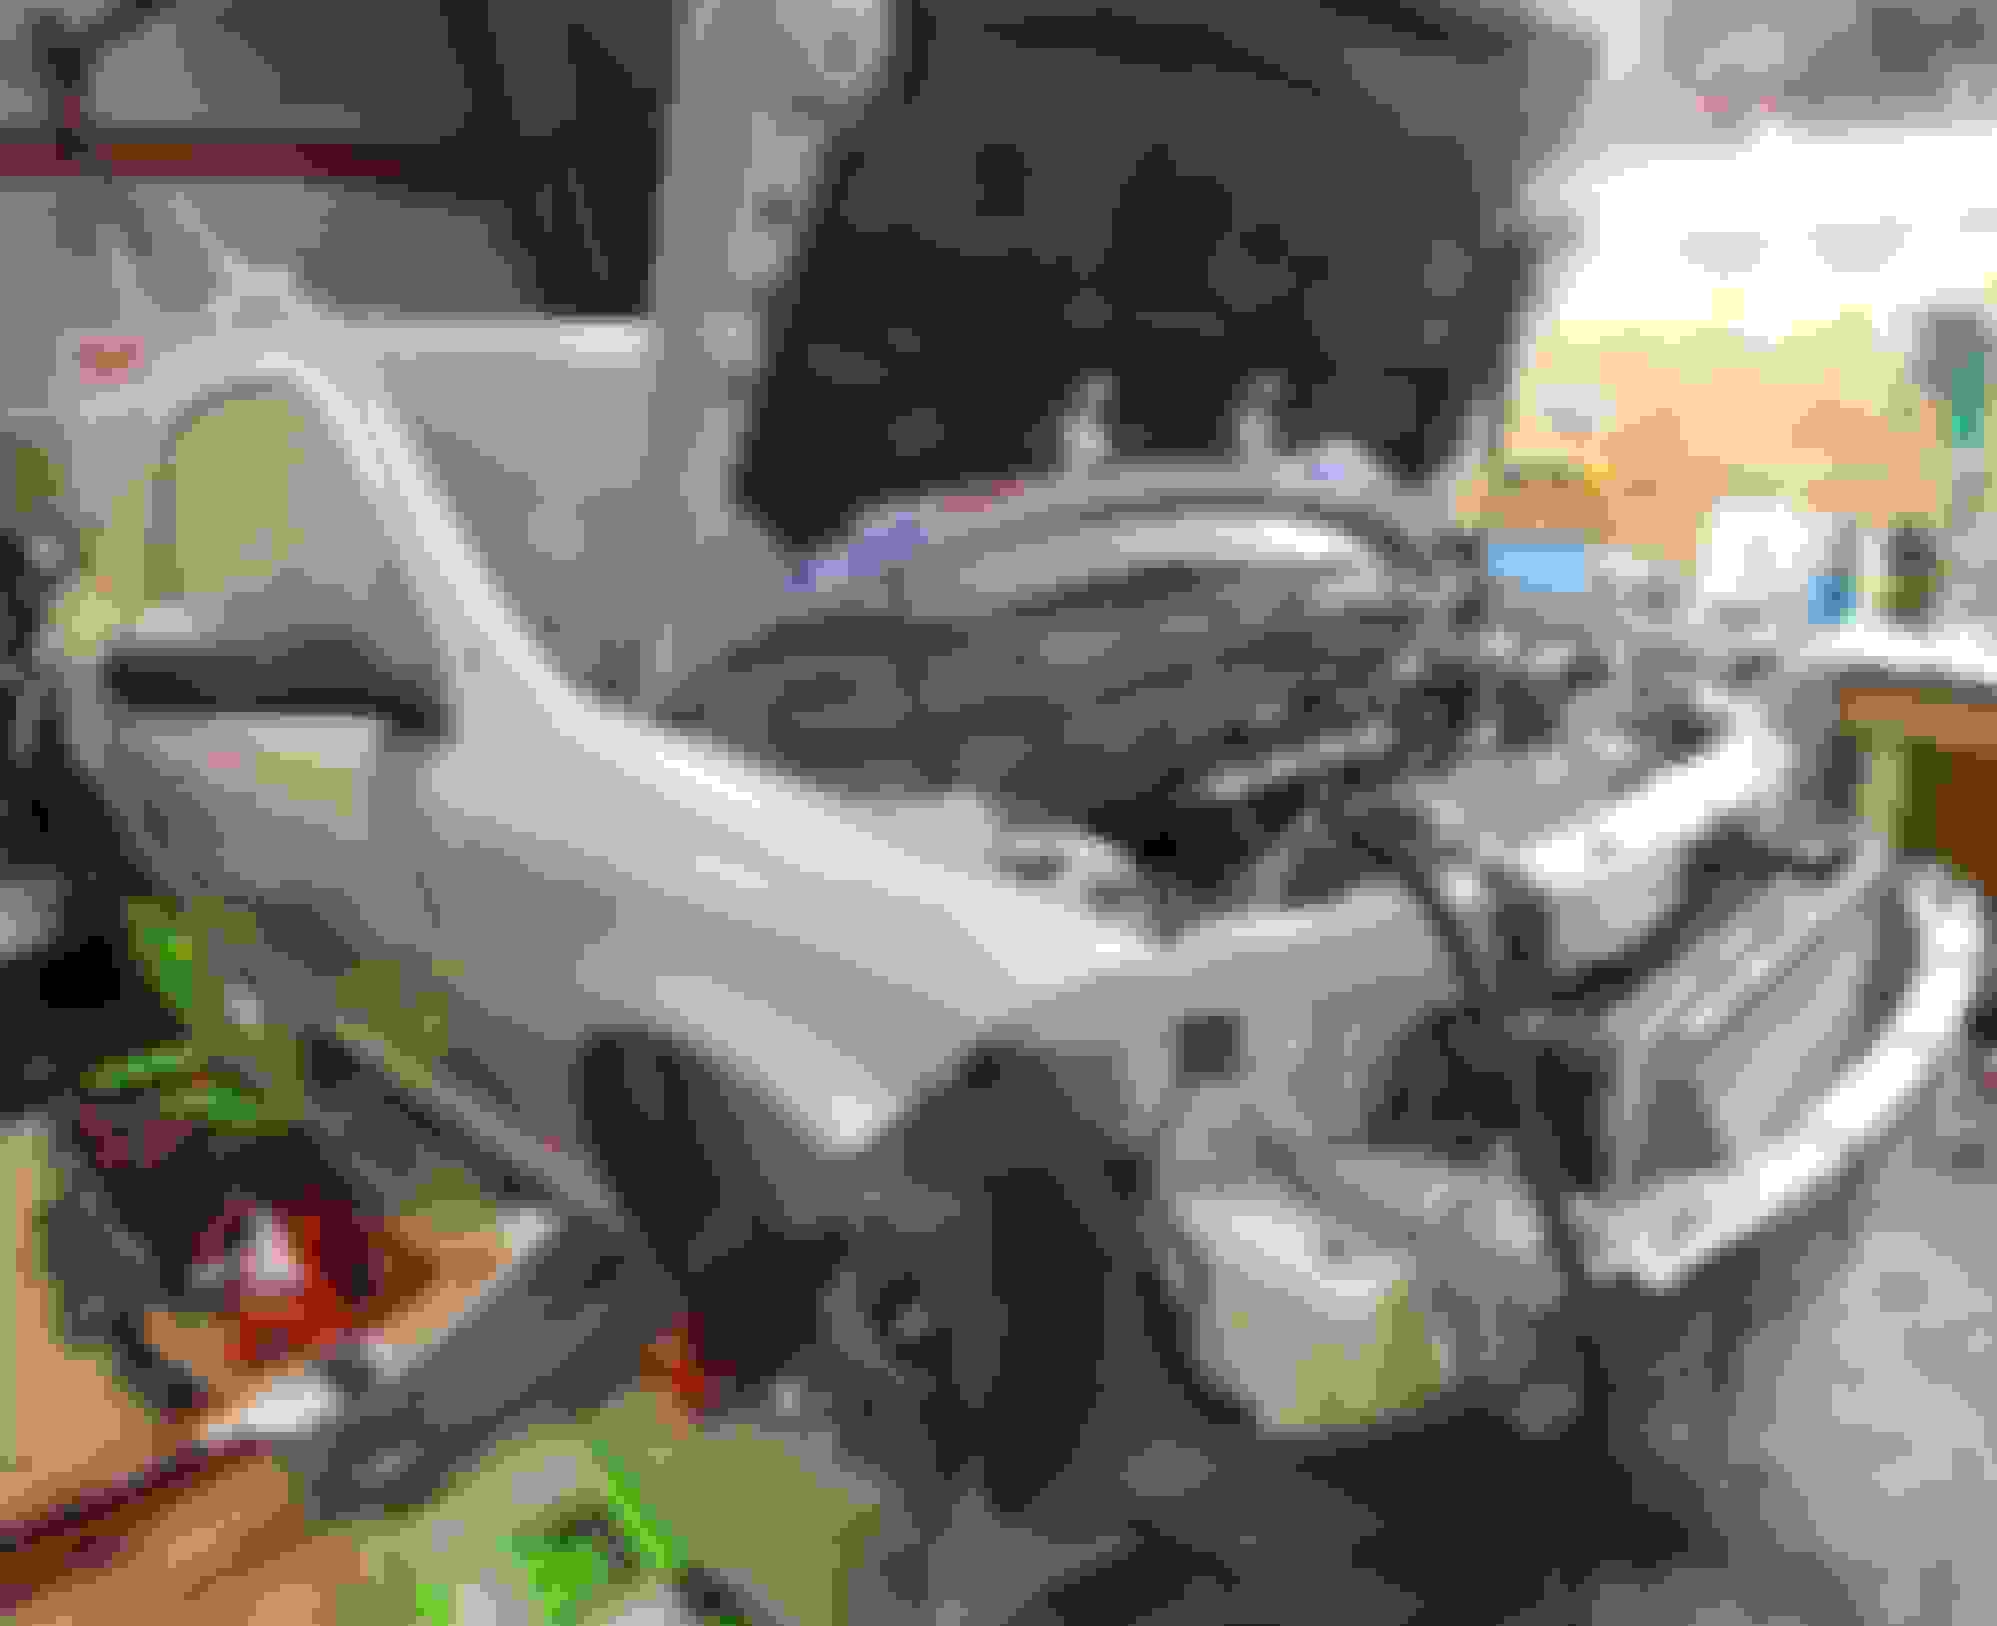
Actually took of work a little early yesterday so I can get this thing wrapped up. I need to at least get the thing moving under it's own power so I can move on to more important projects that I should be working on right now instead. It's a busy time of year but after 6+ months it is time to have this thing running again.

All wires terminated at Mil connector. The black thing right under Opt. B tank is a shrink tube that will go on the back side of the connector which they refer to as "back-shell". I will wait to apply heat gun until I verify the wiring is right.

Luckily the valve cover is threaded which I installed a bolt to zip-tie the harness to keep it away from the belt. Engine mount still isn't installed because I'll need it out of the way to sync the timing.

Car has 14 lbs of dust from sitting so long

This is now the main pump as it has much better flow rates for a given resistance/pressure than the stock pump. Davies Craig DC-9040. It has a brushless motor. The hoses pretty much hold the light pump in place so the zip-ties should be more than sufficient to keep it from swinging around. Did not want to drill or tap the subframe.

Still utilizing the stock pump. Both pumps push into each heat exchanger

Water to air intercooler configuration
Old 06-19-2019, 09:37 AM
  #452  
Senior Member
Thread Starter
iTrader: (1)
 
jdbaugh1's Avatar
 
Join Date: 02-03-16
Location: Kansas
Posts: 6,433
Received 358 Likes on 319 Posts
Forgot to add that the only things I have left to do to make this thing roll under it's own power is install strut towers/calipers, and passenger side engine mount.
Old 06-19-2019, 09:59 AM
  #453  
Senior Member
 
steelmesh's Avatar
 
Join Date: 09-23-16
Location: MI
Posts: 1,282
Received 116 Likes on 109 Posts
Originally Posted by jdbaugh1
Forgot to add that the only things I have left to do to make this thing roll under it's own power is install strut towers/calipers, and passenger side engine mount.
In theory
Old 06-19-2019, 10:03 AM
  #454  
Senior Member
Thread Starter
iTrader: (1)
 
jdbaugh1's Avatar
 
Join Date: 02-03-16
Location: Kansas
Posts: 6,433
Received 358 Likes on 319 Posts
Originally Posted by steelmesh
In theory
IF my wiring is good and ECS works right lol
Old 06-19-2019, 11:47 AM
  #455  
Senior Member
iTrader: (1)
 
exninja's Avatar
 
Join Date: 02-20-09
Location: UT
Posts: 6,266
Received 417 Likes on 341 Posts
Looking good!
The following users liked this post:
jdbaugh1 (06-19-2019)
Old 06-19-2019, 12:14 PM
  #456  
Senior Member
Thread Starter
iTrader: (1)
 
jdbaugh1's Avatar
 
Join Date: 02-03-16
Location: Kansas
Posts: 6,433
Received 358 Likes on 319 Posts
Originally Posted by exninja
Looking good!
Let's hope she fires up tonight without giving me too much grief
Old 06-19-2019, 12:32 PM
  #457  
Senior Member
iTrader: (1)
 
exninja's Avatar
 
Join Date: 02-20-09
Location: UT
Posts: 6,266
Received 417 Likes on 341 Posts
Hope for the best and expect the worst, then you won't be disappointed
Old 06-19-2019, 12:50 PM
  #458  
Senior Member
Thread Starter
iTrader: (1)
 
jdbaugh1's Avatar
 
Join Date: 02-03-16
Location: Kansas
Posts: 6,433
Received 358 Likes on 319 Posts
I've gotten to the point where I just hope that whatever does go wrong isn't major but I do expect at least something to go wrong.
Old 06-20-2019, 12:44 PM
  #459  
Senior Member
Thread Starter
iTrader: (1)
 
jdbaugh1's Avatar
 
Join Date: 02-03-16
Location: Kansas
Posts: 6,433
Received 358 Likes on 319 Posts
Had high hopes of starting the engine, for the first time, after converting to AEM Infinity 508 ECS but of course ran into an issue. When I went to calibrate the throttle body and the computer tried to move the blade around nothing happened, it just error out. So first thing I assume is wiring issue so I remove connector at TB and AEM and use my multi-meter to check continuity and everything checks out. So I assumed maybe I had the wrong pinout diagram so Trevor sent me what he had or found. The diagram he sent did not match the diagram I had because it had the +5V references flipped with the 0-5V ground references as well as the open/close circuit for the blade so I'm excited because that is an easy issue to correct. So I flip all these wires around and it still does the same thing. I was messing with it again this morning before work and discovered I had installed the terminal block below 180 degrees off were it should have been so the Fan 1 relay, I repurposed to be the EFI Main relay, was not sending power. So I flipped the block and everything seems to be working now. Trevor has been helping me using Team Viewer in setting up the initial calibration by modifying the setup he has for Chris's car. After I sync the crank timing with the AEM we should be trying to fire this thing up tonight.

Terminal block that was rotated 180 degrees off


In order to use a timing light I borrowed I hacked off the rubber boot on an old lead so I could stick it in the coil and have it make contact.
Old 06-20-2019, 01:00 PM
  #460  
Senior Member
iTrader: (29)
 
royce777's Avatar
 
Join Date: 06-28-08
Location: Pittsburgh, PA
Posts: 9,444
Received 222 Likes on 182 Posts
are you still running unequal length axles?
Old 06-20-2019, 01:05 PM
  #461  
Senior Member
Thread Starter
iTrader: (1)
 
jdbaugh1's Avatar
 
Join Date: 02-03-16
Location: Kansas
Posts: 6,433
Received 358 Likes on 319 Posts
Originally Posted by royce777
are you still running unequal length axles?
Yeah. Does anybody even offer a jackshaft conversion for the F23?
Old 06-20-2019, 01:26 PM
  #462  
Senior Member
iTrader: (29)
 
royce777's Avatar
 
Join Date: 06-28-08
Location: Pittsburgh, PA
Posts: 9,444
Received 222 Likes on 182 Posts
Originally Posted by jdbaugh1
Yeah. Does anybody even offer a jackshaft conversion for the F23?

I starter to build a kit with a saturn vue jackshaft and cobalt automatic axle with a spacer when I had my G5 GT
Old 06-20-2019, 01:30 PM
  #463  
Moderator
Platinum Member
Moderator
iTrader: (1)
 
Slowbalt2000's Avatar
 
Join Date: 05-15-11
Location: Livonia, MI
Posts: 27,413
Received 584 Likes on 519 Posts
I use cavalier axles now, the cv joints are much larger and if you get them from napa the shafts are pretty beefy too.
Old 06-20-2019, 01:35 PM
  #464  
Senior Member
Thread Starter
iTrader: (1)
 
jdbaugh1's Avatar
 
Join Date: 02-03-16
Location: Kansas
Posts: 6,433
Received 358 Likes on 319 Posts
Originally Posted by Slowbalt2000
I use cavalier axles now, the cv joints are much larger and if you get them from napa the shafts are pretty beefy too.
I need a bigger CV joint as that is what I am always tearing up. Been using standard Napa's MAX axles for Cobalt and just exchanging them on lifetime warranty every 4 to 6 months lol. Are the cavi axles plug n' play?
Old 06-20-2019, 01:36 PM
  #465  
Moderator
Platinum Member
Moderator
iTrader: (1)
 
Slowbalt2000's Avatar
 
Join Date: 05-15-11
Location: Livonia, MI
Posts: 27,413
Received 584 Likes on 519 Posts
yep, fit like stock.

your napa guys must like you. I think I got about 2 replacements from advanced before they said there must be something wrong with my car and wouldnt give me another one.
Old 06-20-2019, 01:36 PM
  #466  
Senior Member
Thread Starter
iTrader: (1)
 
jdbaugh1's Avatar
 
Join Date: 02-03-16
Location: Kansas
Posts: 6,433
Received 358 Likes on 319 Posts
Originally Posted by royce777
I starter to build a kit with a saturn vue jackshaft and cobalt automatic axle with a spacer when I had my G5 GT
With the Vue jack shaft what then you just run driver's side axle on both sides? Is the spacer custom or are there other custom parts required?
Old 06-20-2019, 01:38 PM
  #467  
Moderator
Platinum Member
Moderator
iTrader: (1)
 
Slowbalt2000's Avatar
 
Join Date: 05-15-11
Location: Livonia, MI
Posts: 27,413
Received 584 Likes on 519 Posts
The jackshaft is male so you have to use an automatic axle that has female splines.
Old 06-20-2019, 01:39 PM
  #468  
Senior Member
Thread Starter
iTrader: (1)
 
jdbaugh1's Avatar
 
Join Date: 02-03-16
Location: Kansas
Posts: 6,433
Received 358 Likes on 319 Posts
Originally Posted by Slowbalt2000
yep, fit like stock.

your napa guys must like you. I think I got about 2 replacements from advanced before they said there must be something wrong with my car and wouldnt give me another one.
Hell I don't know why they would care. Their supplier is the one who eats the cost so the actual store shouldn't even be out anything unless their supplier starts rejecting them. I sheared an axle clean off that I got from Carquest and I know the guys there and they know my car and they warrantied it.
Old 06-20-2019, 02:10 PM
  #469  
Moderator
Platinum Member
Moderator
iTrader: (1)
 
Slowbalt2000's Avatar
 
Join Date: 05-15-11
Location: Livonia, MI
Posts: 27,413
Received 584 Likes on 519 Posts
Napa here wouldnt even take a broken axle as a core....
Old 06-20-2019, 02:11 PM
  #470  
Senior Member
Thread Starter
iTrader: (1)
 
jdbaugh1's Avatar
 
Join Date: 02-03-16
Location: Kansas
Posts: 6,433
Received 358 Likes on 319 Posts
Originally Posted by Slowbalt2000
Napa here wouldnt even take a broken axle as a core....
lame
Old 06-21-2019, 12:05 AM
  #471  
Senior Member
Thread Starter
iTrader: (1)
 
jdbaugh1's Avatar
 
Join Date: 02-03-16
Location: Kansas
Posts: 6,433
Received 358 Likes on 319 Posts
Old 06-21-2019, 08:59 AM
  #472  
Senior Member
 
ProfDNS's Avatar
 
Join Date: 01-31-16
Location: Frozen Wasteland of the North
Posts: 5,281
Received 544 Likes on 467 Posts
Should've had an evil laugh in there followed by a lightning strike. Lame.
Old 06-21-2019, 09:45 AM
  #473  
Senior Member
Thread Starter
iTrader: (1)
 
jdbaugh1's Avatar
 
Join Date: 02-03-16
Location: Kansas
Posts: 6,433
Received 358 Likes on 319 Posts
Originally Posted by ProfDNS
Should've had an evil laugh in there followed by a lightning strike. Lame.
I have a video of the actual first time I started up which I'm thinking about posting up because it might give y'all a laugh. I have the passenger side motor mount removed because I'm having to us a timing light to sync the AEM timing with the mag trigger wheel. So I have the engine supported on a jack stand from underneath and I had the engine up just a bit to high and with my phenolic spacer combined with my 1/2 spacer for water/methanol injection the supercharger pulley is normally about 1/4" from the front top brace in the engine bay. Well the pulley/belt were contacting the cross brace which sheared an outer rib off my belt and made quiet a ruckus. Scared the **** out of me.
Old 06-22-2019, 10:42 PM
  #474  
Senior Member
Thread Starter
iTrader: (1)
 
jdbaugh1's Avatar
 
Join Date: 02-03-16
Location: Kansas
Posts: 6,433
Received 358 Likes on 319 Posts

Rigged up a piece of stainless wire to make it easier to use a timing light to sync the engine with the AEM. The numbers on the ATI are freaking tiny and this process was a PITA.

Finished Mil spec connector

Obligatory engine bay picture

I felt bad cutting into these floor mats but turned out alright I think.

And now for the good ****. Just starting to get the tune dialed in on power. Still just running a bit rich.

BTW, if anyone savvy has any ideas about what could be causing the noise for my IAT sensor your opinions are welcome.

Last edited by jdbaugh1; 06-22-2019 at 10:51 PM.
Old 06-22-2019, 11:18 PM
  #475  
Moderator
Platinum Member
Moderator
iTrader: (1)
 
Slowbalt2000's Avatar
 
Join Date: 05-15-11
Location: Livonia, MI
Posts: 27,413
Received 584 Likes on 519 Posts
Looks like she pulls pretty nice. Glad its all working out for you.
The following users liked this post:
jdbaugh1 (06-23-2019)


Quick Reply: jdbaugh1 official "build" thread


All times are GMT -4. The time now is 04:48 AM.