
New install (pics)
 03-16-2006, 03:57 PM
#1
Senior Member
Thread Starter
Hey, finished up most of the Girl friends car. Nothing extreme, single Infinity basslink in the trunk and Infinity speakers all around run by a alpine 4 channel under her passenger seat. A nice Clarion Head unit. I am looking for something to make the head unit mounting kit stand out, I'm going to put a lighted display in the cubby hole thing...Just gotta figure out what to put there, thinking I'm going to have some plexy etched for her with the Cars Name on it (Rally) so, for now, this is what I have.
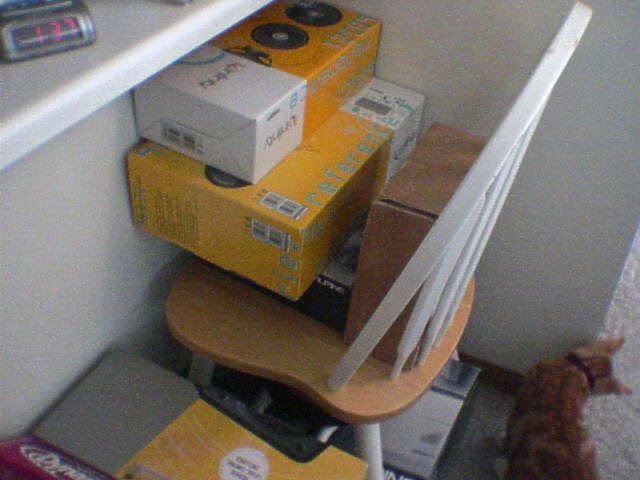
Pile of stuff
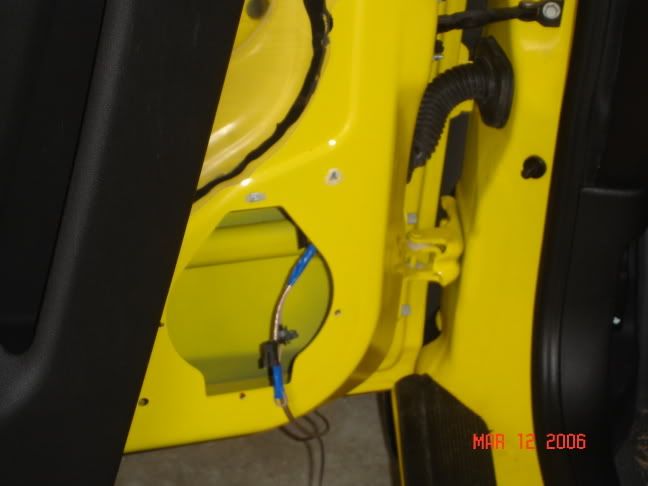
Doors apart, it was a pain to run new wires through the gromets to the doors
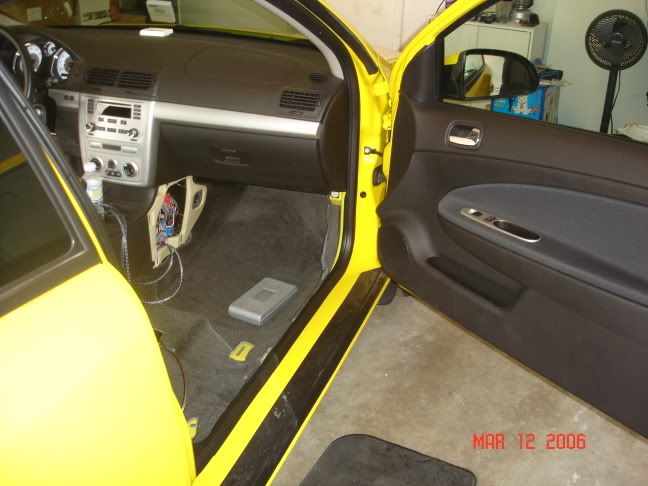
Chair out and side of console open

Backseat out and amp ready to install under passenger chair

Basslink in trunk
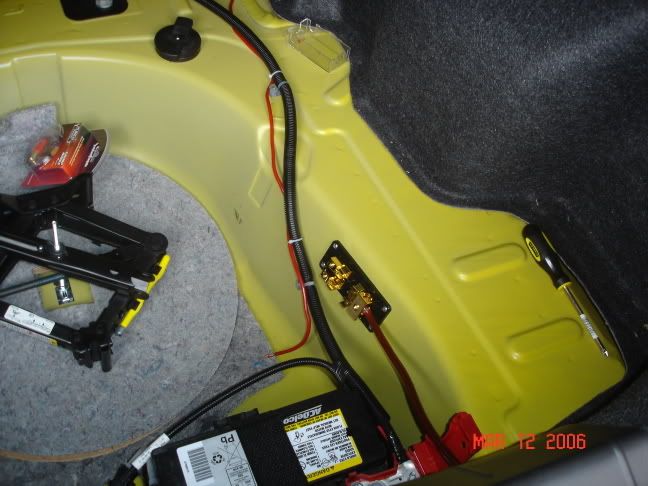
Power wires run
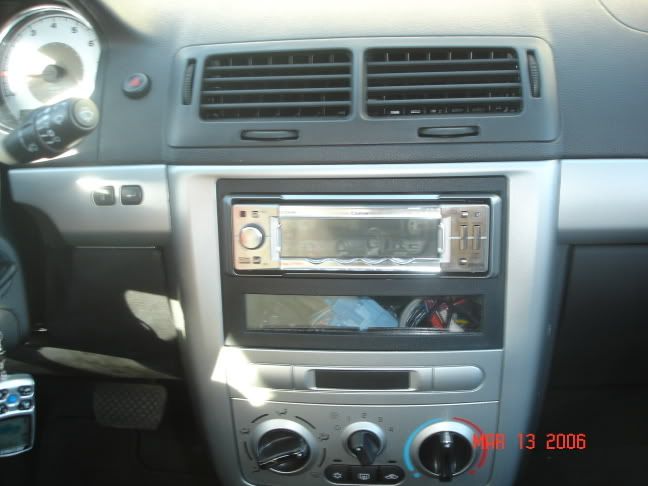
Head unit installed.
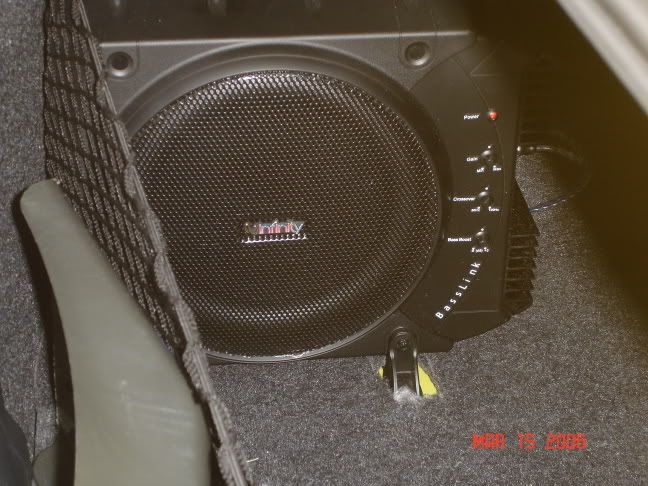
Sub with carpet
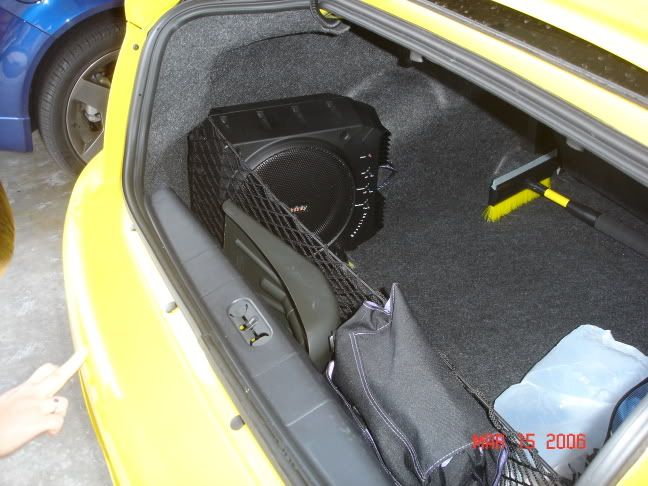
Sub in corner
I have a steering wheel control interface to hook up but was wondering where I find the wire to connect to, is it on the wire harness for the radio from the car?
Thanks.
Pile of stuff
Doors apart, it was a pain to run new wires through the gromets to the doors
Chair out and side of console open
Backseat out and amp ready to install under passenger chair
Basslink in trunk
Power wires run
Head unit installed.
Sub with carpet
Sub in corner
I have a steering wheel control interface to hook up but was wondering where I find the wire to connect to, is it on the wire harness for the radio from the car?
Thanks.
 03-16-2006, 04:00 PM
#3
Senior Member

Join Date: 12-31-05
Location: Michigan
Posts: 8,269
Likes: 0
Received 0 Likes
on
0 Posts
oh gotta love the middle finger picture.... i have never done one myself.... tomorrow is st. patty's day so then I will attempt a cool middle finger picture
On another note I hope she paid for all of that... really sucks when you dont get return on your investment... sucks worse when another dude is cruising around listening to the bumbps you installed....
other than that good install
On another note I hope she paid for all of that... really sucks when you dont get return on your investment... sucks worse when another dude is cruising around listening to the bumbps you installed....
other than that good install
03-16-2006, 06:32 PM
#4
Senior Member
Thread Starter
I don't think she was trying to give the middle finger....just the one she used to check the scratches...Anyway, her alarm and radio are all paid for by me....If she runs off, so be it...But somehow it doesn't seem like she will, she can't live on her own anymore, I don't think I could get rid of her if I tried...(she just wondn't leave)
03-17-2006, 12:09 AM
#5
Senior Member

Join Date: 11-15-05
Location: Newton Highlands, Massachusetts
Posts: 2,693
Likes: 0
Received 0 Likes
on
0 Posts
where you mounted that fuse block in the spare tire well, make sure you spray the outside of the car with undercoating where the screws come through so you don't get rust
 03-19-2006, 12:42 AM
#8
Senior Member
Thread Starter
Originally Posted by GSoccer24
where you mounted that fuse block in the spare tire well, make sure you spray the outside of the car with undercoating where the screws come through so you don't get rust
03-19-2006, 11:26 PM
#11
Senior Member
Join Date: 11-15-05
Location: Newton Highlands, Massachusetts
Posts: 2,693
Likes: 0
Received 0 Likes
on
0 Posts
Originally Posted by SS SChgd
I siliconed all the screws that went to the outside, should do just as well as undercoating...
 03-19-2006, 11:47 PM
#13
Senior Member

Join Date: 09-17-05
Location: Norwich NY
Posts: 1,888
Likes: 0
Received 0 Likes
on
0 Posts
there are 3 screws
one behind the door handle, and 2 in the little dish handle thing with the window button in it.... be carefull though, plastic button type clips all around, accept where the tweeter is if you have the pioneer system, the ******** at the dealership forgot this when i had a water leak, and now it is 2 pieces...... then just lift the panel up and off. disconnect the window controls, and also the cable for the door handle....... make sure to re connect after.... i forgot to once and was pissed.......
one behind the door handle, and 2 in the little dish handle thing with the window button in it.... be carefull though, plastic button type clips all around, accept where the tweeter is if you have the pioneer system, the ******** at the dealership forgot this when i had a water leak, and now it is 2 pieces...... then just lift the panel up and off. disconnect the window controls, and also the cable for the door handle....... make sure to re connect after.... i forgot to once and was pissed.......
03-19-2006, 11:49 PM
#14
Originally Posted by italstalnprd86
there are 3 screws
one behind the door handle, and 2 in the little dish handle thing with the window button in it.... be carefull though, plastic button type clips all around, accept where the tweeter is if you have the pioneer system, the ******** at the dealership forgot this when i had a water leak, and now it is 2 pieces...... then just lift the panel up and off. disconnect the window controls, and also the cable for the door handle....... make sure to re connect after.... i forgot to once and was pissed.......
one behind the door handle, and 2 in the little dish handle thing with the window button in it.... be carefull though, plastic button type clips all around, accept where the tweeter is if you have the pioneer system, the ******** at the dealership forgot this when i had a water leak, and now it is 2 pieces...... then just lift the panel up and off. disconnect the window controls, and also the cable for the door handle....... make sure to re connect after.... i forgot to once and was pissed.......
 03-20-2006, 12:47 PM
#15
Senior Member
Thread Starter
there is a piece of plexi in the space for the pocket, I'm working on a lighted name or something for the pocket. Then going to Paint the whole thing to match the rest of the trim.
The door just popped off after taking off the three screws he said above.
I'm still working on adjusting everything, but it sounds alot better than stock. She had the base radio though, I think it even sounds better than my SS/SC radio, but then again I don't like the warm sound of the factory radios, I like my sounds clean and bright.
Anyone know where to hook the steering wheel controls into? is it in the wire harness for the radio or somewhere else.
Thanks
03-20-2006, 01:34 PM
#16
Senior Member
Join Date: 11-15-05
Location: Newton Highlands, Massachusetts
Posts: 2,693
Likes: 0
Received 0 Likes
on
0 Posts
Originally Posted by SS SChgd
Anyone know where to hook the steering wheel controls into? is it in the wire harness for the radio or somewhere else.
Thanks
you need a SWI-X adapter-- tweeter or hi-fi buys should have it.
or you can go here and it's the SWI-X at the bottom of the page:
http://www.pac-audio.com/products/pr...el%20Interface
03-21-2006, 02:03 AM
#17
Senior Member
Thread Starter
I have a Swi-X waiting to install, just want to know where the wires I have to get to are and also a good place to install the IR thingy. Thanks
03-23-2006, 03:35 PM
#19
Senior Member

Originally Posted by SS SChgd
I have a Swi-X waiting to install, just want to know where the wires I have to get to are and also a good place to install the IR thingy. Thanks
Also, when you program it, start the car first. The directions don't say anything about it and when I programmed it with the car off, after driving for 20 minutes or so, sometimes the volume up button stopped working for some reason. I figured it must have something to do with voltage so I re-programmed the unit with the car running and it's been fine ever since. Also, make sure to hold the button for 2-3 seconds like they tell you in the directions when programming it.
Jamie
 08-06-2006, 11:40 PM
#23
Senior Member

Join Date: 06-02-05
Location: NY
Posts: 4,932
Likes: 0
Received 0 Likes
on
0 Posts
nice install
my only thing i would like to see. i did it on my friends car...as well as my friend did it on his...paint the dash kit silver so it matches the dashboard trim..it looks sweet.
my only thing i would like to see. i did it on my friends car...as well as my friend did it on his...paint the dash kit silver so it matches the dashboard trim..it looks sweet.
08-07-2006, 01:23 PM
#24
Senior Member
Originally Posted by iLLmaTic3s
nice install
my only thing i would like to see. i did it on my friends car...as well as my friend did it on his...paint the dash kit silver so it matches the dashboard trim..it looks sweet.
my only thing i would like to see. i did it on my friends car...as well as my friend did it on his...paint the dash kit silver so it matches the dashboard trim..it looks sweet.