ProfDNS' Interior "Build"
#1
Thread Starter
Senior Member
Joined: 01-31-16
Posts: 5,292
Likes: 545
From: Frozen Wasteland of the North
ProfDNS' Interior "Build"
Decided to create a thread for this to track and showcase my progress. I have 2 projects underway with the car:
1) Interior trim painting
2) Sound deadening
I'll also be doing some rewiring of the car audio system down the line, using the how-to for the subwoofer (which will also be painted).
So far, here's what I have:
Painting Trim
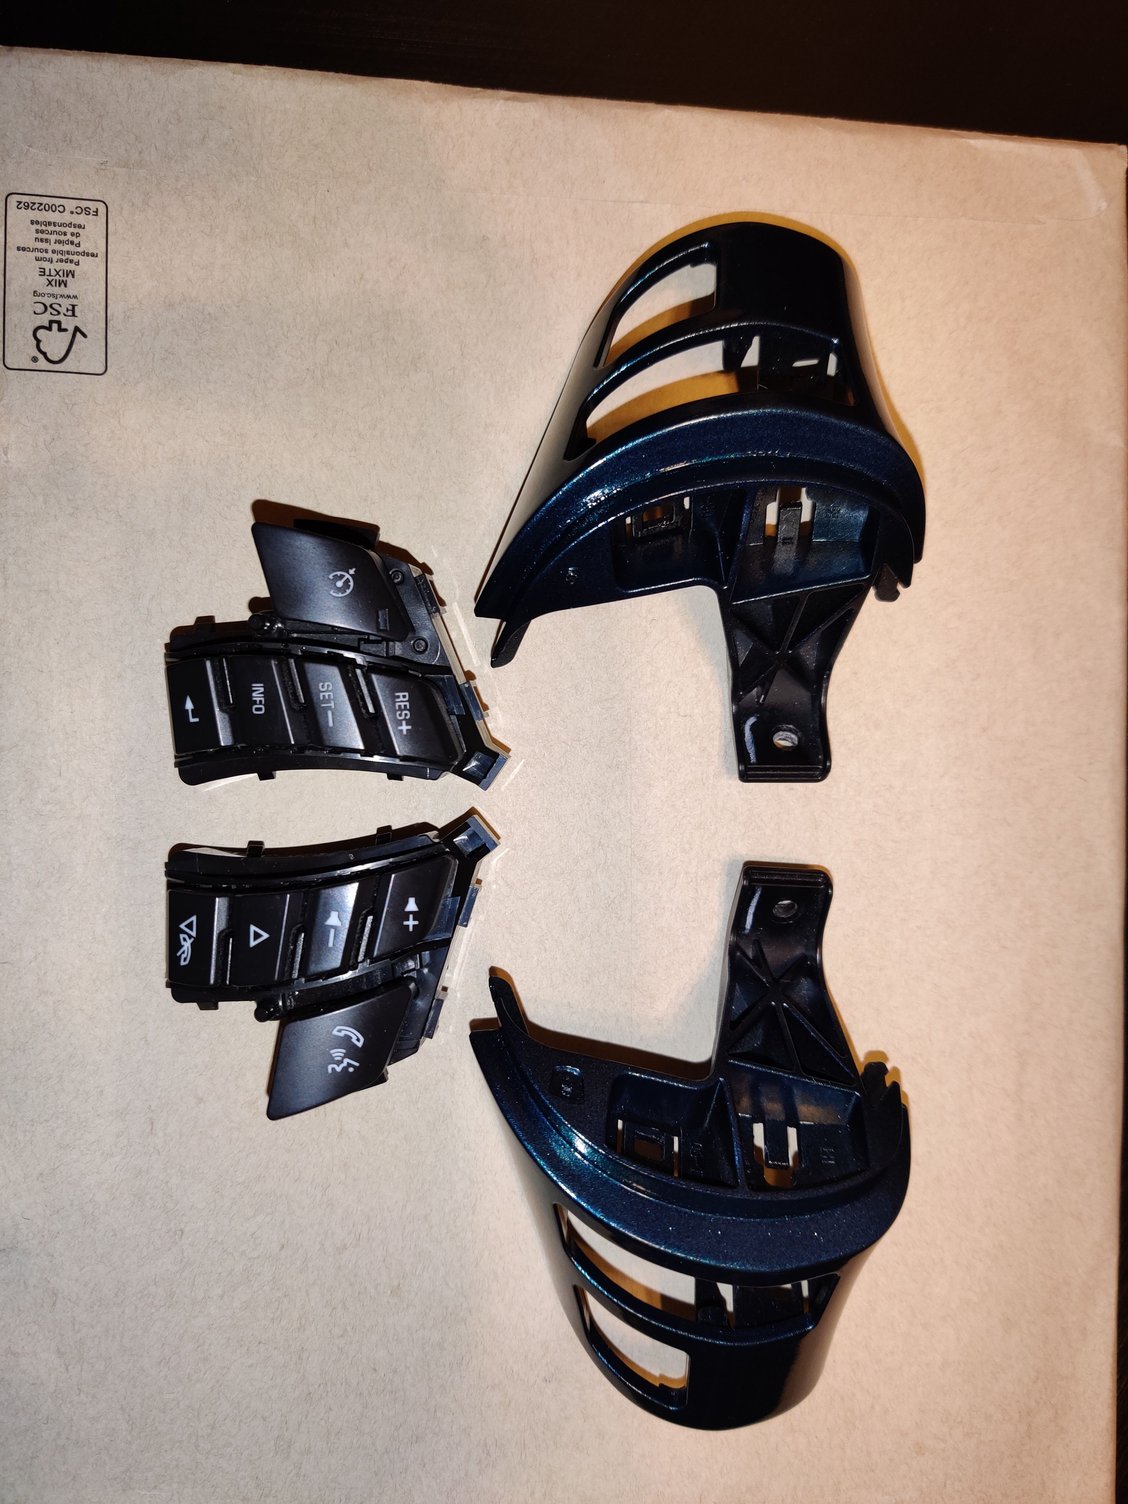
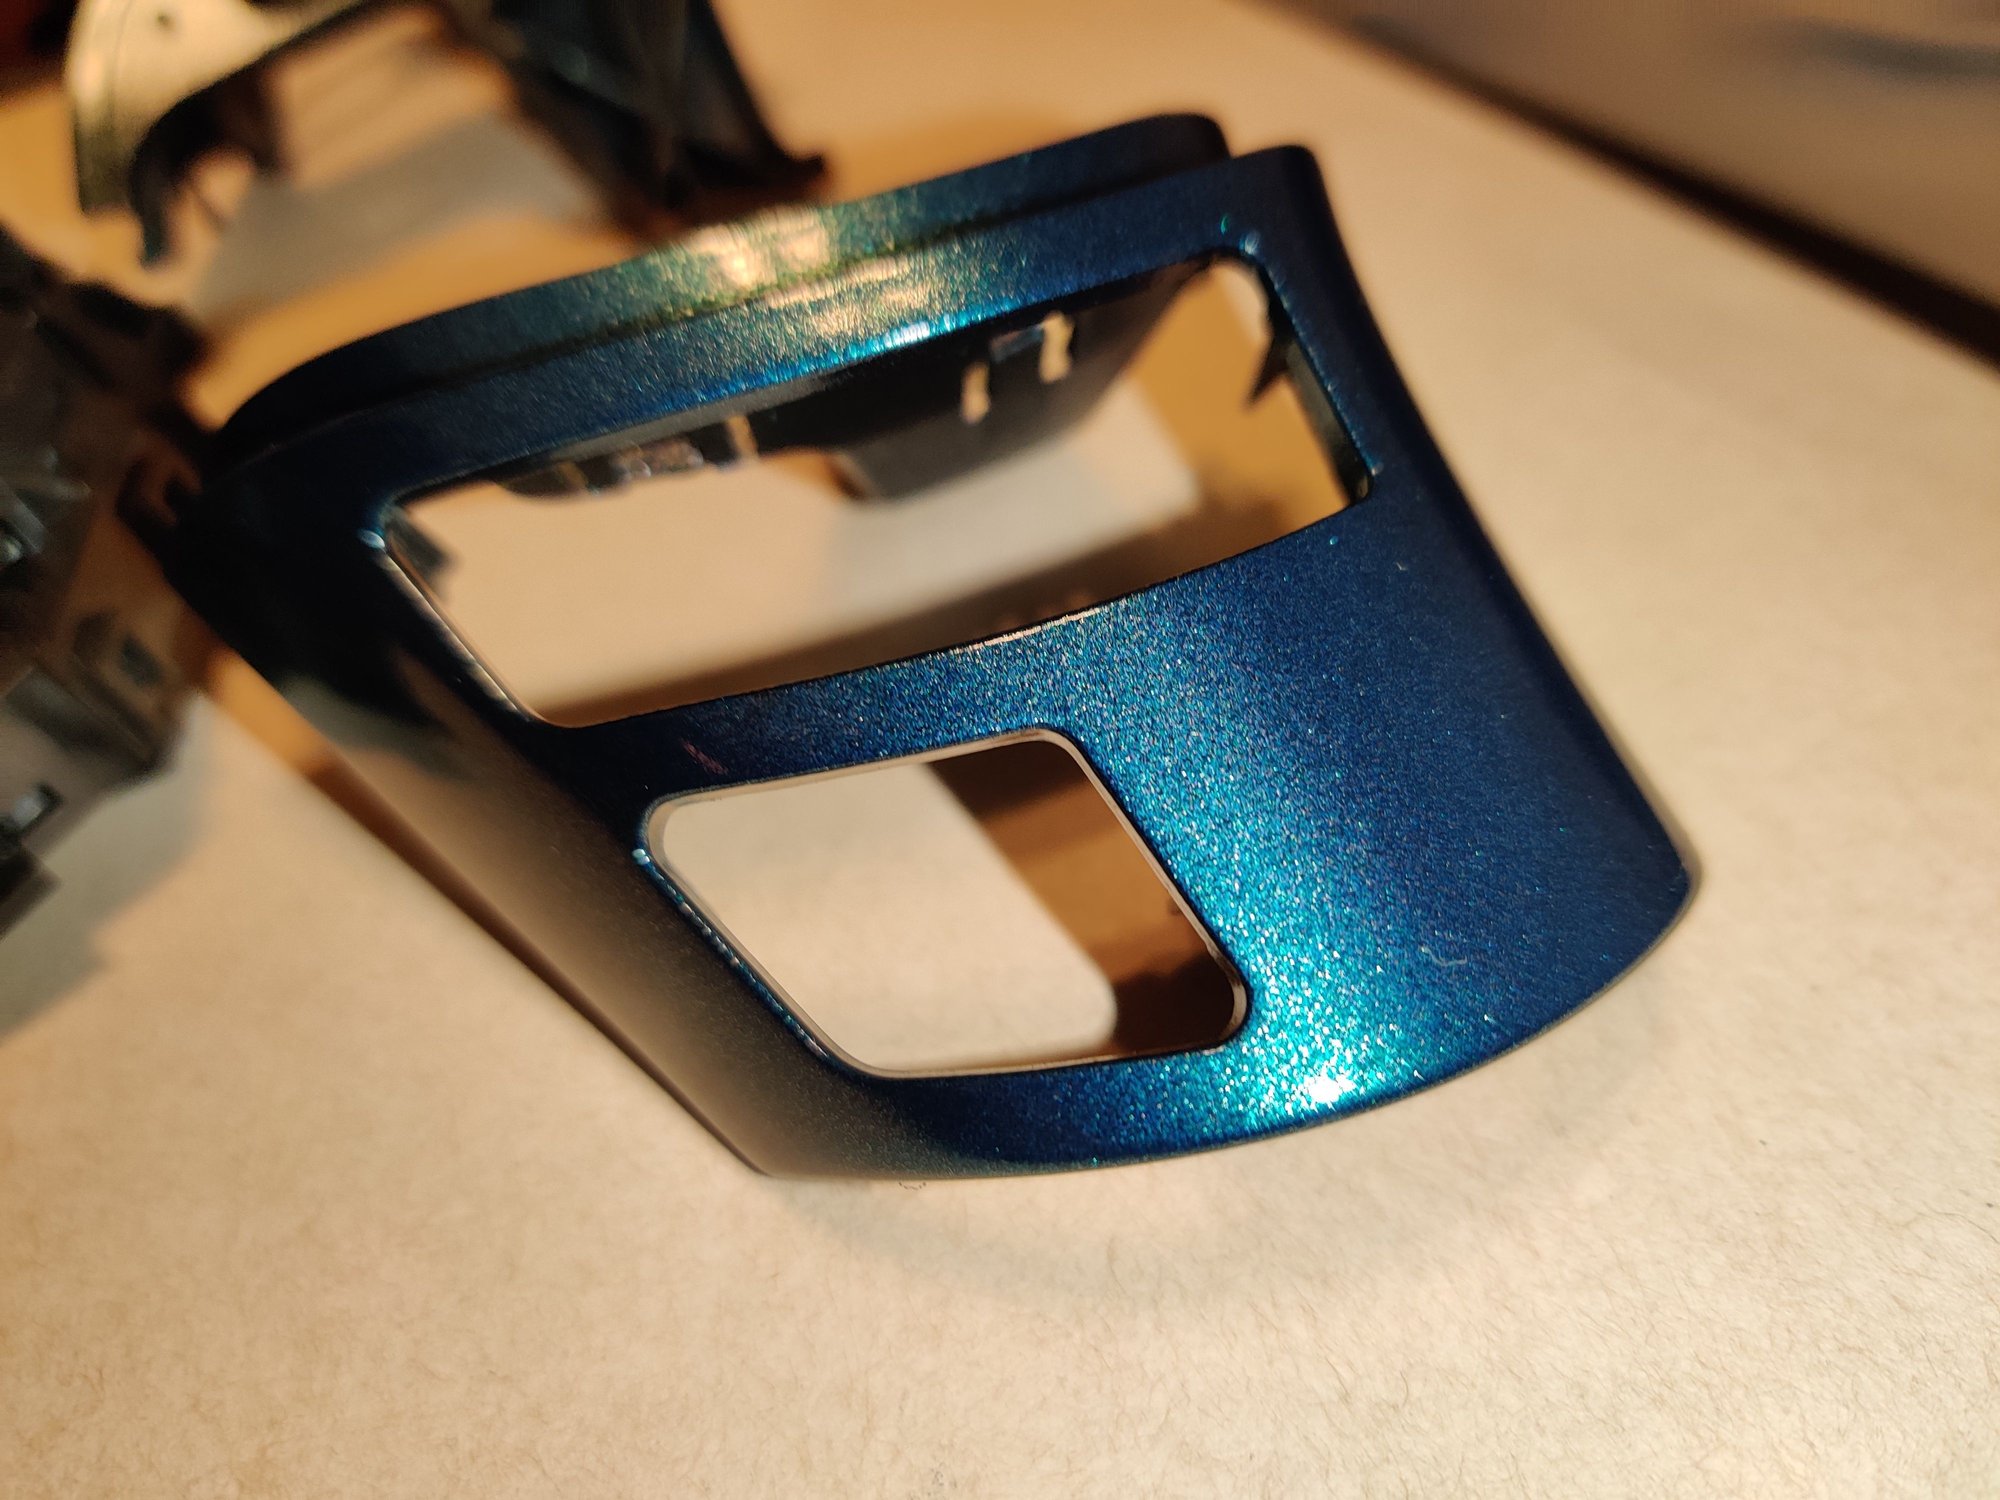
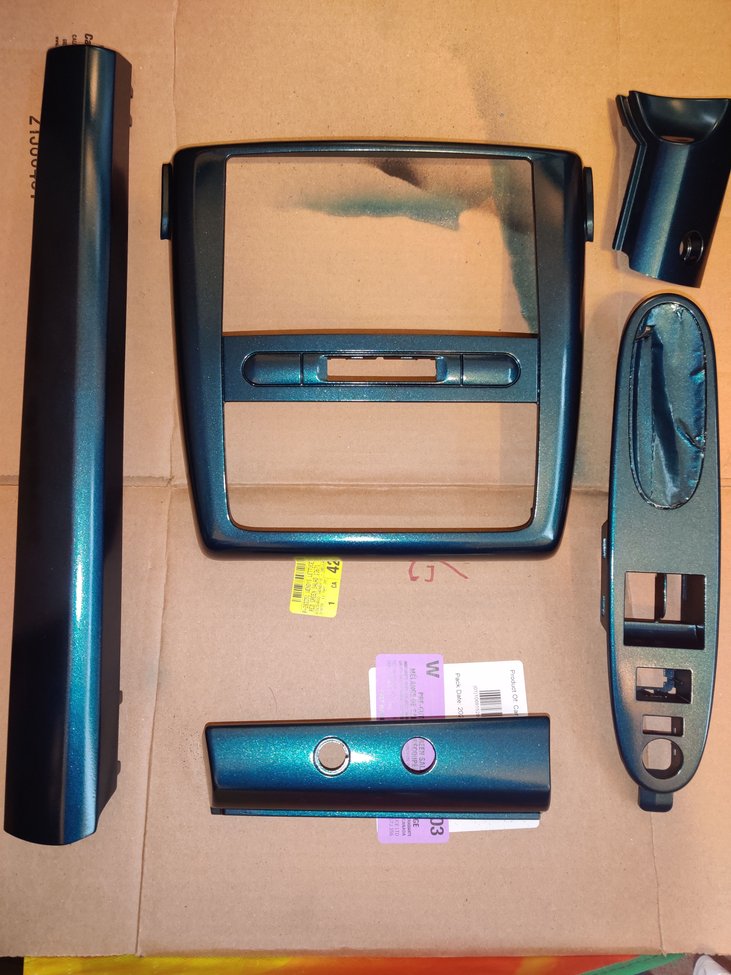
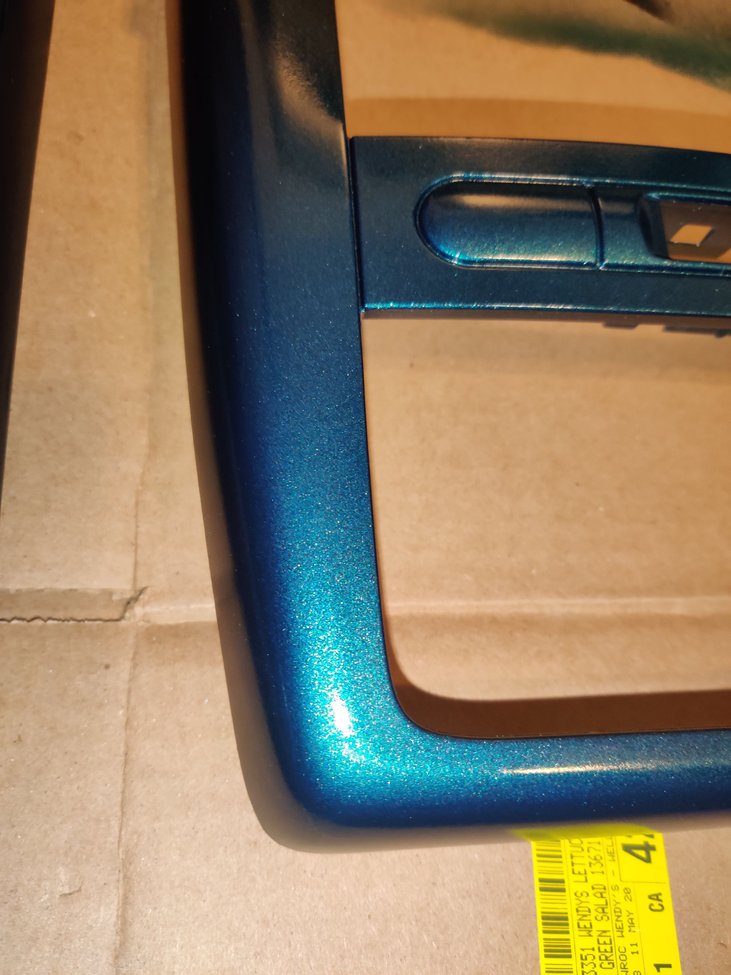
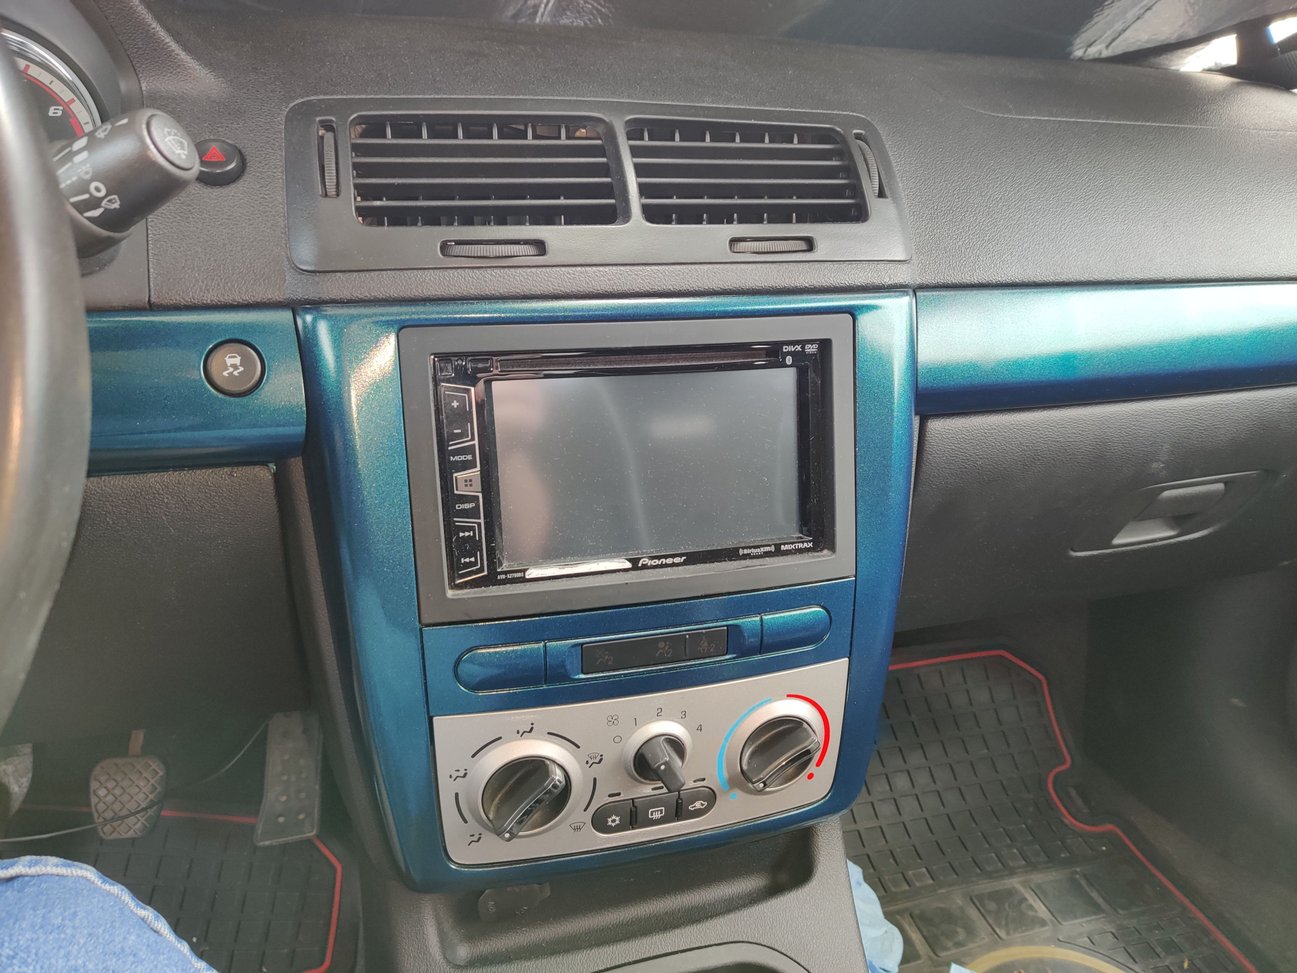
Using Dupli-Colour Perfect Match Metallic Teal
Basic Instructions: After removing the trim from the car, and popping the buttons out of the casing, I sanded down the parts using 180 grit. After cleaning the parts, 2 coats of etch primer. After letting that dry, used 600 grit sandpaper and wet sanded the primer down, then added 2-3 coats of the mettalic teal. Letting that dry, I sprayed 2 coats of Rustoleum clear coat. After 24 hour cure, used a compound and polish to remove the orange peel.
Sound Deadening
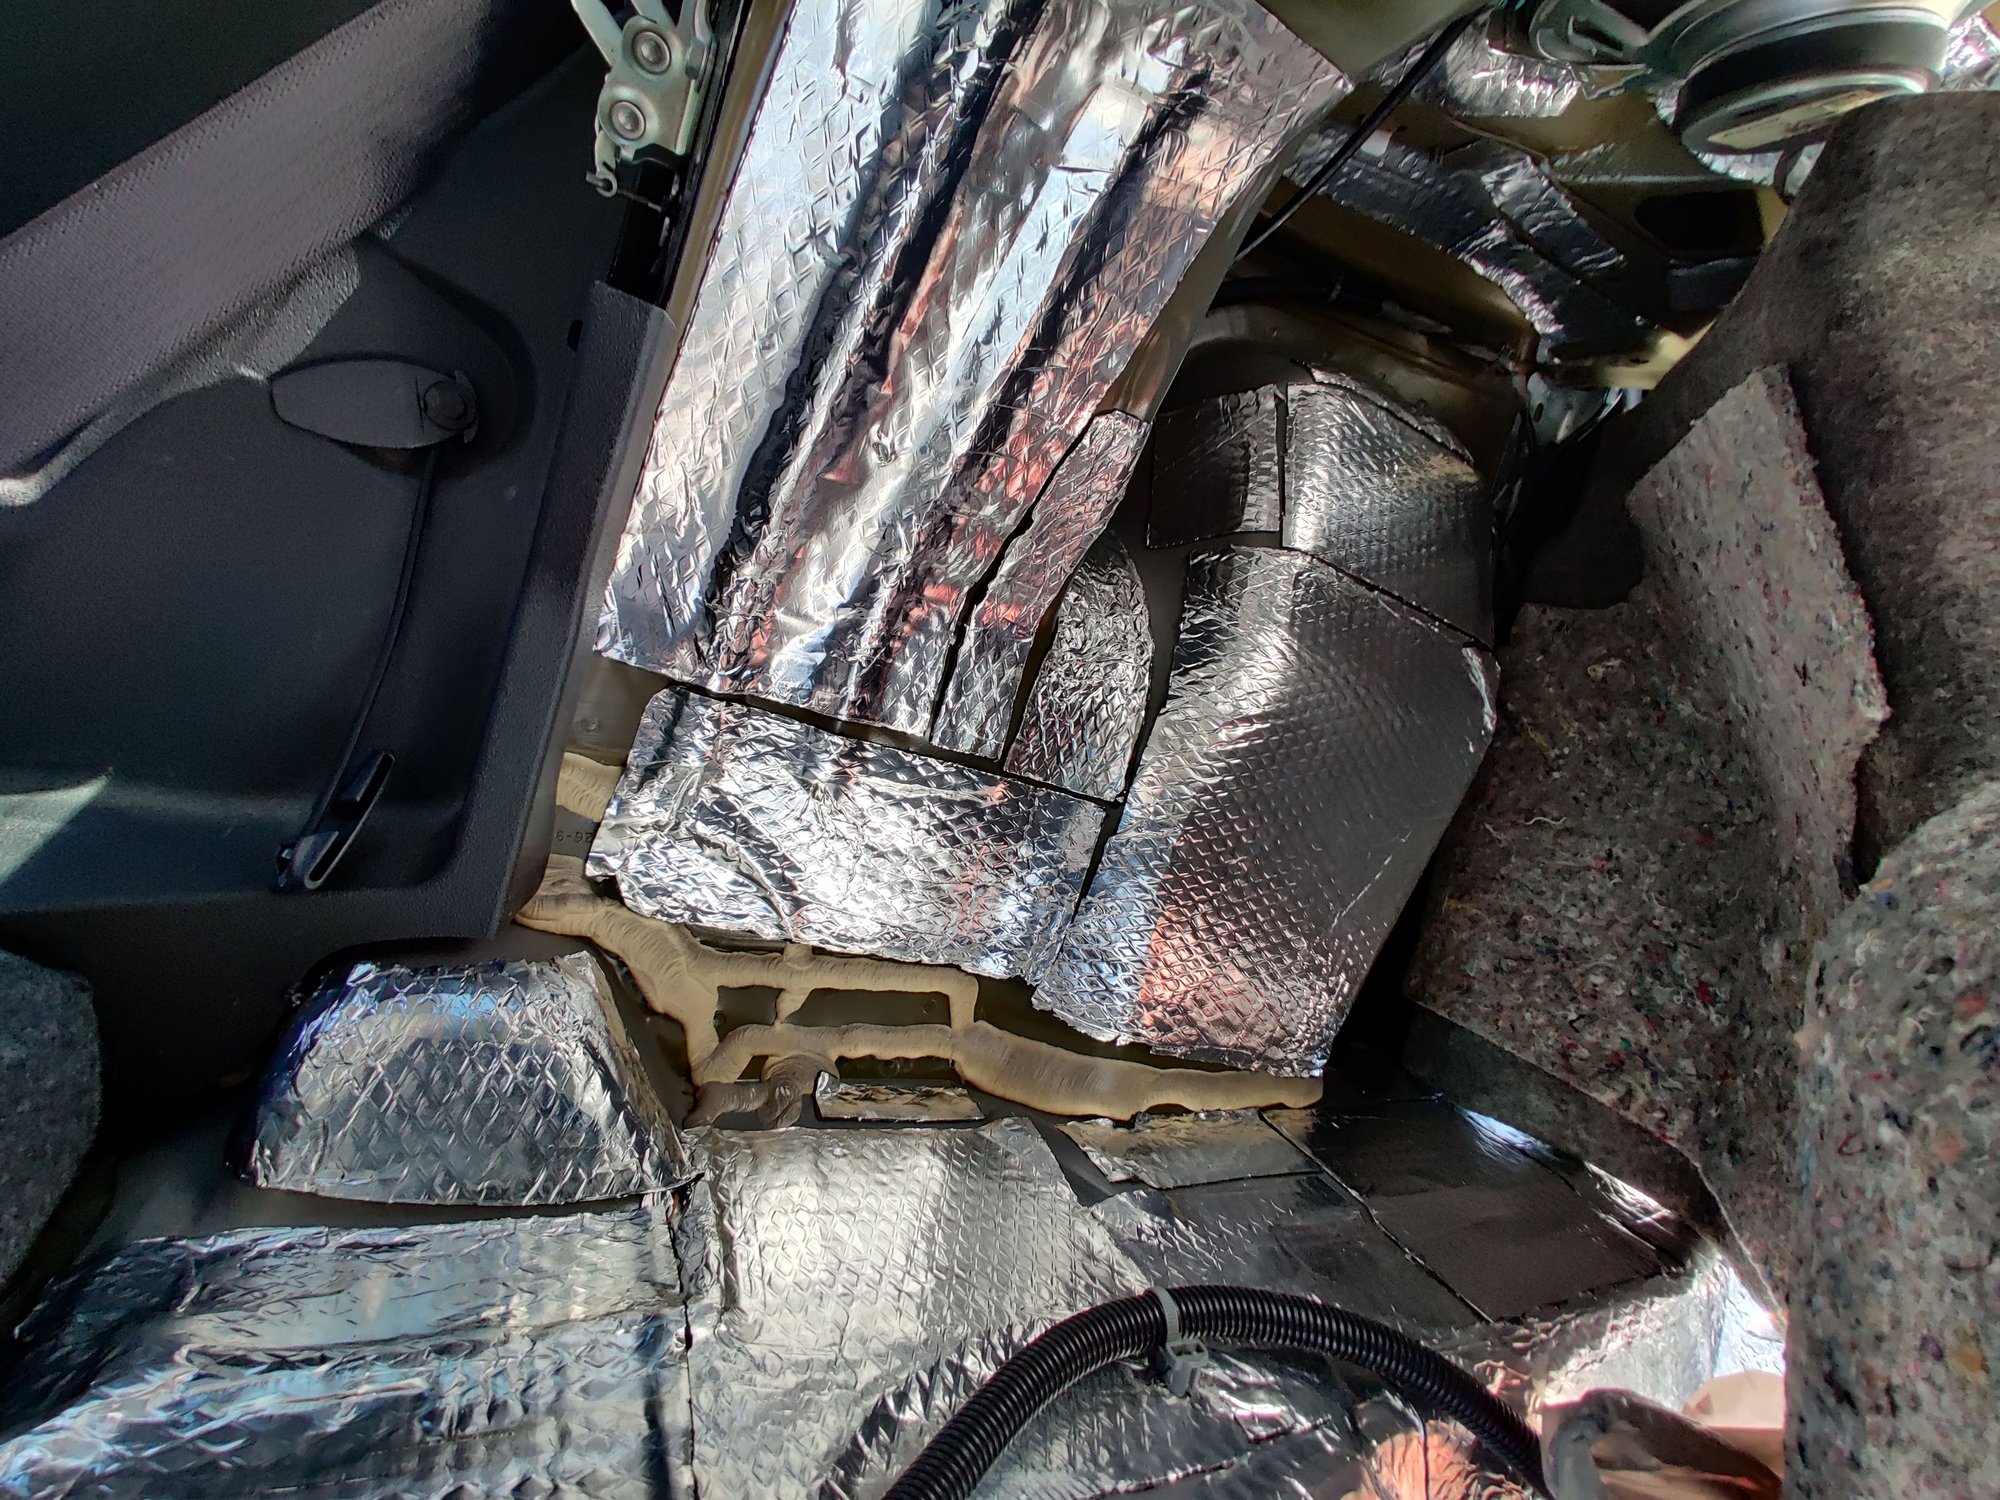
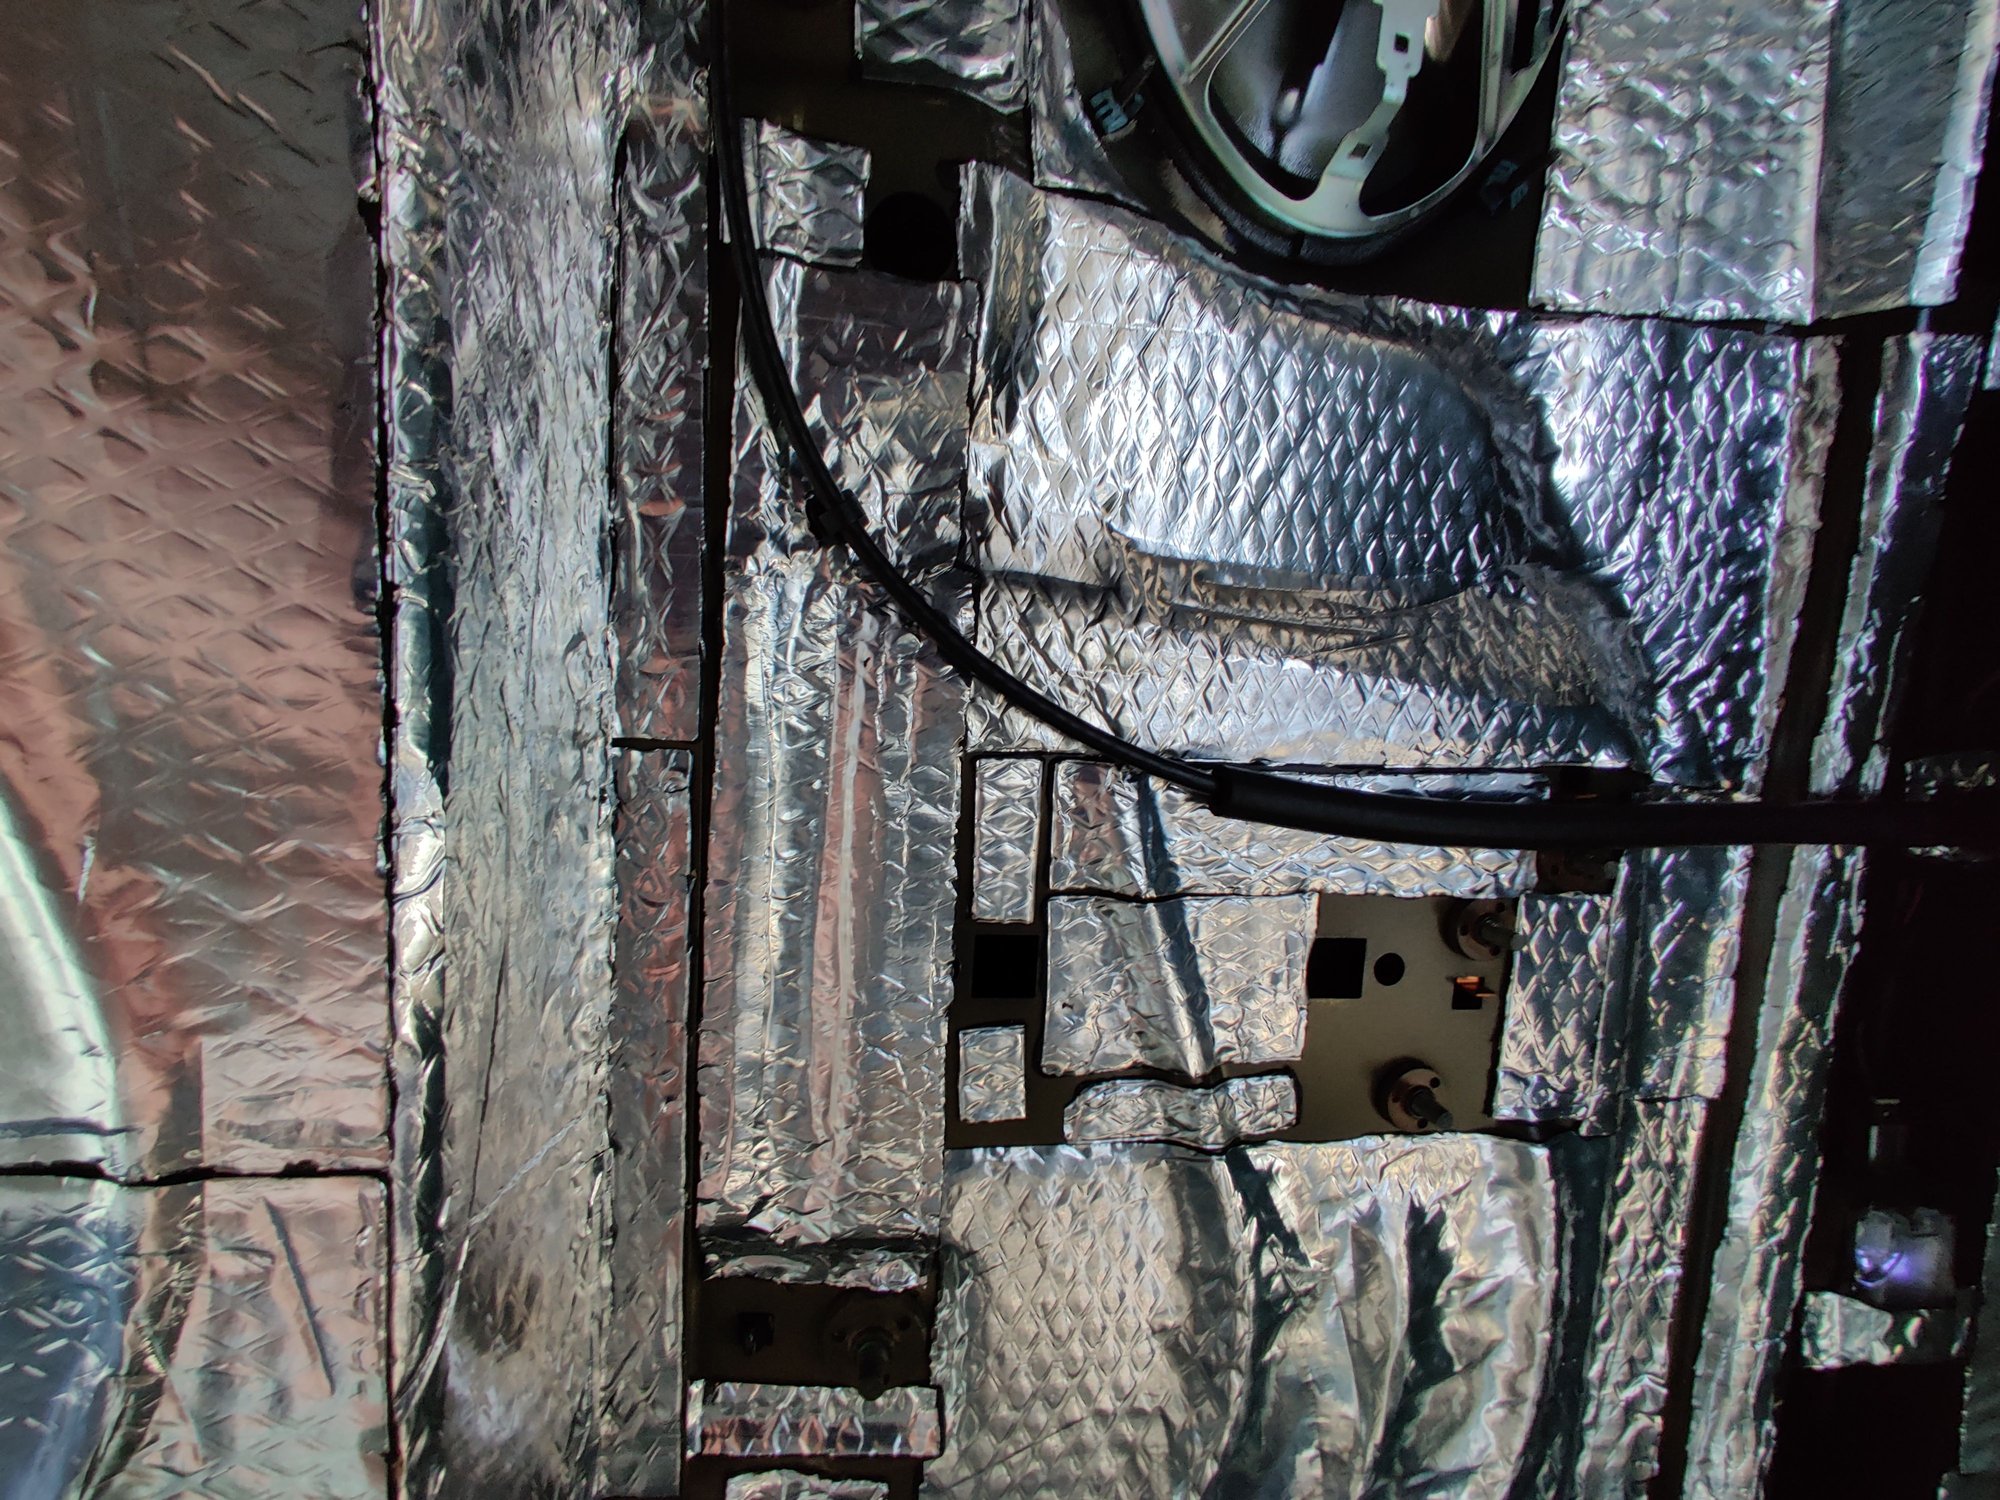
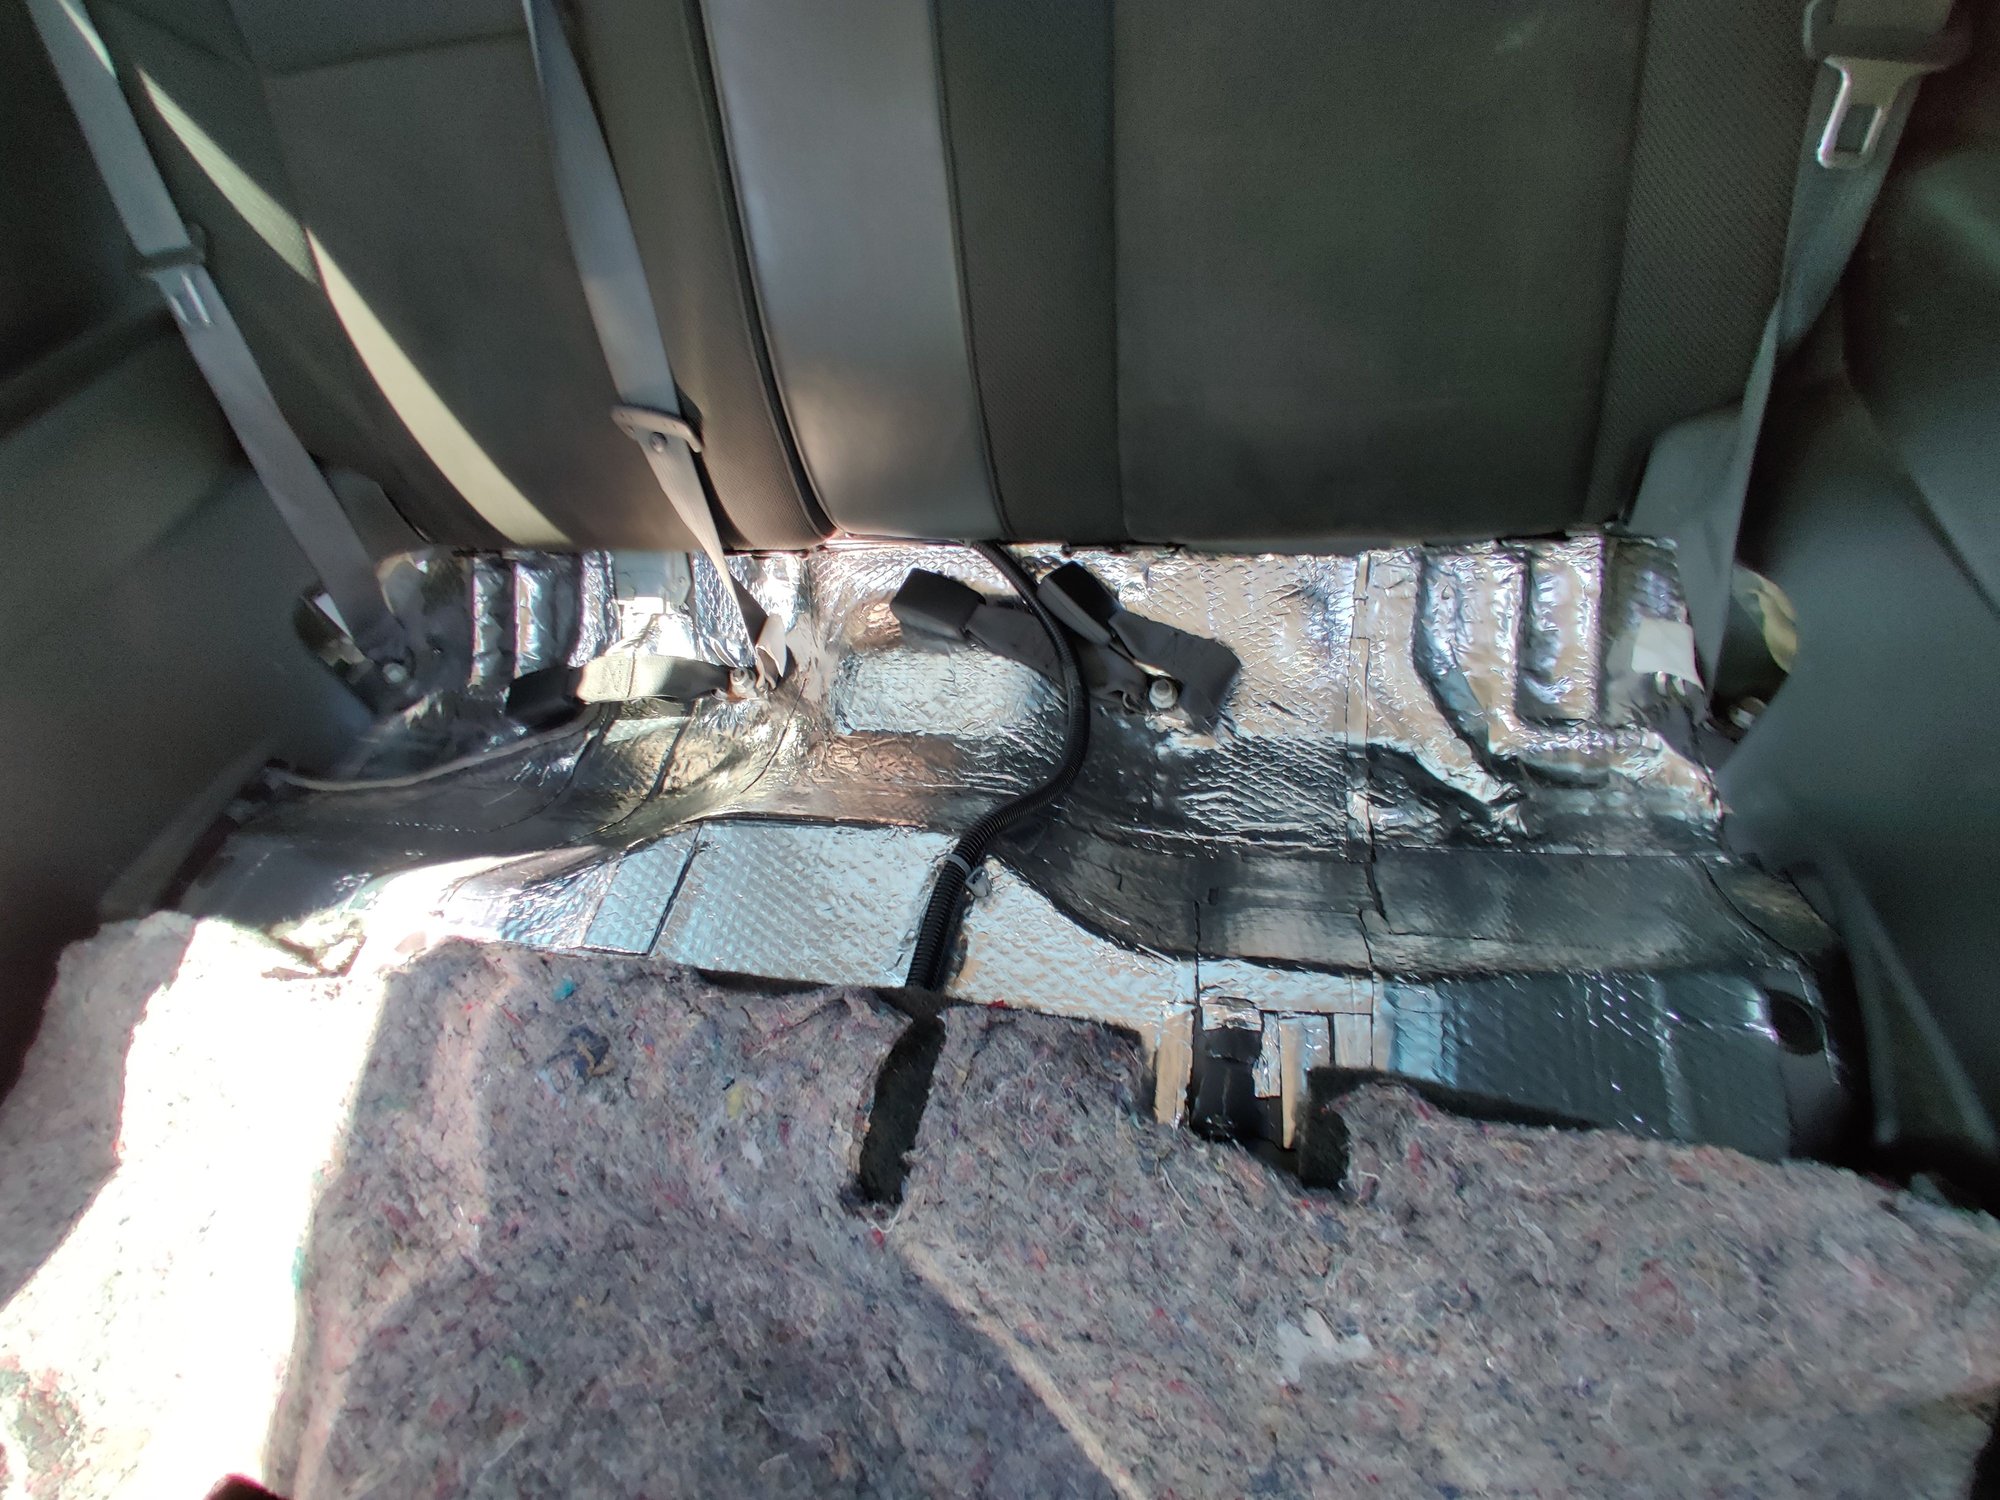
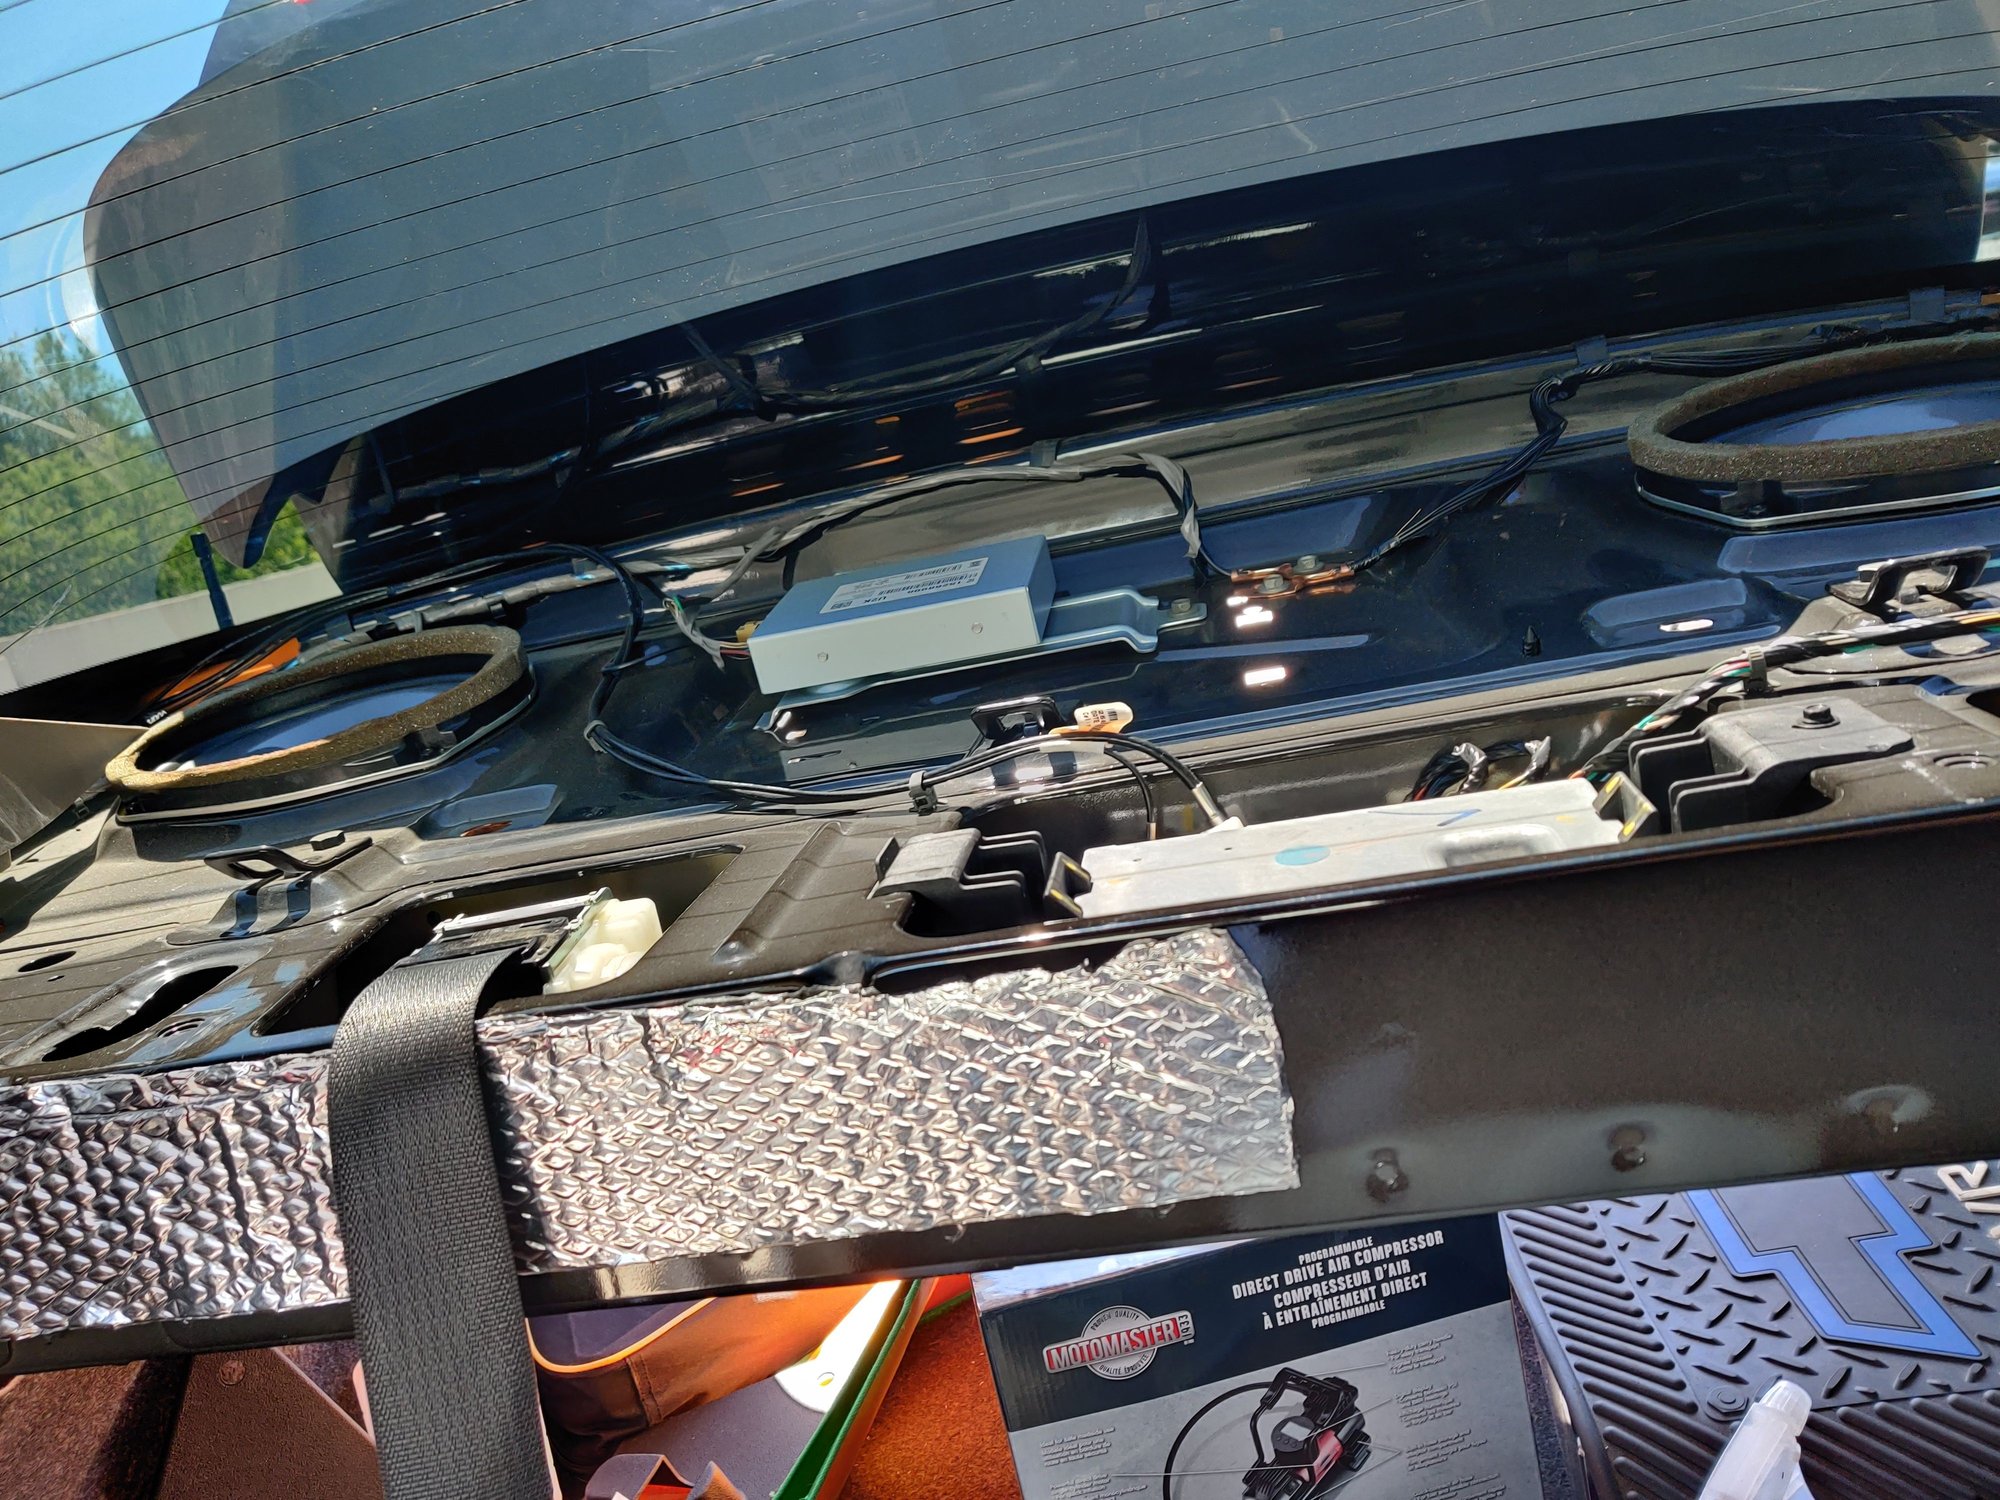
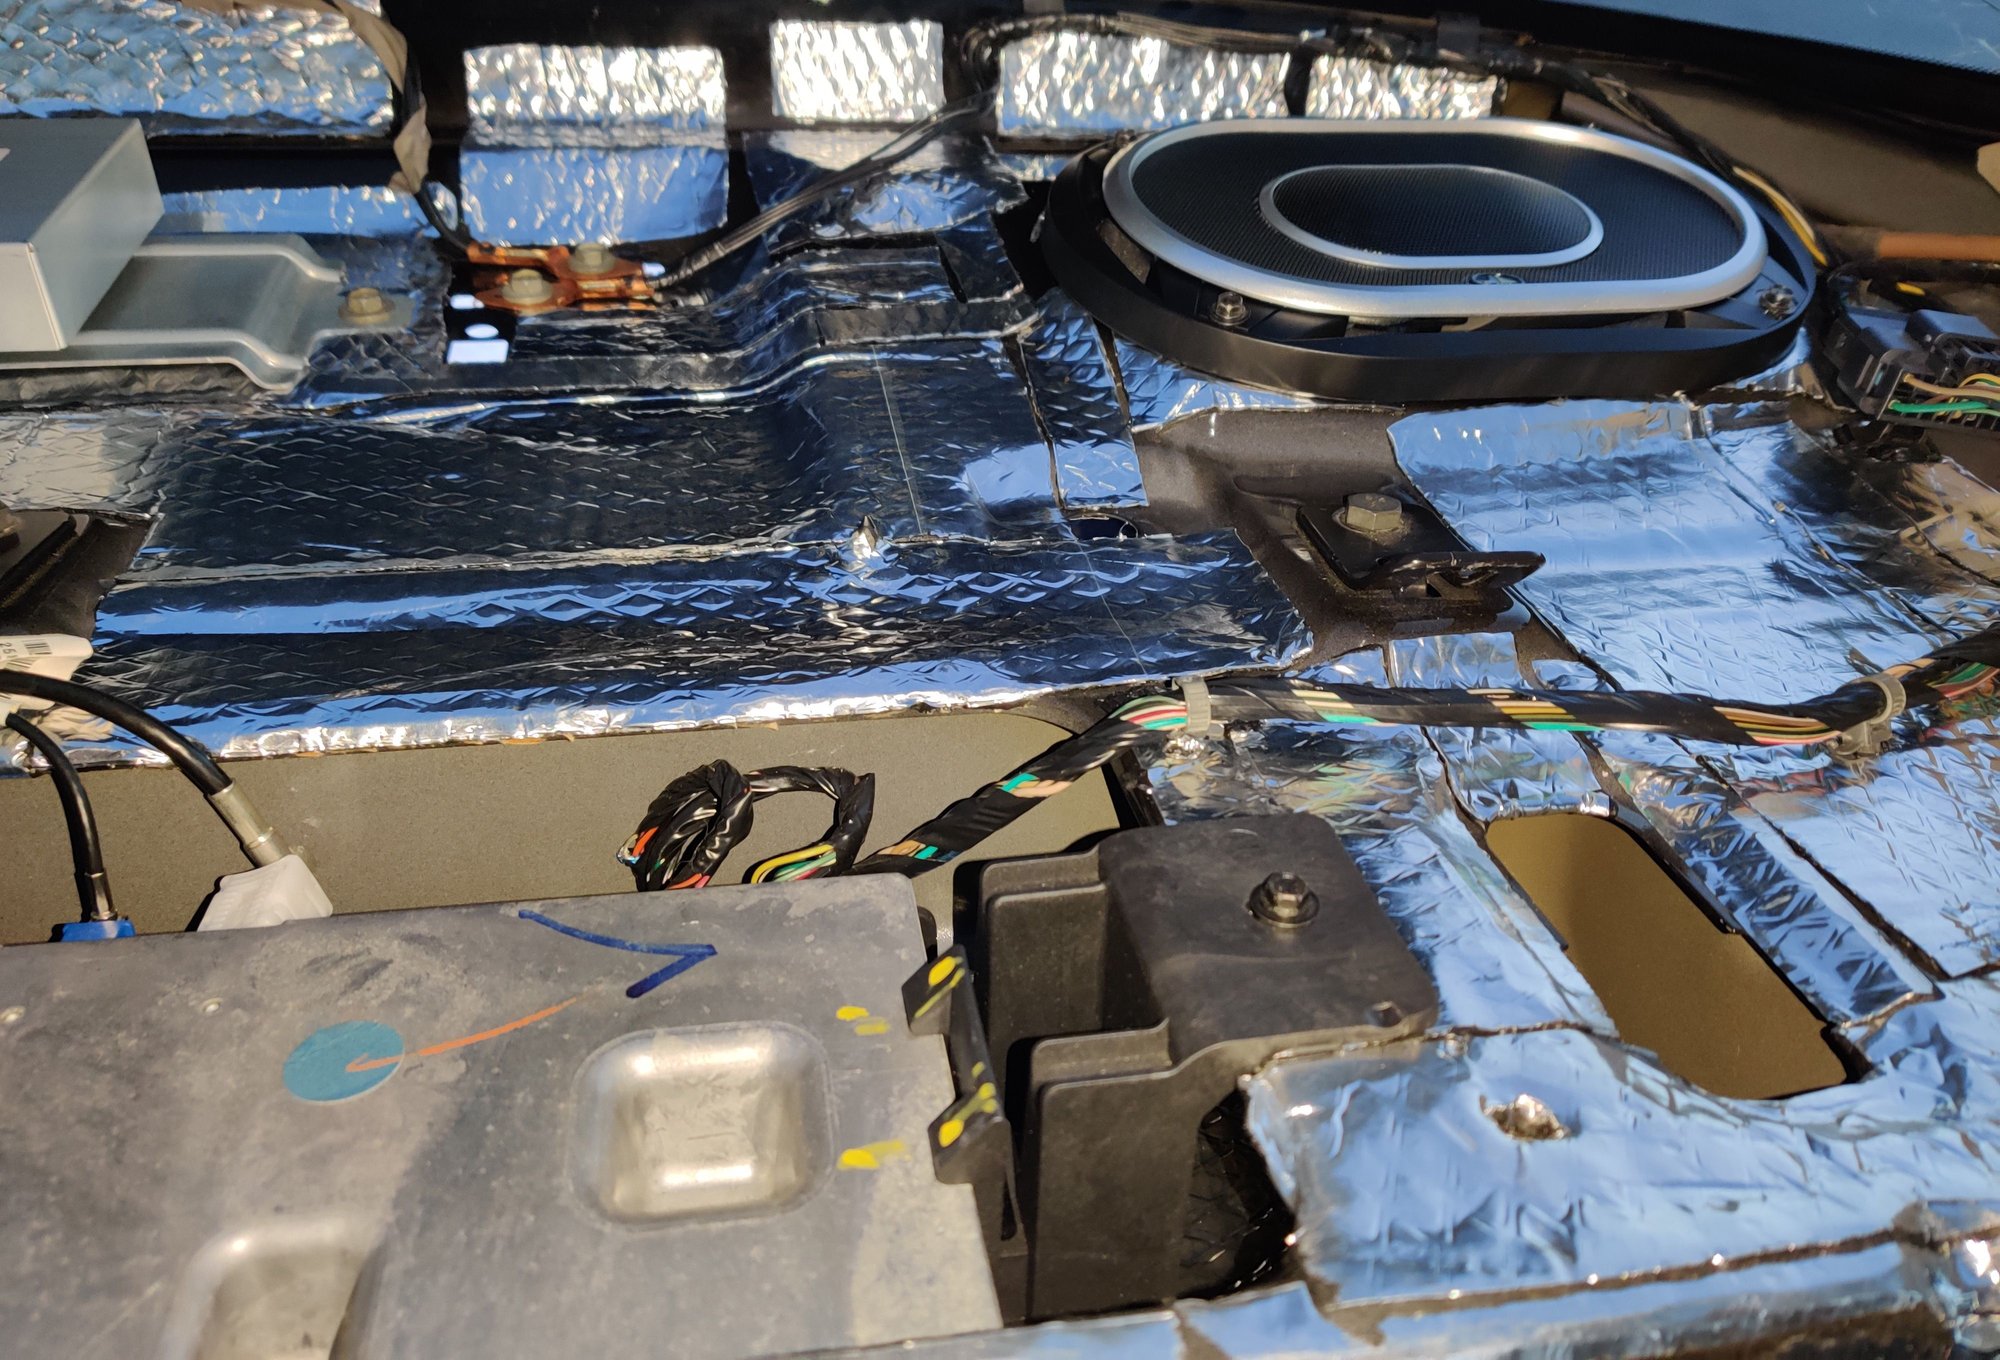
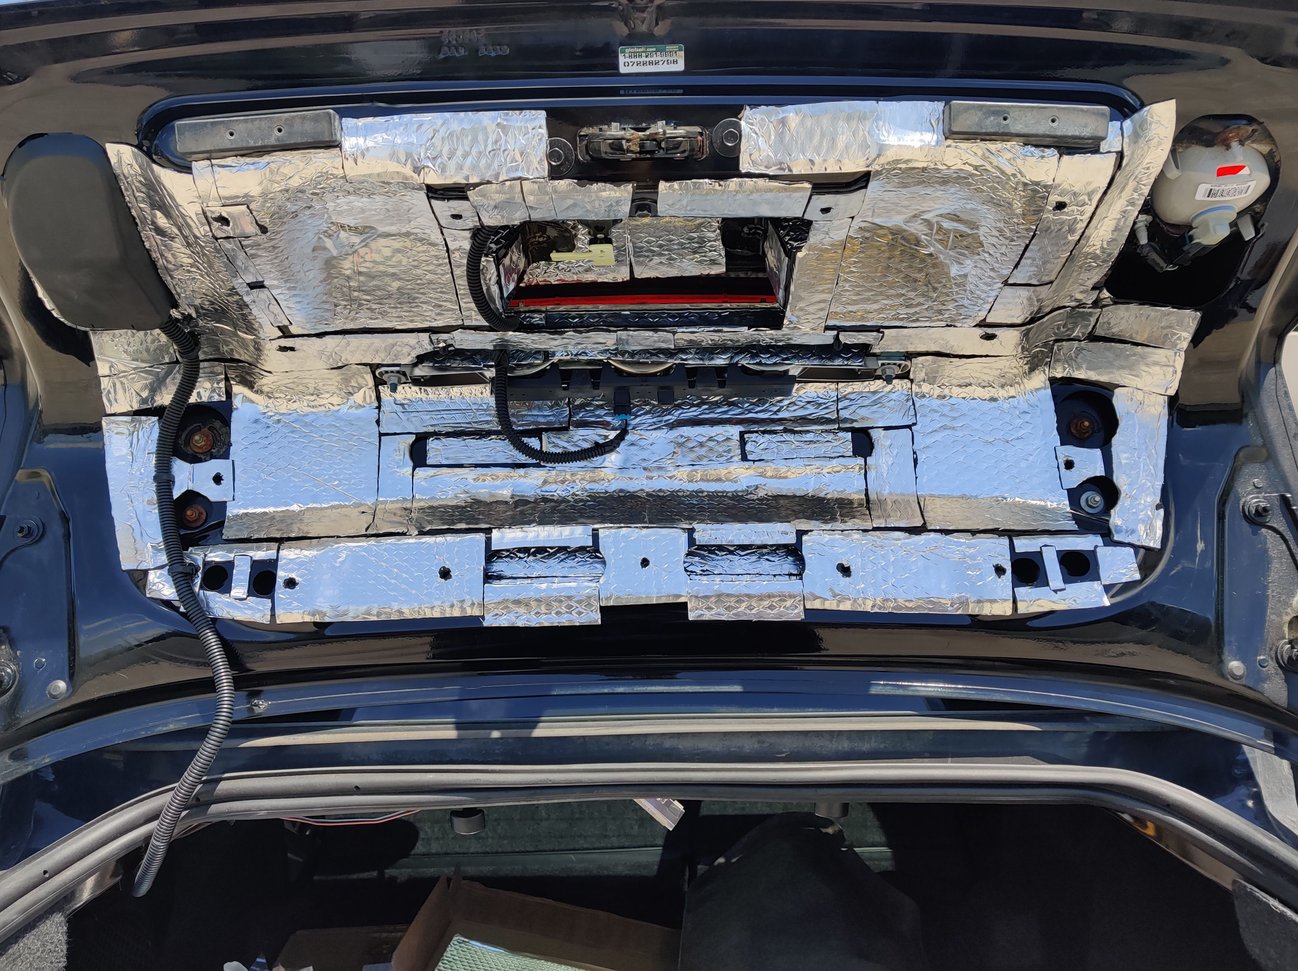
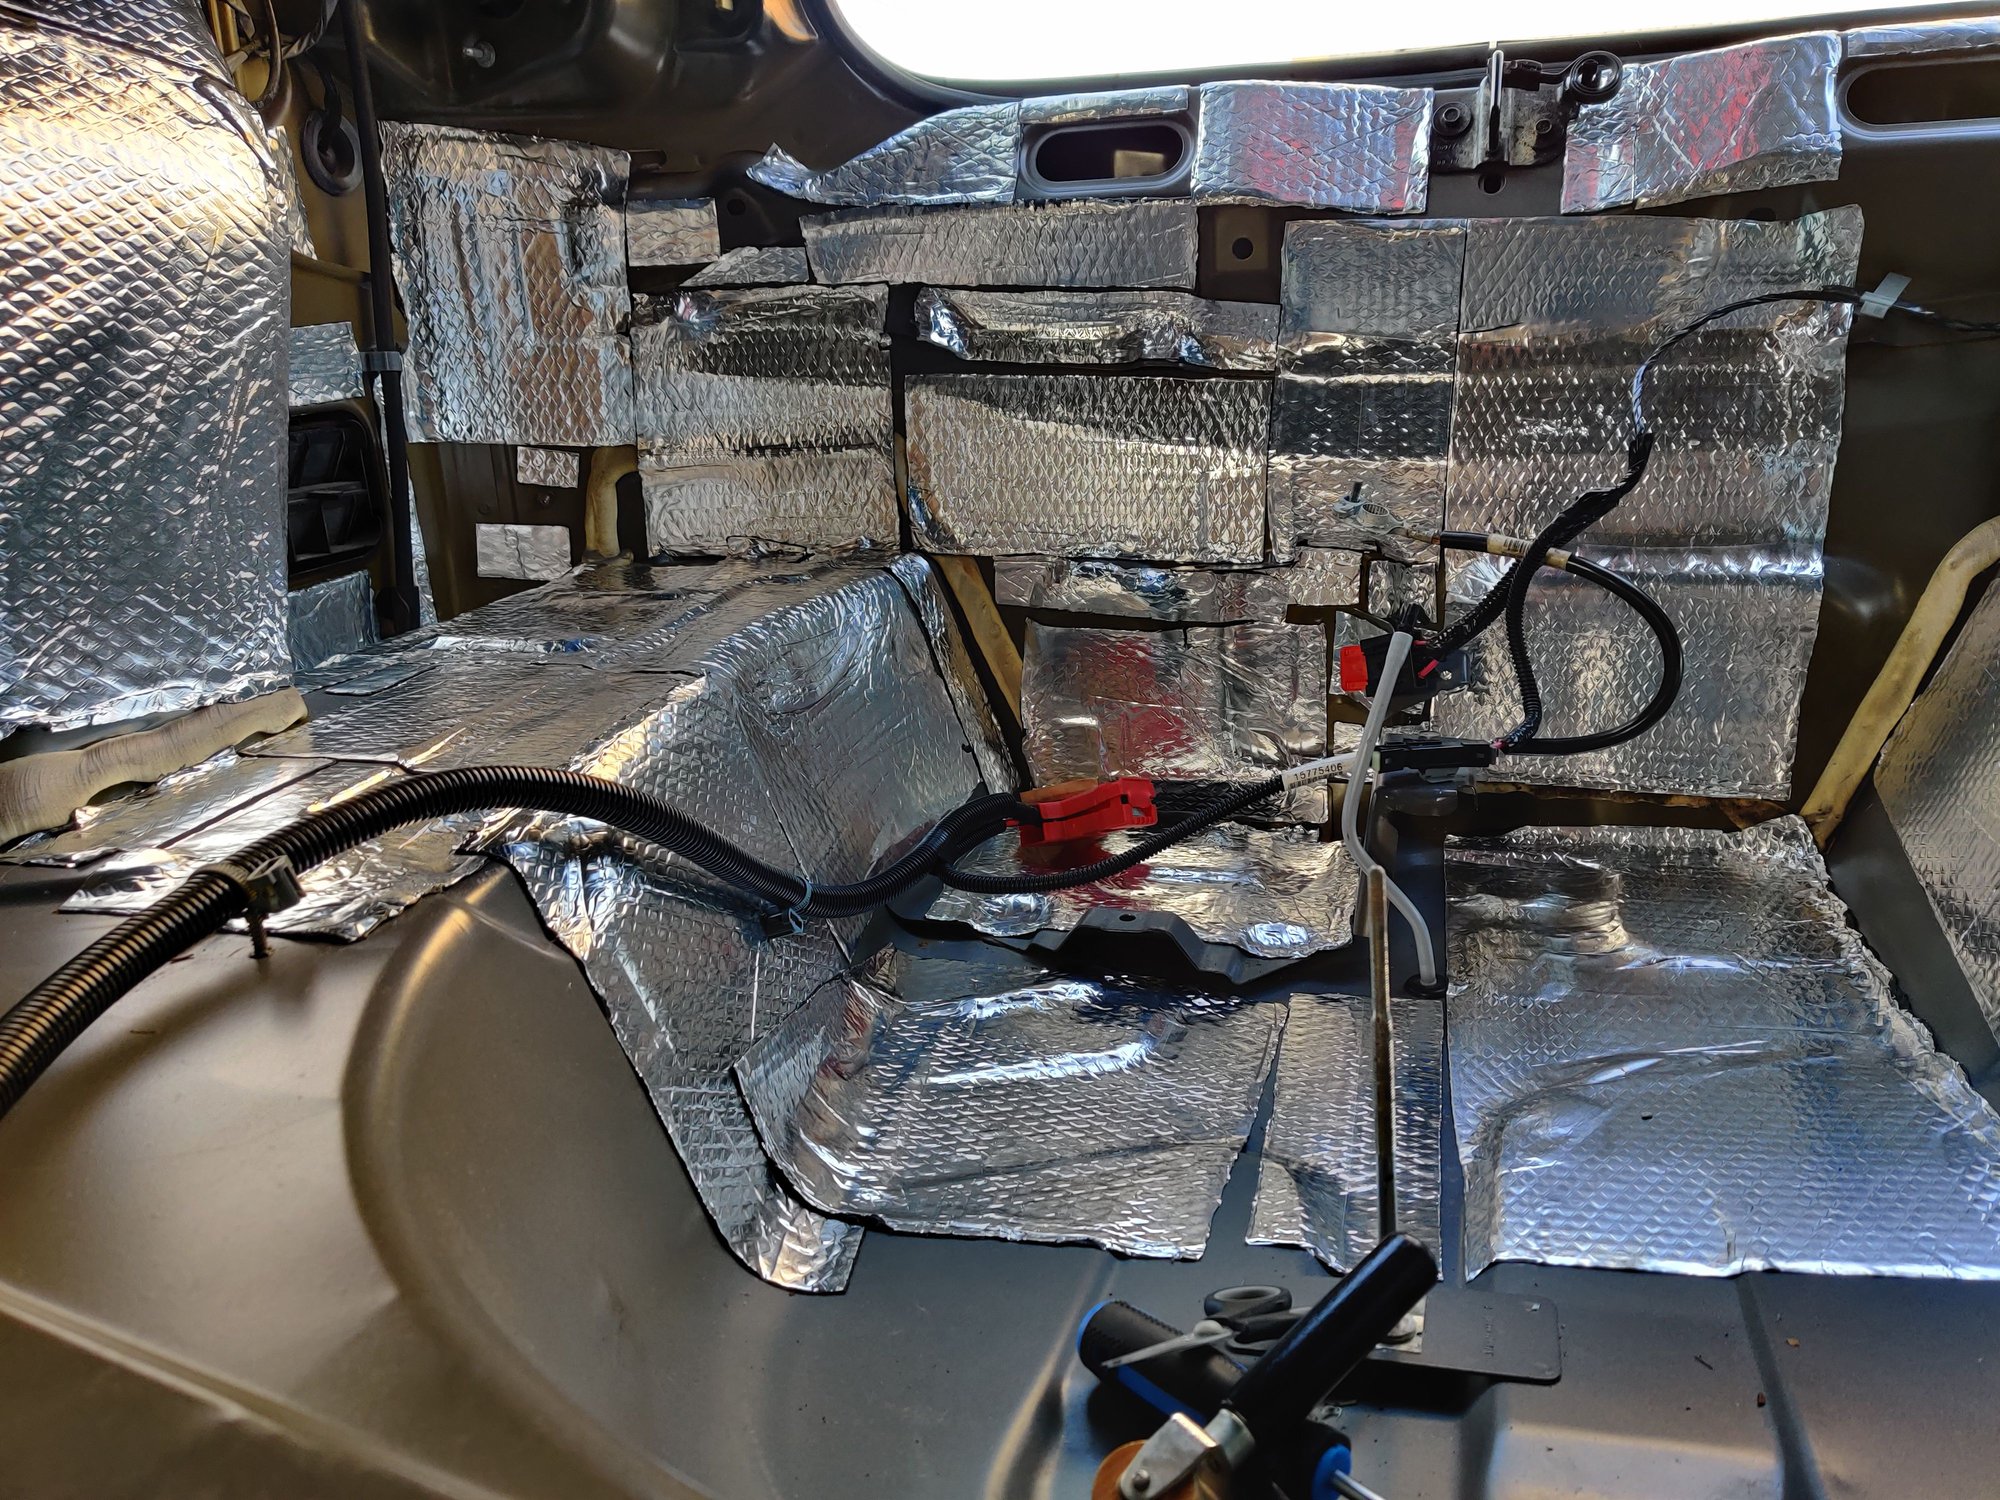
Definitely NOT a pro. This only my 2nd time doing this. Using Noico 80mm, purchased 72sq ft. I think I've used half a box already.
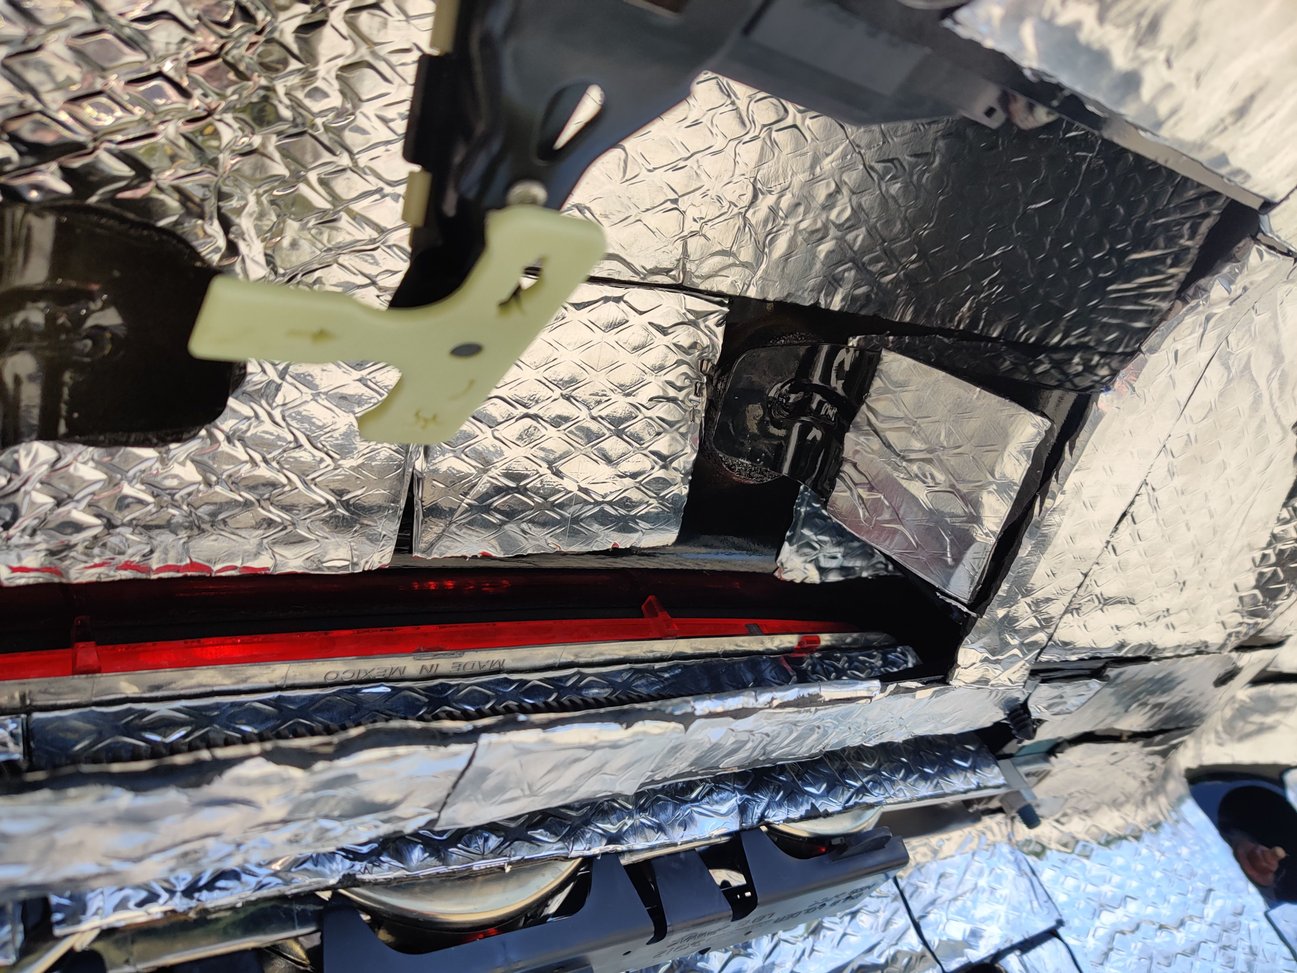
Tried to get on the inside of the gaps between the double panels as well
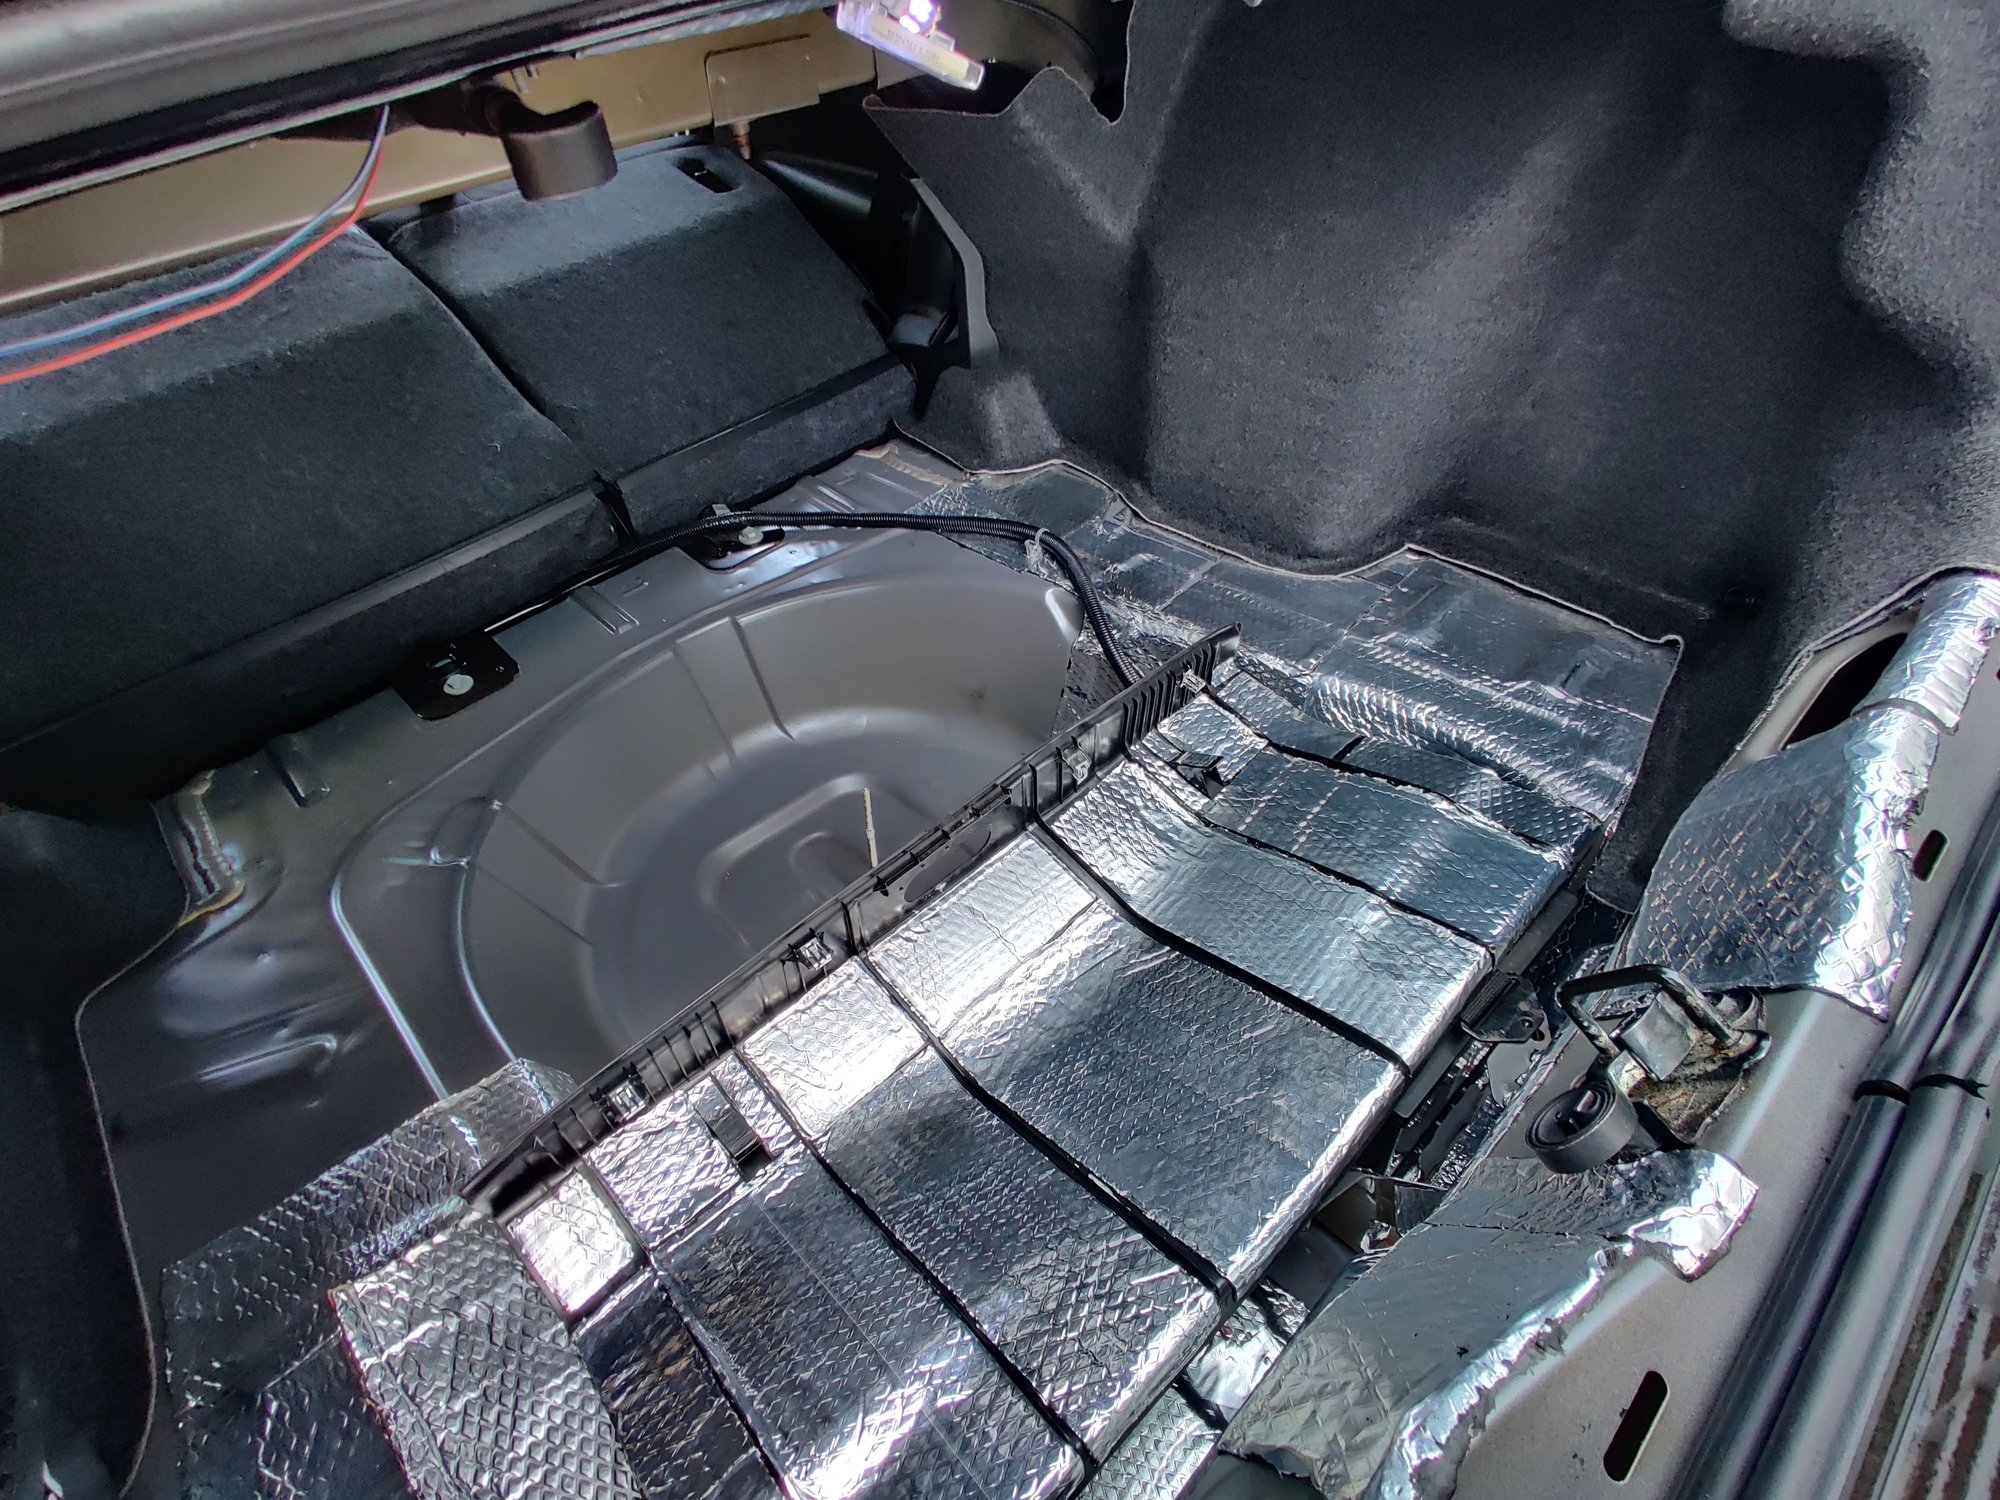
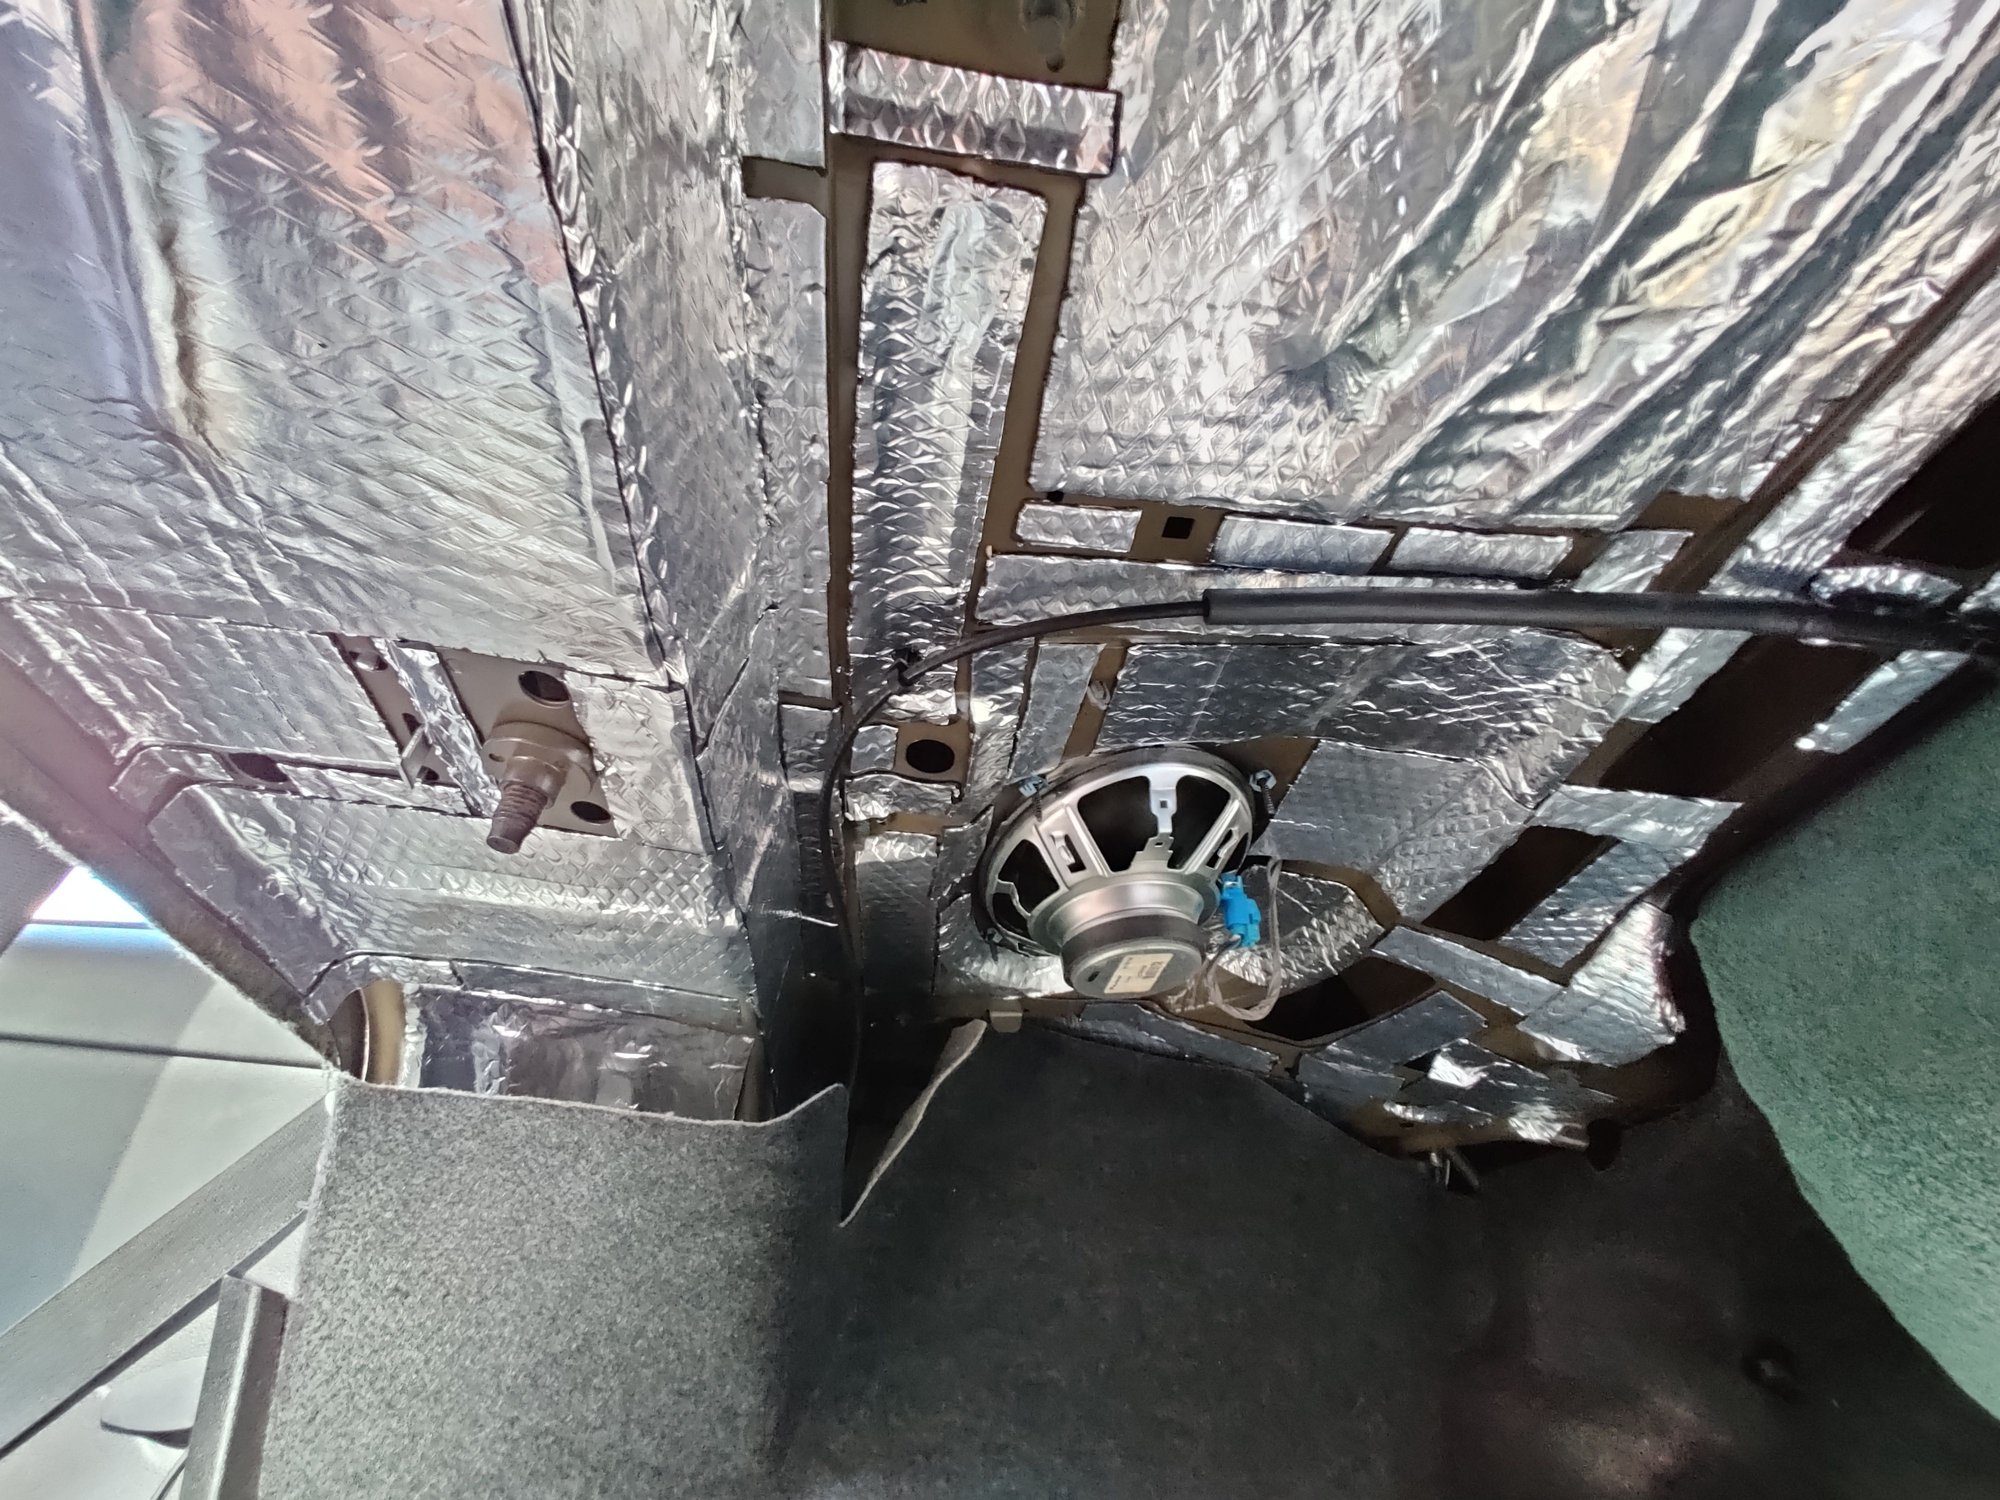
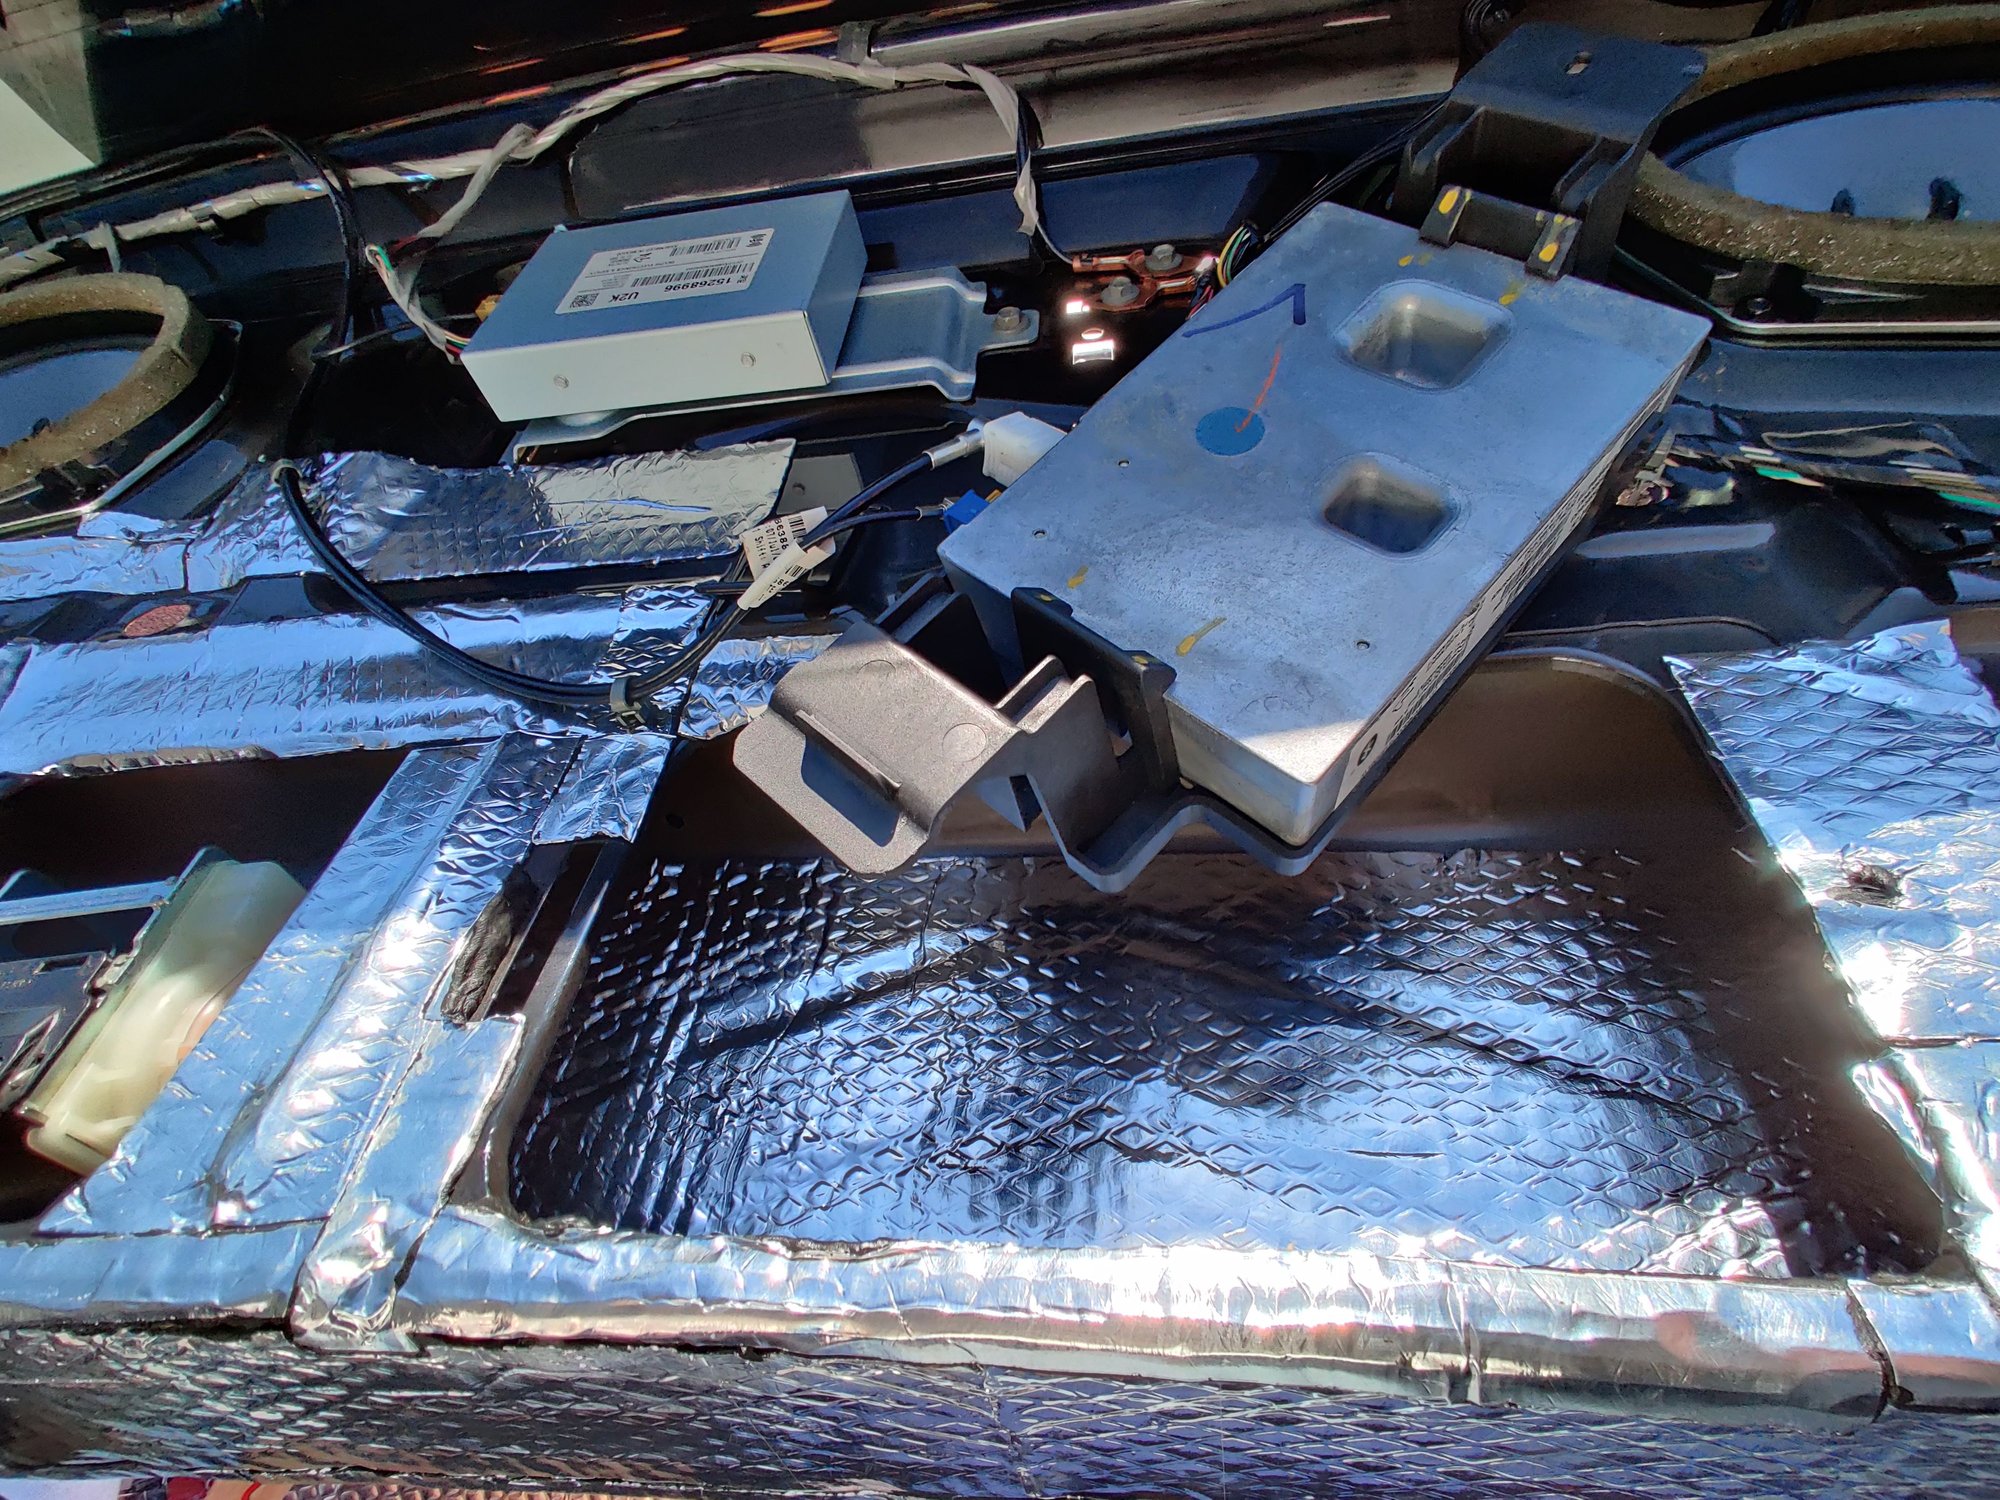
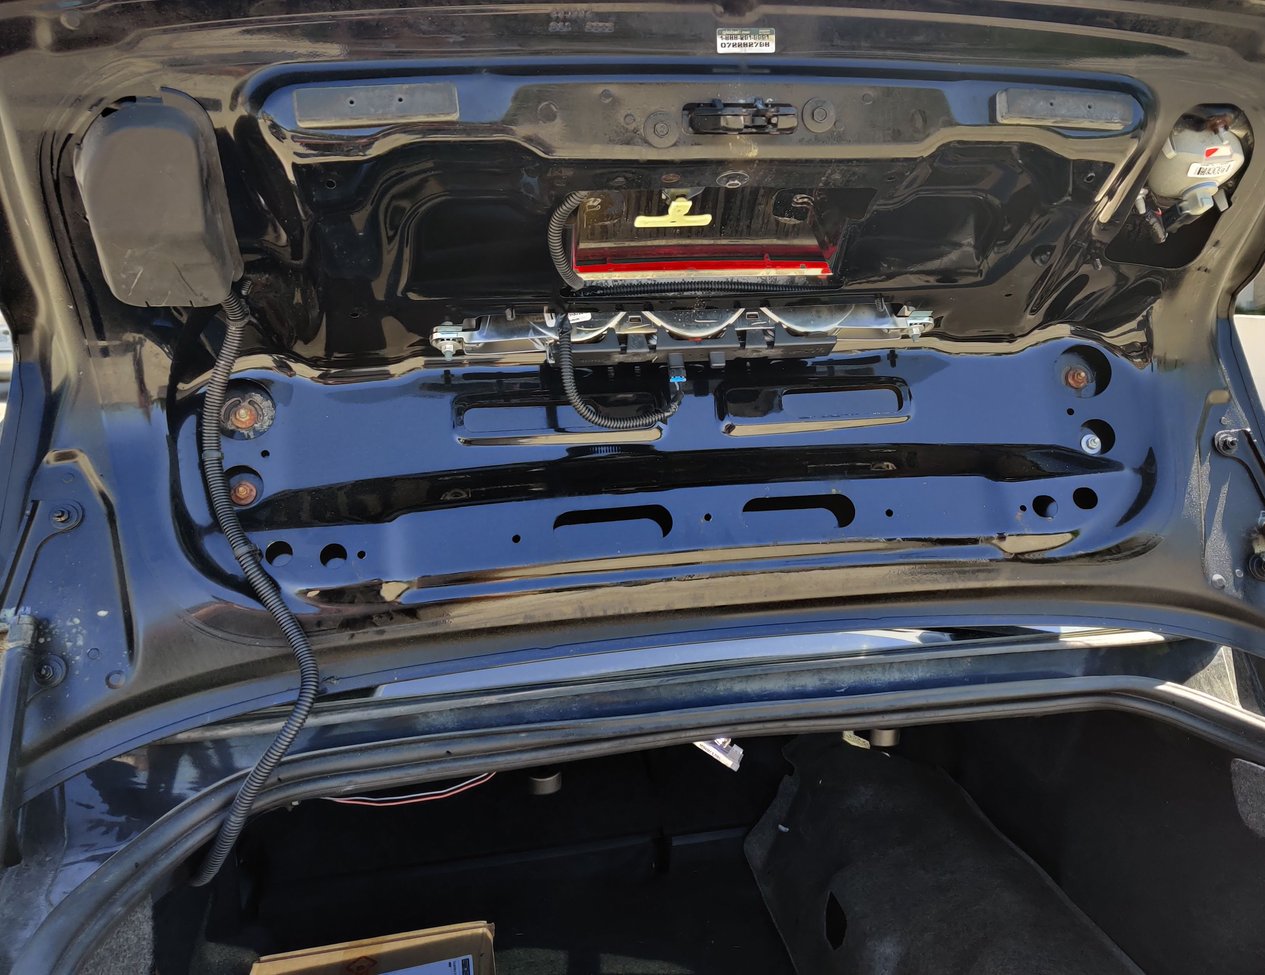
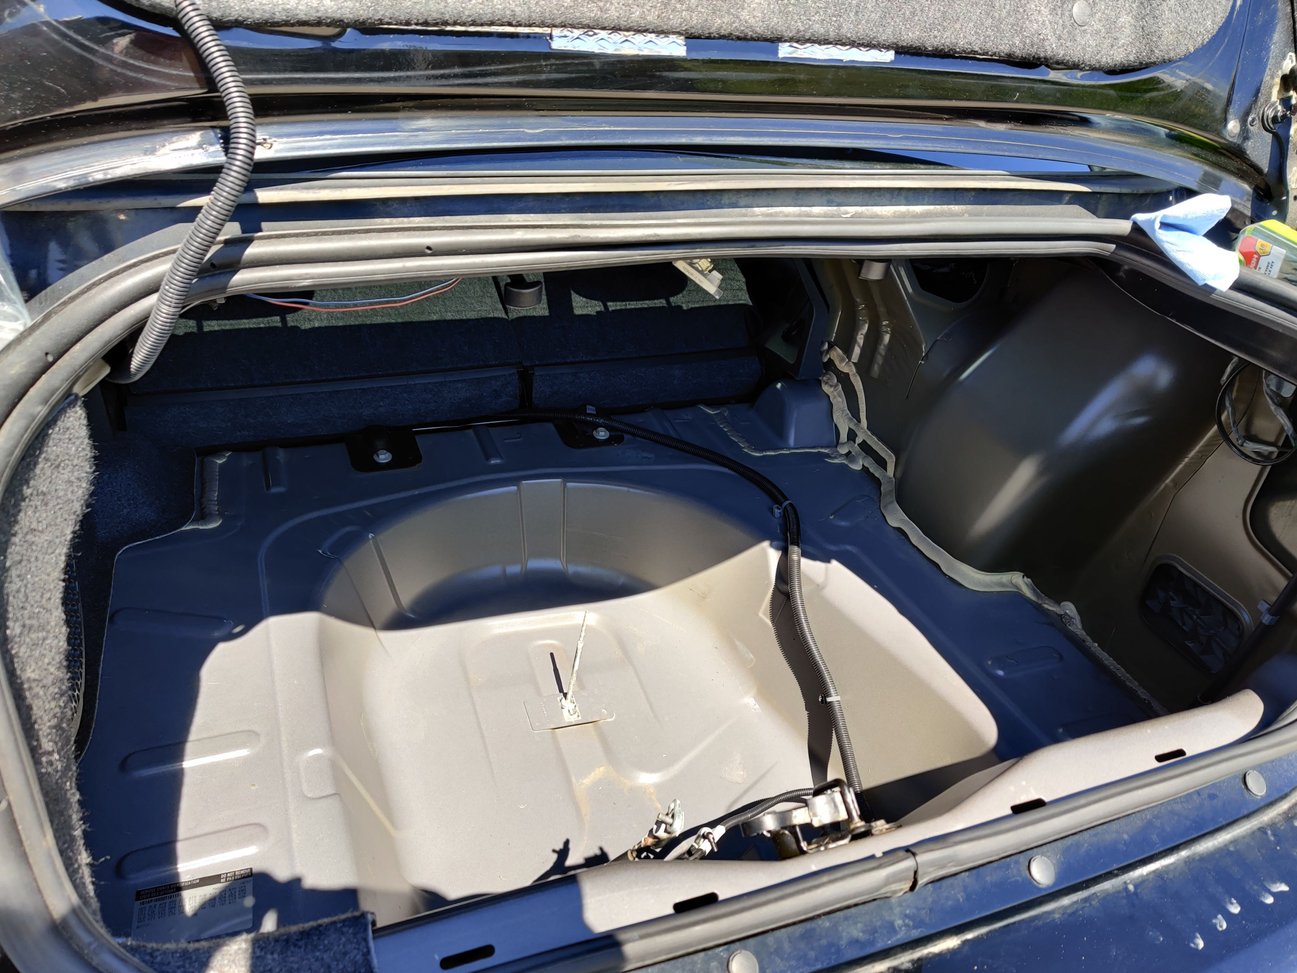
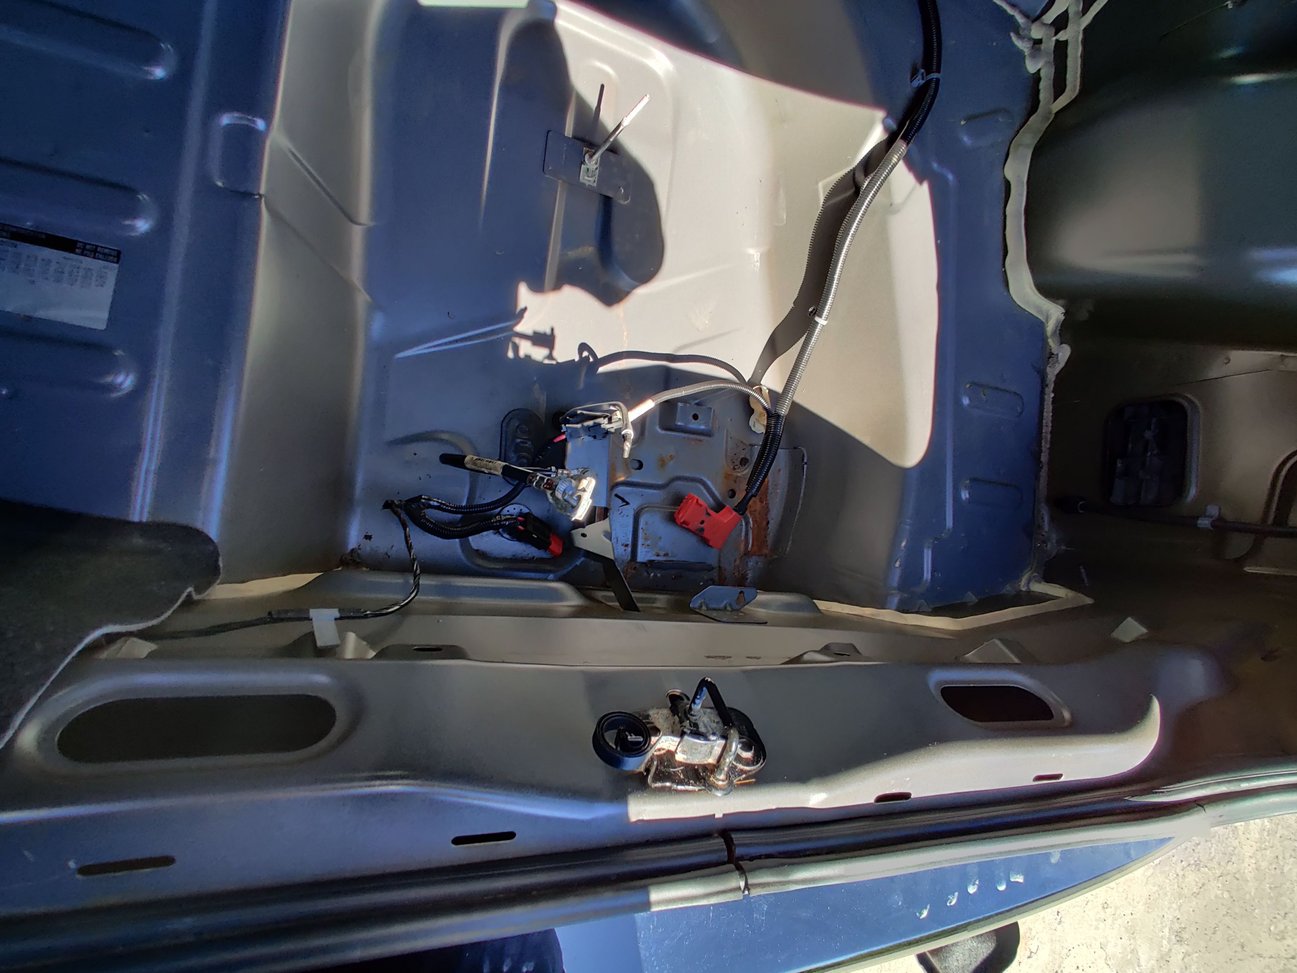
Prepping the trunk (passenger side)
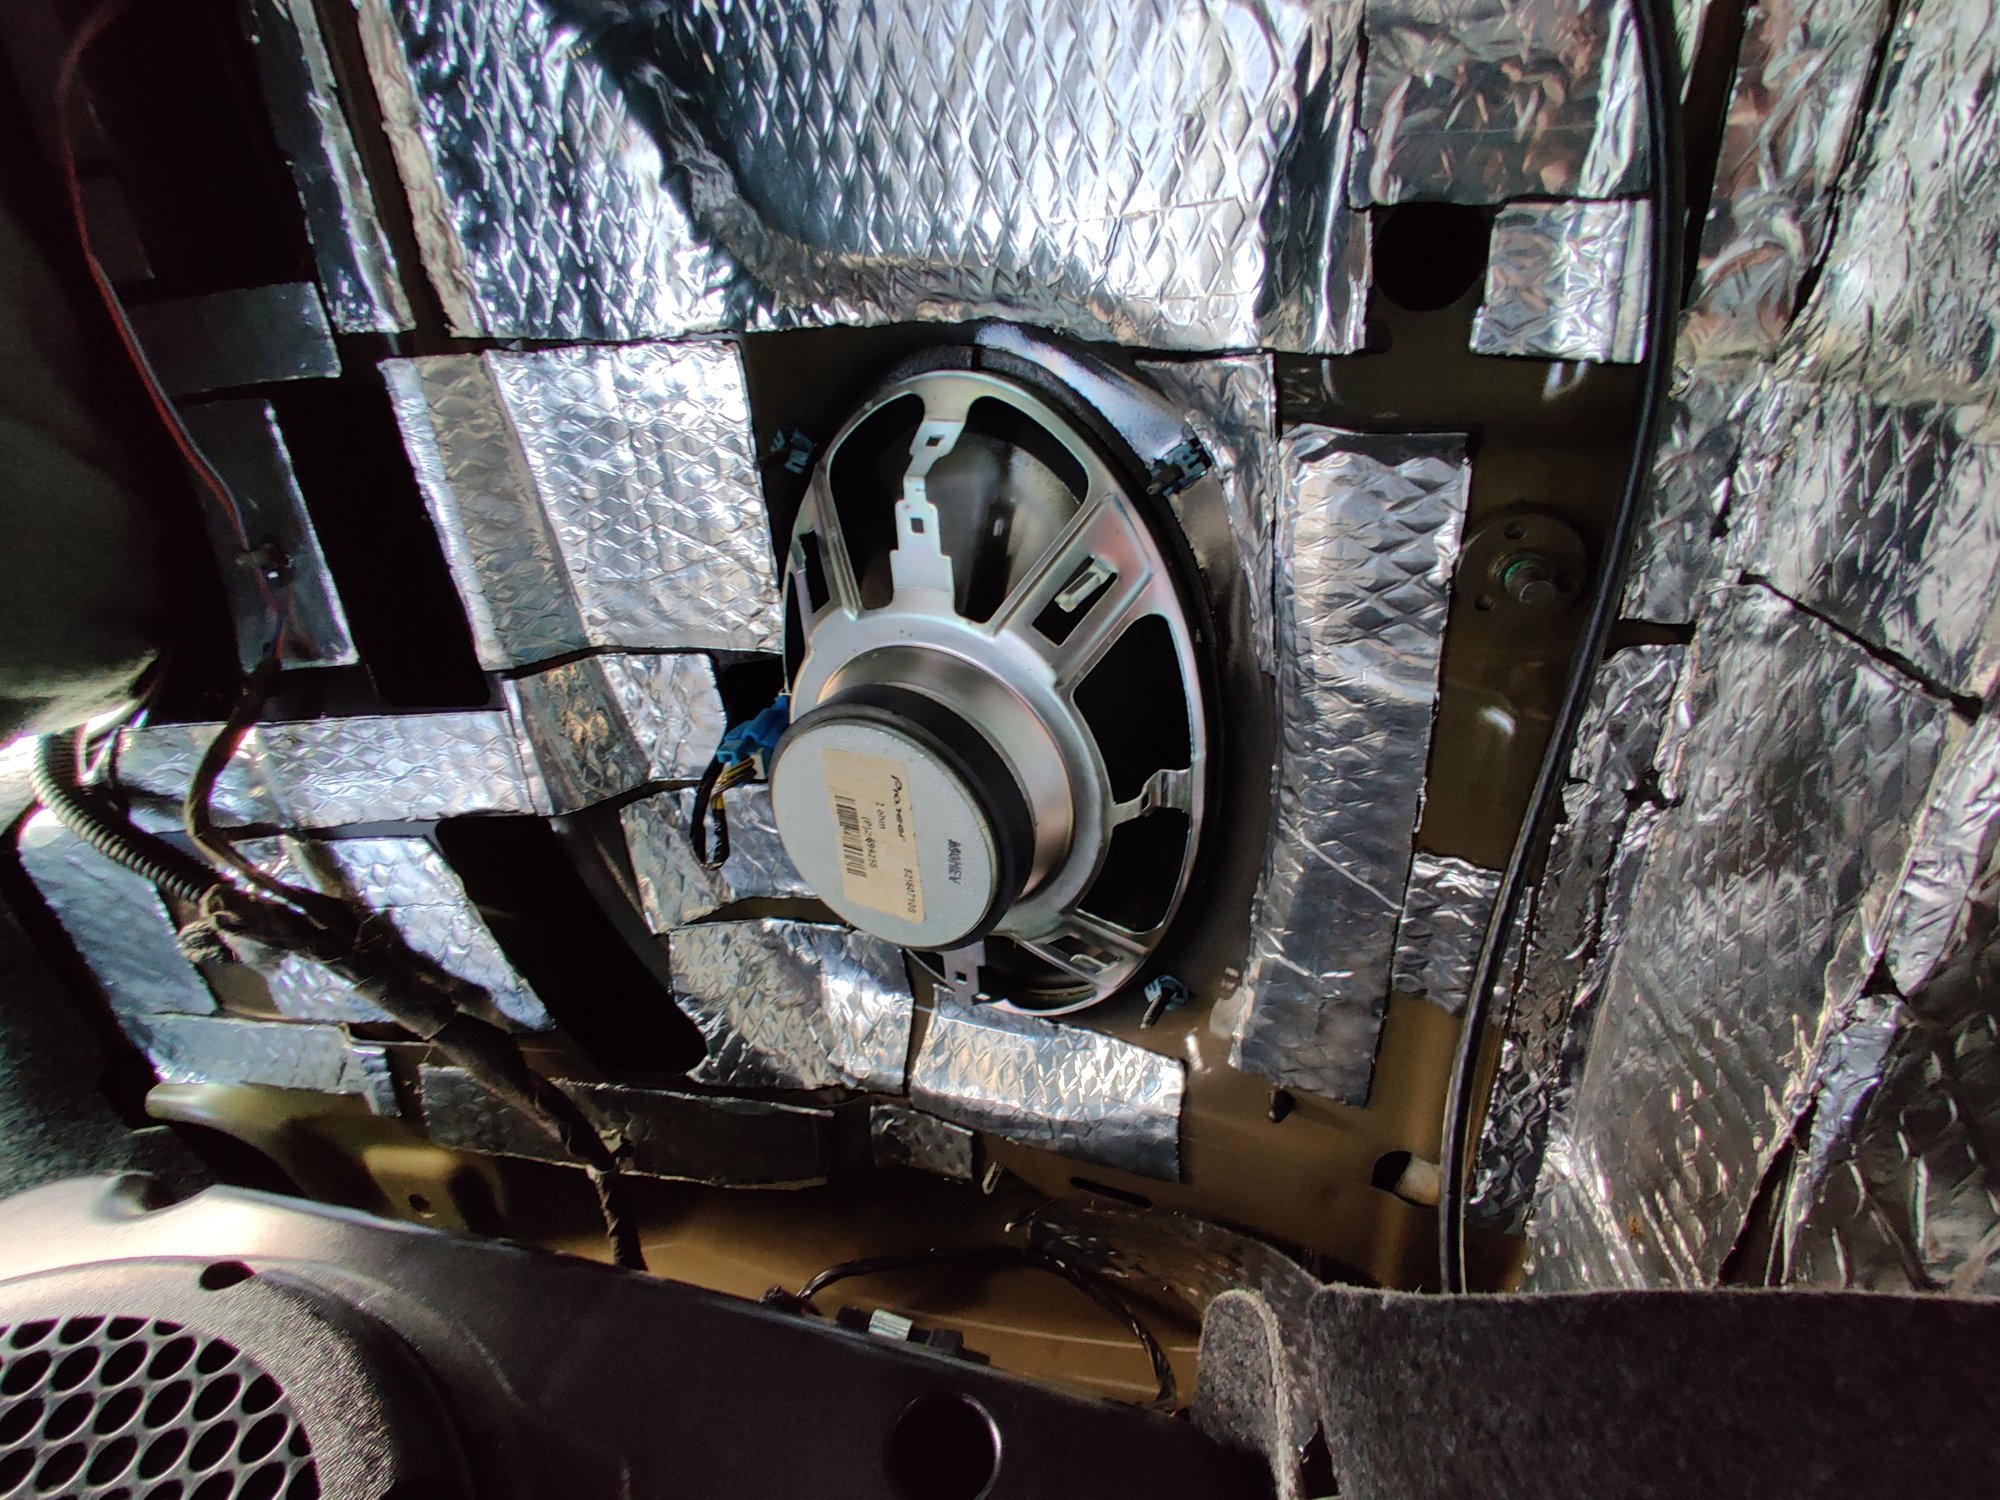
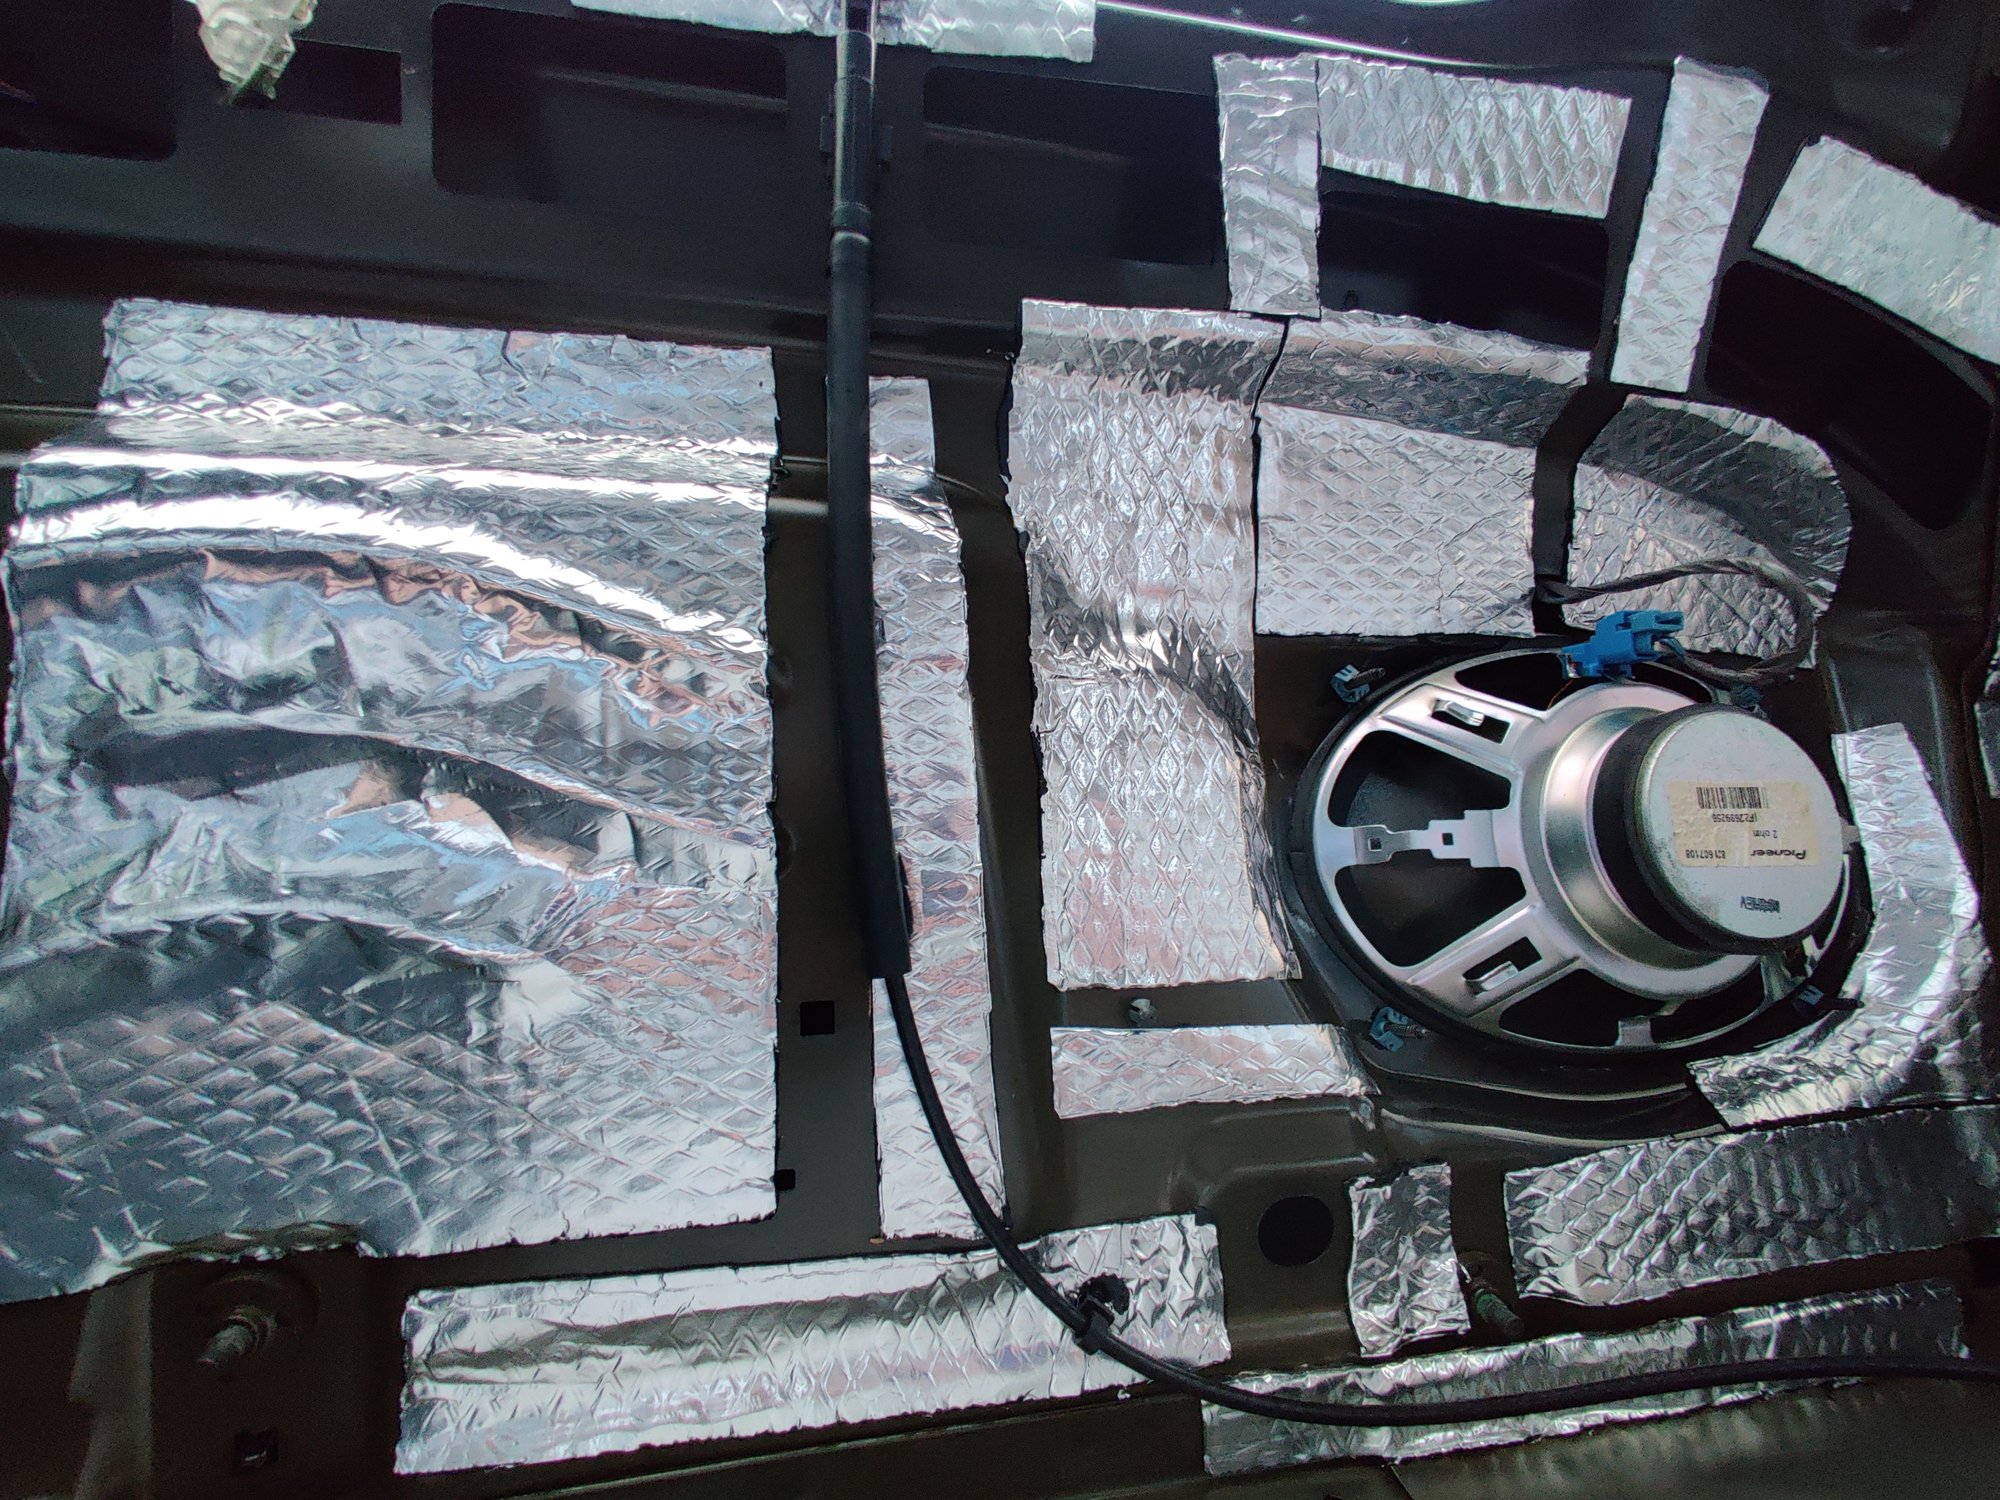
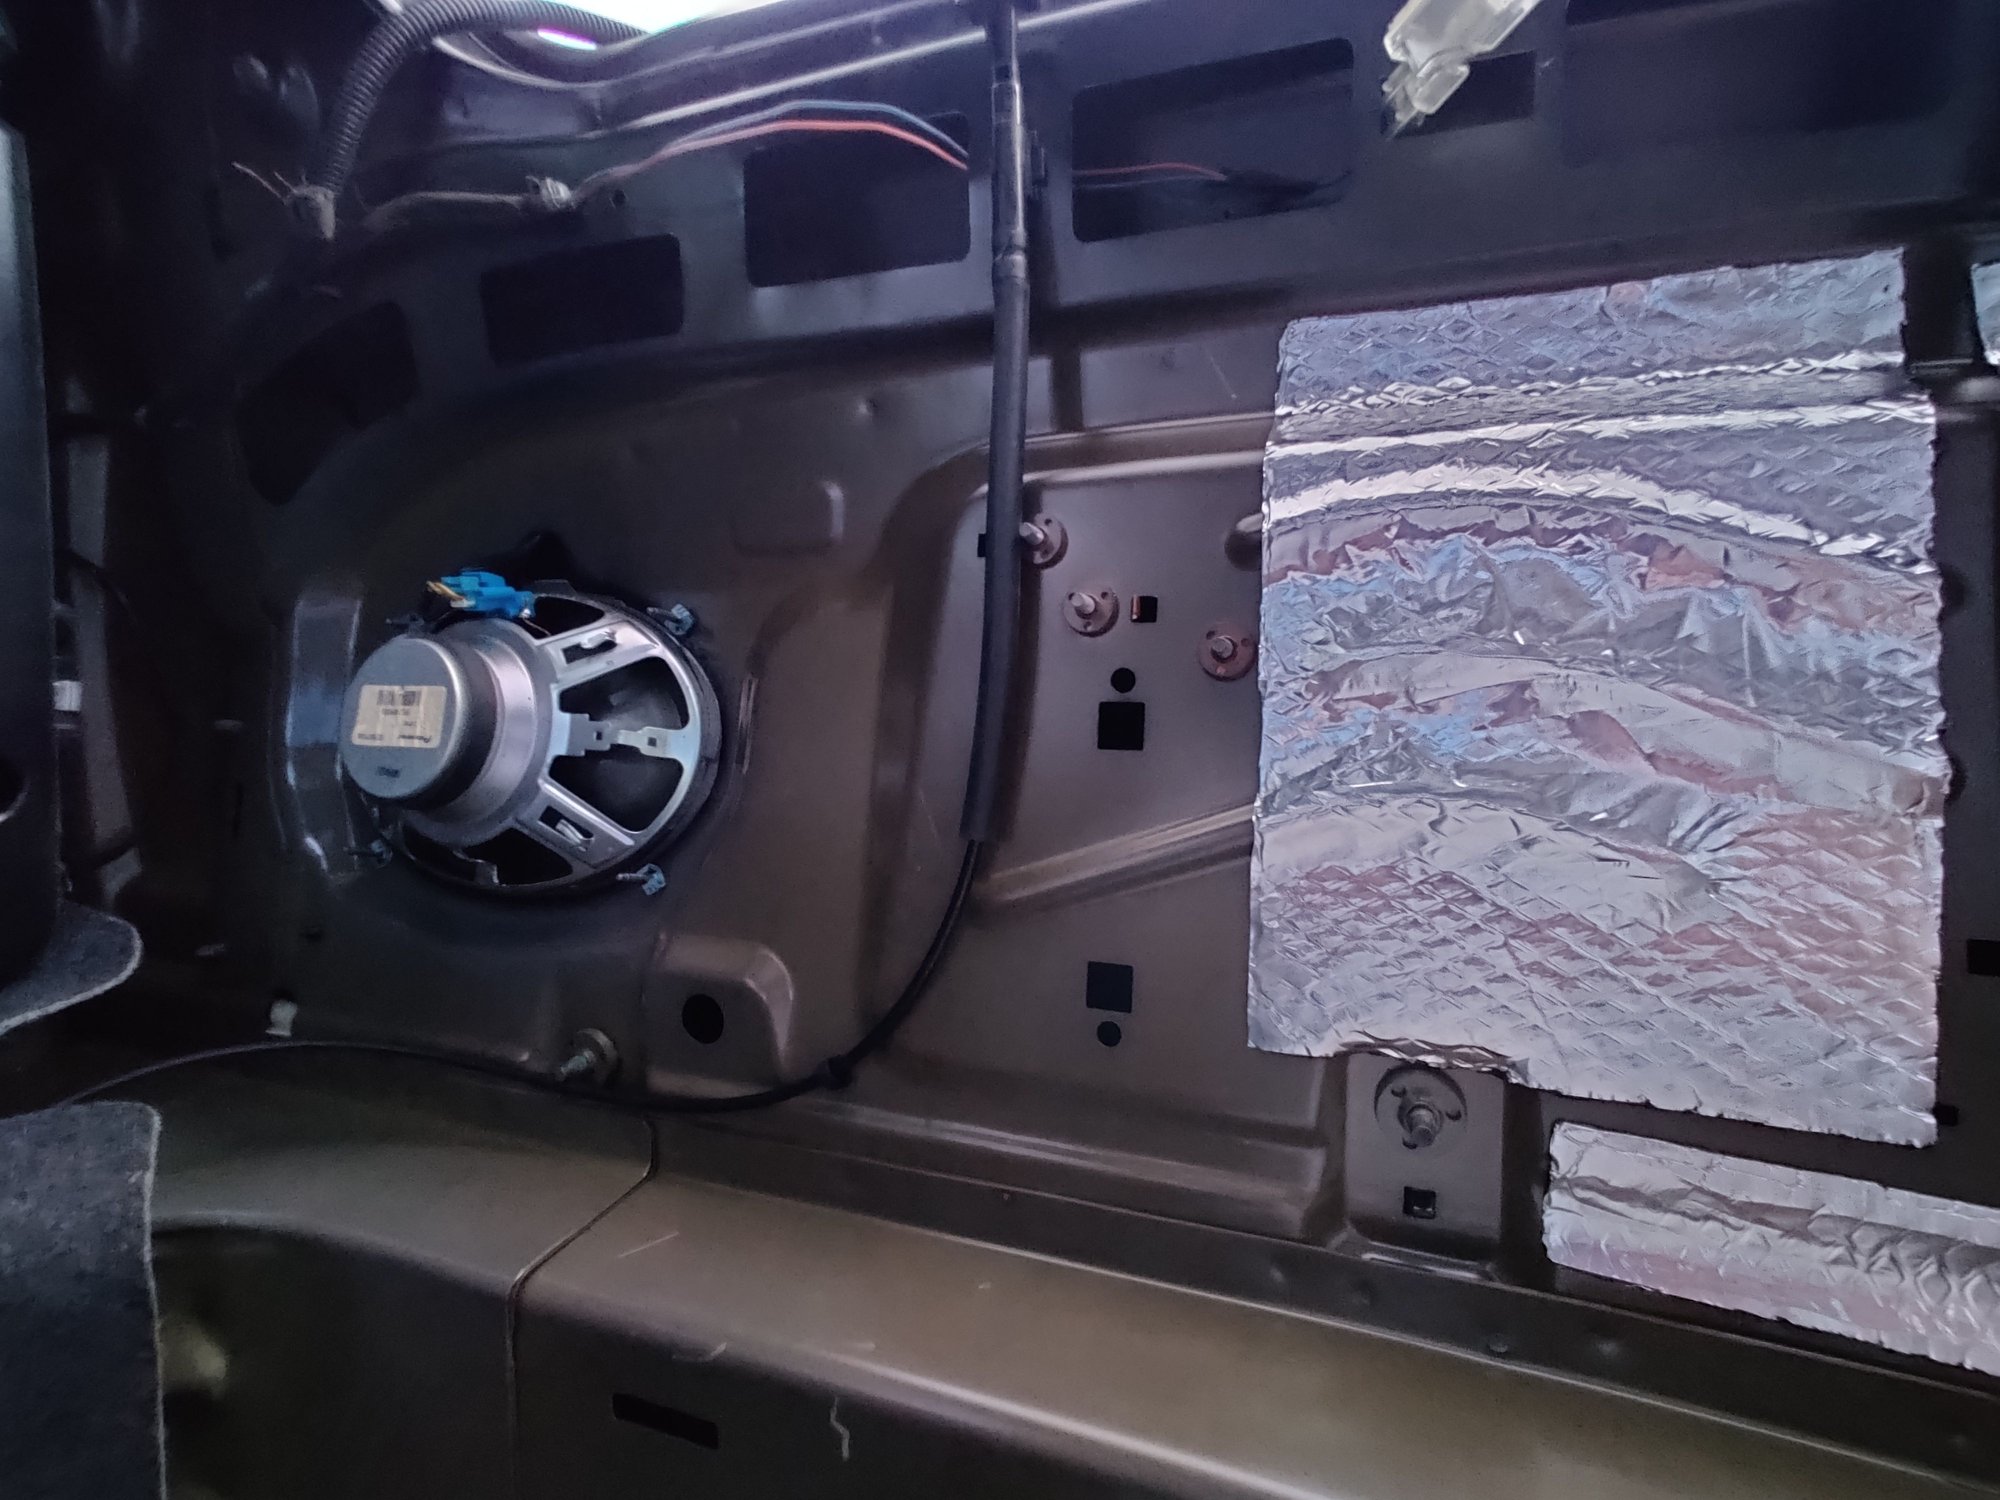
Started paneling the trunk and rear speaker areas
Tips about sound deadening:
- If you have versatile mechanic gloves, use them. I was wearing double sets of gloves, and I was still tearing/cutting through them as this material will cut you. I have at least 6 "paper" cuts on my fingers and hands.
- Clean the panel thoroughly first before application! But I also suggest just cleaning a good section around where you'll be working. You will be kicking up extra dirt so you'll need to clean every time you proceed to the next section. This is really just to save time/cleaning product.
- You can try to go for complete coverage but I'm finding that as long as you have a good portion of coverage, you get great results. I was already blasting some tunes and you can hear a difference already even though I haven't done the subwoofer side nor finished the rear speakers.
- Use measuring, but angles will throw you off. I typically just used my hand or the scissors to get a rough estimate of how wide/tall panels should be and work them in.
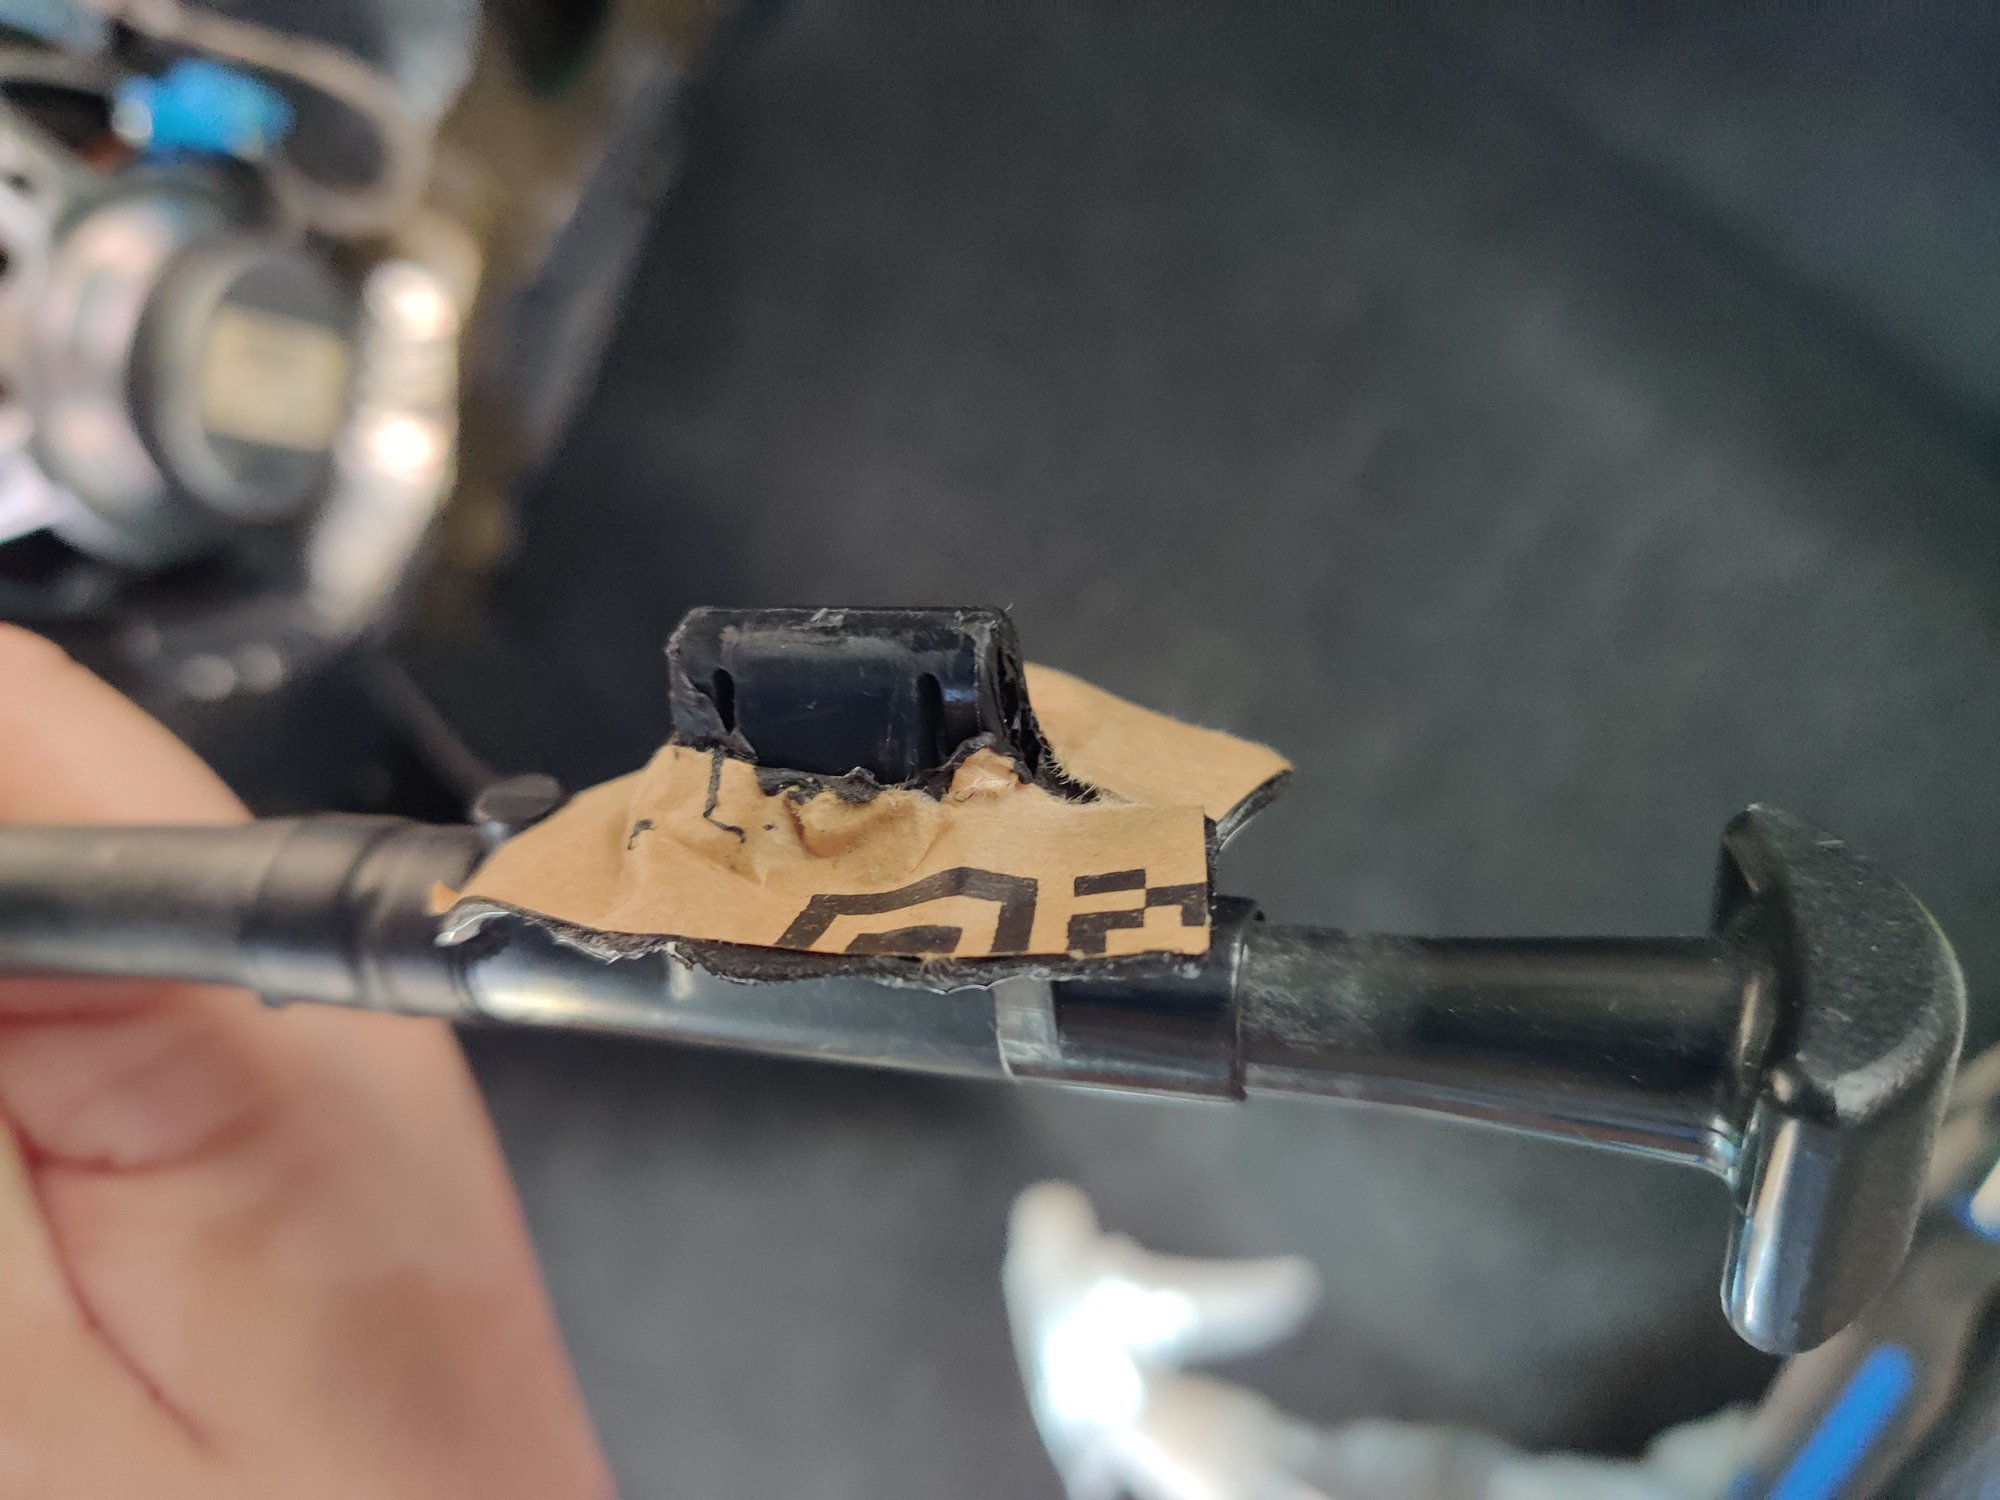
- For panels with holes in them for clips, use a screw driver extension bit just wide enough to fit inside. While I was measuring where to pierce the holes, I used a bit to round out the hole, and for mat placement purposes. Works wonders.
If you have questions, I'll try to answer them. Like mentioned before, I'm not a pro
New Section!
Audio System
**Leaving blank until pictures**
1) Interior trim painting
2) Sound deadening
I'll also be doing some rewiring of the car audio system down the line, using the how-to for the subwoofer (which will also be painted).
So far, here's what I have:
Painting Trim
Using Dupli-Colour Perfect Match Metallic Teal
Spoiler
Basic Instructions: After removing the trim from the car, and popping the buttons out of the casing, I sanded down the parts using 180 grit. After cleaning the parts, 2 coats of etch primer. After letting that dry, used 600 grit sandpaper and wet sanded the primer down, then added 2-3 coats of the mettalic teal. Letting that dry, I sprayed 2 coats of Rustoleum clear coat. After 24 hour cure, used a compound and polish to remove the orange peel.
Sound Deadening
Definitely NOT a pro. This only my 2nd time doing this. Using Noico 80mm, purchased 72sq ft. I think I've used half a box already.
Spoiler
Tried to get on the inside of the gaps between the double panels as well
Spoiler
Prepping the trunk (passenger side)
Spoiler
Started paneling the trunk and rear speaker areas
Spoiler
Tips about sound deadening:
- If you have versatile mechanic gloves, use them. I was wearing double sets of gloves, and I was still tearing/cutting through them as this material will cut you. I have at least 6 "paper" cuts on my fingers and hands.
- Clean the panel thoroughly first before application! But I also suggest just cleaning a good section around where you'll be working. You will be kicking up extra dirt so you'll need to clean every time you proceed to the next section. This is really just to save time/cleaning product.
- You can try to go for complete coverage but I'm finding that as long as you have a good portion of coverage, you get great results. I was already blasting some tunes and you can hear a difference already even though I haven't done the subwoofer side nor finished the rear speakers.
- Use measuring, but angles will throw you off. I typically just used my hand or the scissors to get a rough estimate of how wide/tall panels should be and work them in.
- For panels with holes in them for clips, use a screw driver extension bit just wide enough to fit inside. While I was measuring where to pierce the holes, I used a bit to round out the hole, and for mat placement purposes. Works wonders.
If you have questions, I'll try to answer them. Like mentioned before, I'm not a pro
New Section!
Audio System
**Leaving blank until pictures**
Last edited by ProfDNS; 07-09-2020 at 03:19 PM.
The following users liked this post:
Zo6balt (03-08-2021)
The following users liked this post:
ProfDNS (06-03-2020)
#5
Thread Starter
Senior Member
Joined: 01-31-16
Posts: 5,292
Likes: 545
From: Frozen Wasteland of the North
Thanks!
The following users liked this post:
Zo6balt (03-08-2021)
#7
Joined: 04-18-14
Posts: 16,465
Likes: 603
From: El Paso, TX
I think I'm going to do the interior of the car and maybe the rear deck if noise is decreased considerably ill leave it like that if not ill do the whole truck 🤔
#8
Thread Starter
Senior Member
Joined: 01-31-16
Posts: 5,292
Likes: 545
From: Frozen Wasteland of the North
I just finished the trunk, and honestly it's the part you'll probably spend the longest because of the angles. I webt through a 36 sq ft box and a full sheet getting some of the extra sections in the double panel areas.
Doing the whole trunk really helps cut down on reverb. The first time I did it, I just did the deck which you do notice a clarity but even though the first time I never took the subwoofer out nor really did the sides and that still helped more.
Once I get my new speakers installed, and get the top rear deck done, I'll take some more numbers; but it's subjective and you have to hear it in person.
#10
Thread Starter
Senior Member
Joined: 01-31-16
Posts: 5,292
Likes: 545
From: Frozen Wasteland of the North
Very forgiving, only time it gets difficult to pry off is when you smooth it out with a roller. I've been using a sharp pair of scissors to cut everything out - that's probably the most dangerous part since your hand does slide up the material, and it's a thin layer of aluminum lol. Hence all the paper cuts. I just wrap a bandage around the index and middle finger of the curing hand to prevent much of that.
I should also mention that since I was crawling around inside the trunk for the half towards the inside, the metal bolt that holds the spare tire and jack is the next dangerous aspect. I scraped my arm/shoulder on that thing so many times....
I should also mention that since I was crawling around inside the trunk for the half towards the inside, the metal bolt that holds the spare tire and jack is the next dangerous aspect. I scraped my arm/shoulder on that thing so many times....
The following users liked this post:
Zo6balt (03-08-2021)
#12
Thread Starter
Senior Member
Joined: 01-31-16
Posts: 5,292
Likes: 545
From: Frozen Wasteland of the North
I bought from eBay this time but you can find it on Amazon as well.
Went out for a drive today and man everything sounds solid. With my EQ setup on my radio, some tweaking of Viper4Android (or my music player with it's own EQ) and even the stock rear speakers/subwoofer it pounds. At about 13 volume (out of 50) I would start getting feedback for rattles and/or resonance (assuming from the speaker itself). Can crank this up to 19-20 (on "cleaner" songs 21-22) before I start getting that.
I stopped a few times and had it playing at various levels just to check if spots missed were causing issues. By ear I didn't hear anything but once I get my new speakers installed I'll work the test again.
The following users liked this post:
BlackielawlessSS (06-07-2020)
#14
Thread Starter
Senior Member
Joined: 01-31-16
Posts: 5,292
Likes: 545
From: Frozen Wasteland of the North
I was an idiot and rushed - I never took the photos of behind the subwoofer (or the driver side of the trunk) nor the trunk floor finished. I'll try to take some today after work of the completion. I attempted to removed the rear panel to get to the speakers, but didn't have the socket for the seatbelts (I'm pretty sure it's 19mm). I may try to tackle that tomorrow.
Looking at the product again on the US side (I bought from a Canadian company for faster shipping) I should've probably went with this: https://www.ebay.com/itm/Noico-Black...AAAOSwB9xXOwX4
Would've saved my eyes on a few occasions from the sun reflecting off the silver metal
Looking at the product again on the US side (I bought from a Canadian company for faster shipping) I should've probably went with this: https://www.ebay.com/itm/Noico-Black...AAAOSwB9xXOwX4
Would've saved my eyes on a few occasions from the sun reflecting off the silver metal
#15
Thread Starter
Senior Member
Joined: 01-31-16
Posts: 5,292
Likes: 545
From: Frozen Wasteland of the North
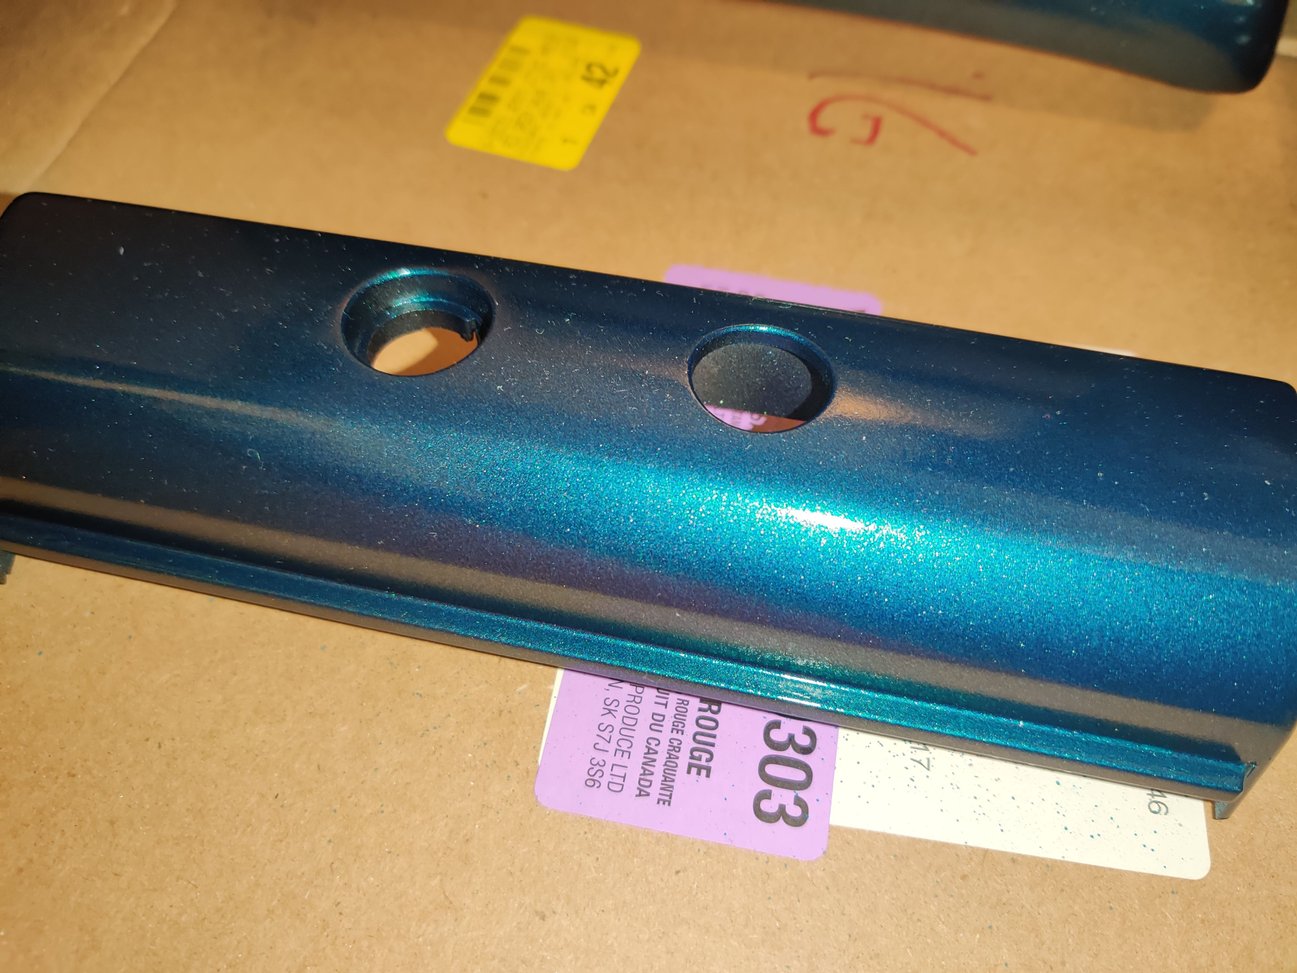
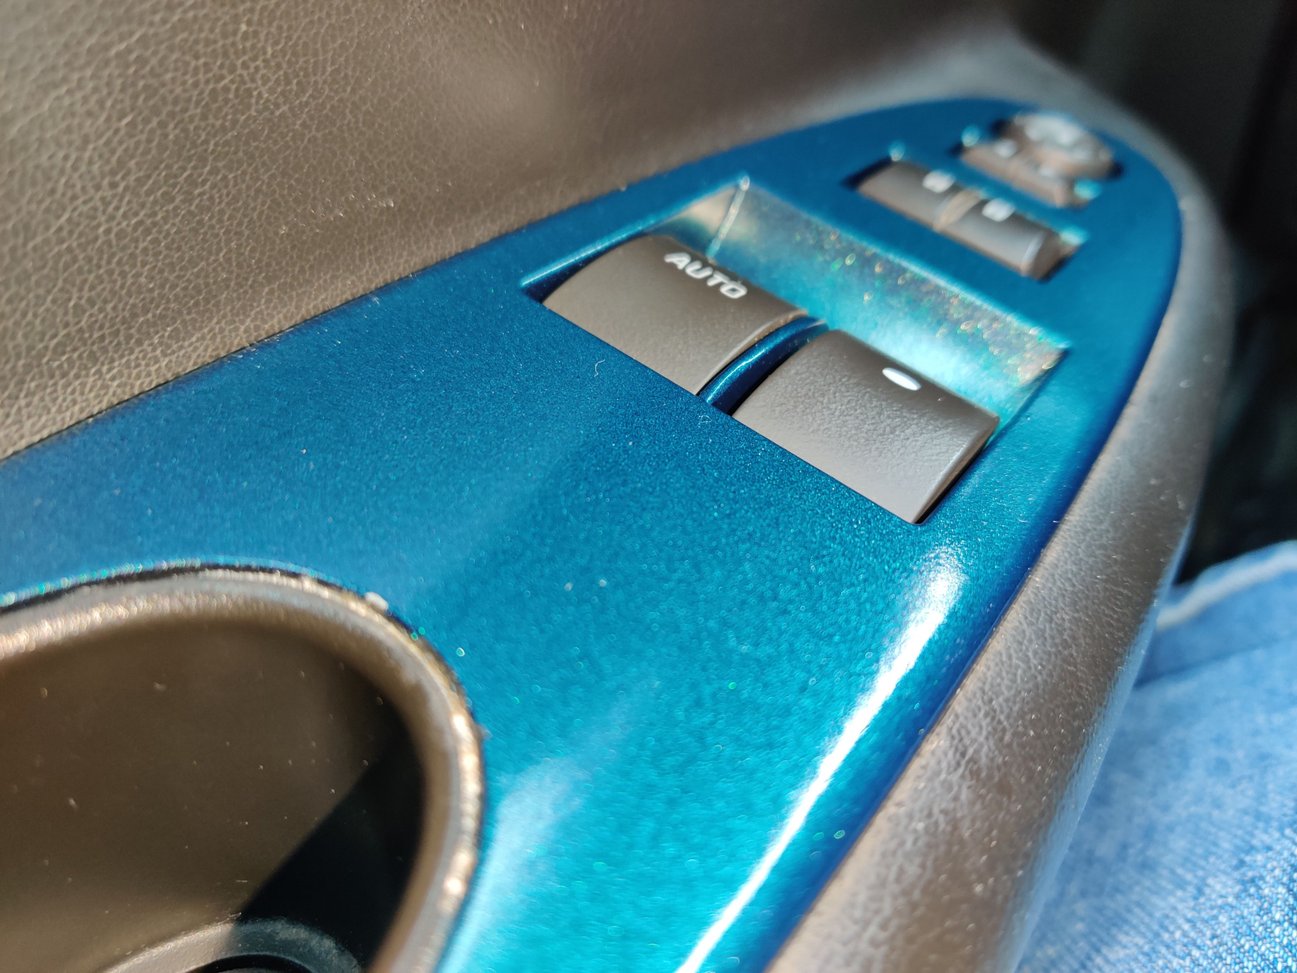
Small update: I have to clean my car out to take some better pictures, so I decided to paint the steering wheel controls covers. I'll polish the orange peel out in the morning, but I'm happy with the results!
Spoiler
The following users liked this post:
victory_red_SS (06-20-2020)
#16
Joined: 04-18-14
Posts: 16,465
Likes: 603
From: El Paso, TX
Looks good man! I'll be painting mine by next month I wanna say. I need to look for new left side controls tho mine are discoloring
Last edited by Snail_SS; 06-09-2020 at 08:24 PM.
The following users liked this post:
ProfDNS (06-11-2020)
#17
Thread Starter
Senior Member
Joined: 01-31-16
Posts: 5,292
Likes: 545
From: Frozen Wasteland of the North
Also, the weather has not been kind here to empty out the car, or to work on it, so it's on hold for now.
#19
Thread Starter
Senior Member
Joined: 01-31-16
Posts: 5,292
Likes: 545
From: Frozen Wasteland of the North
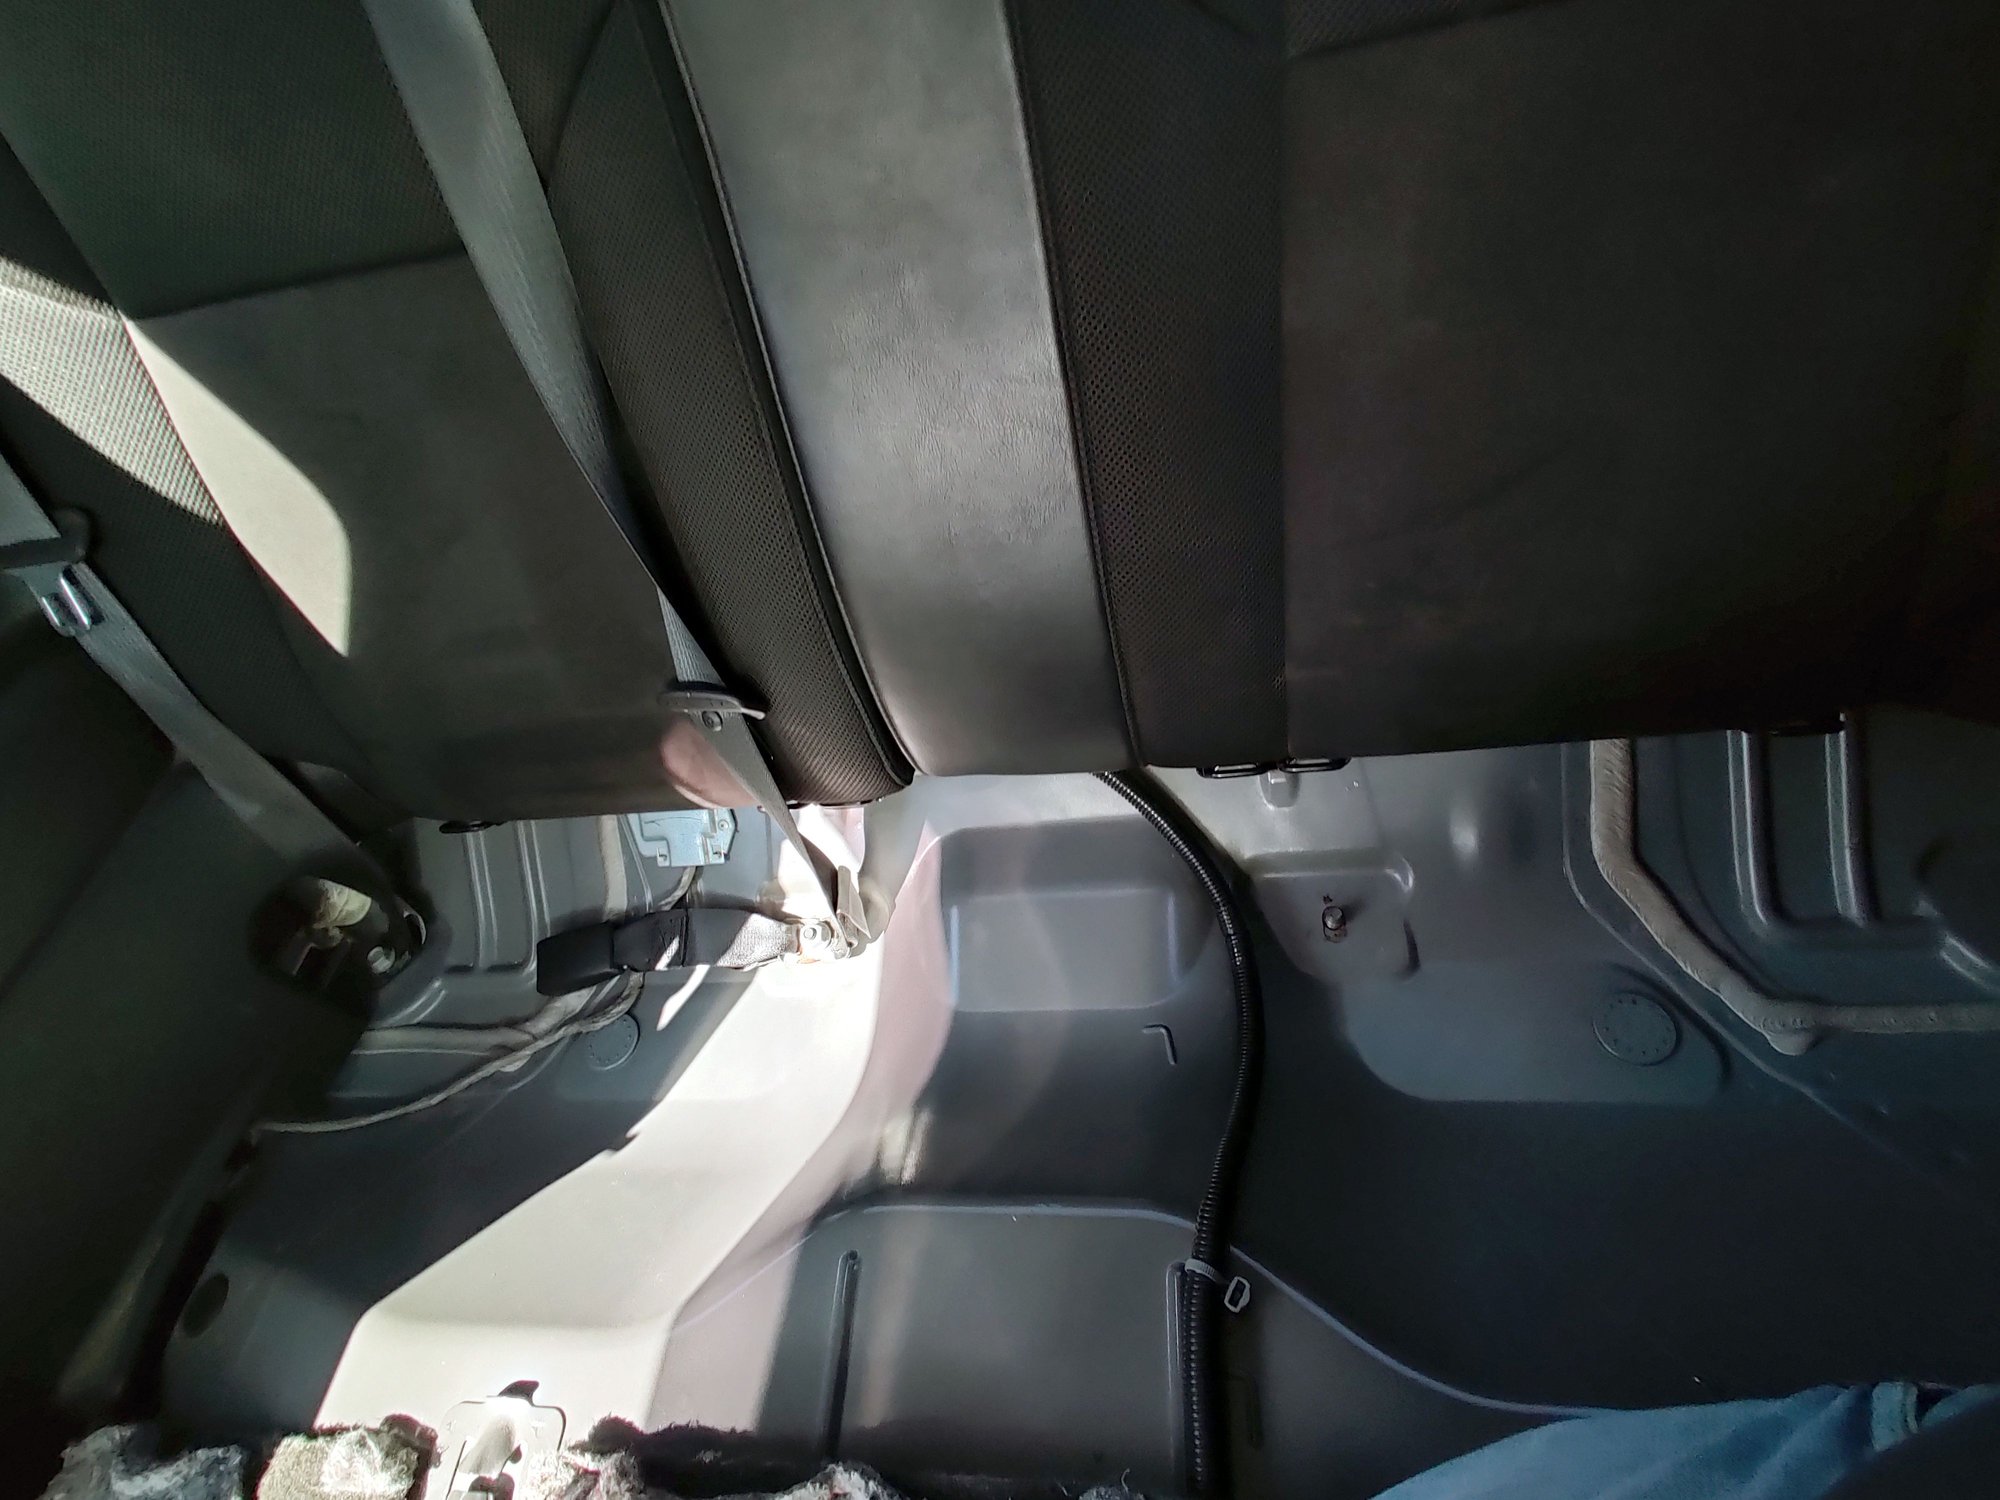
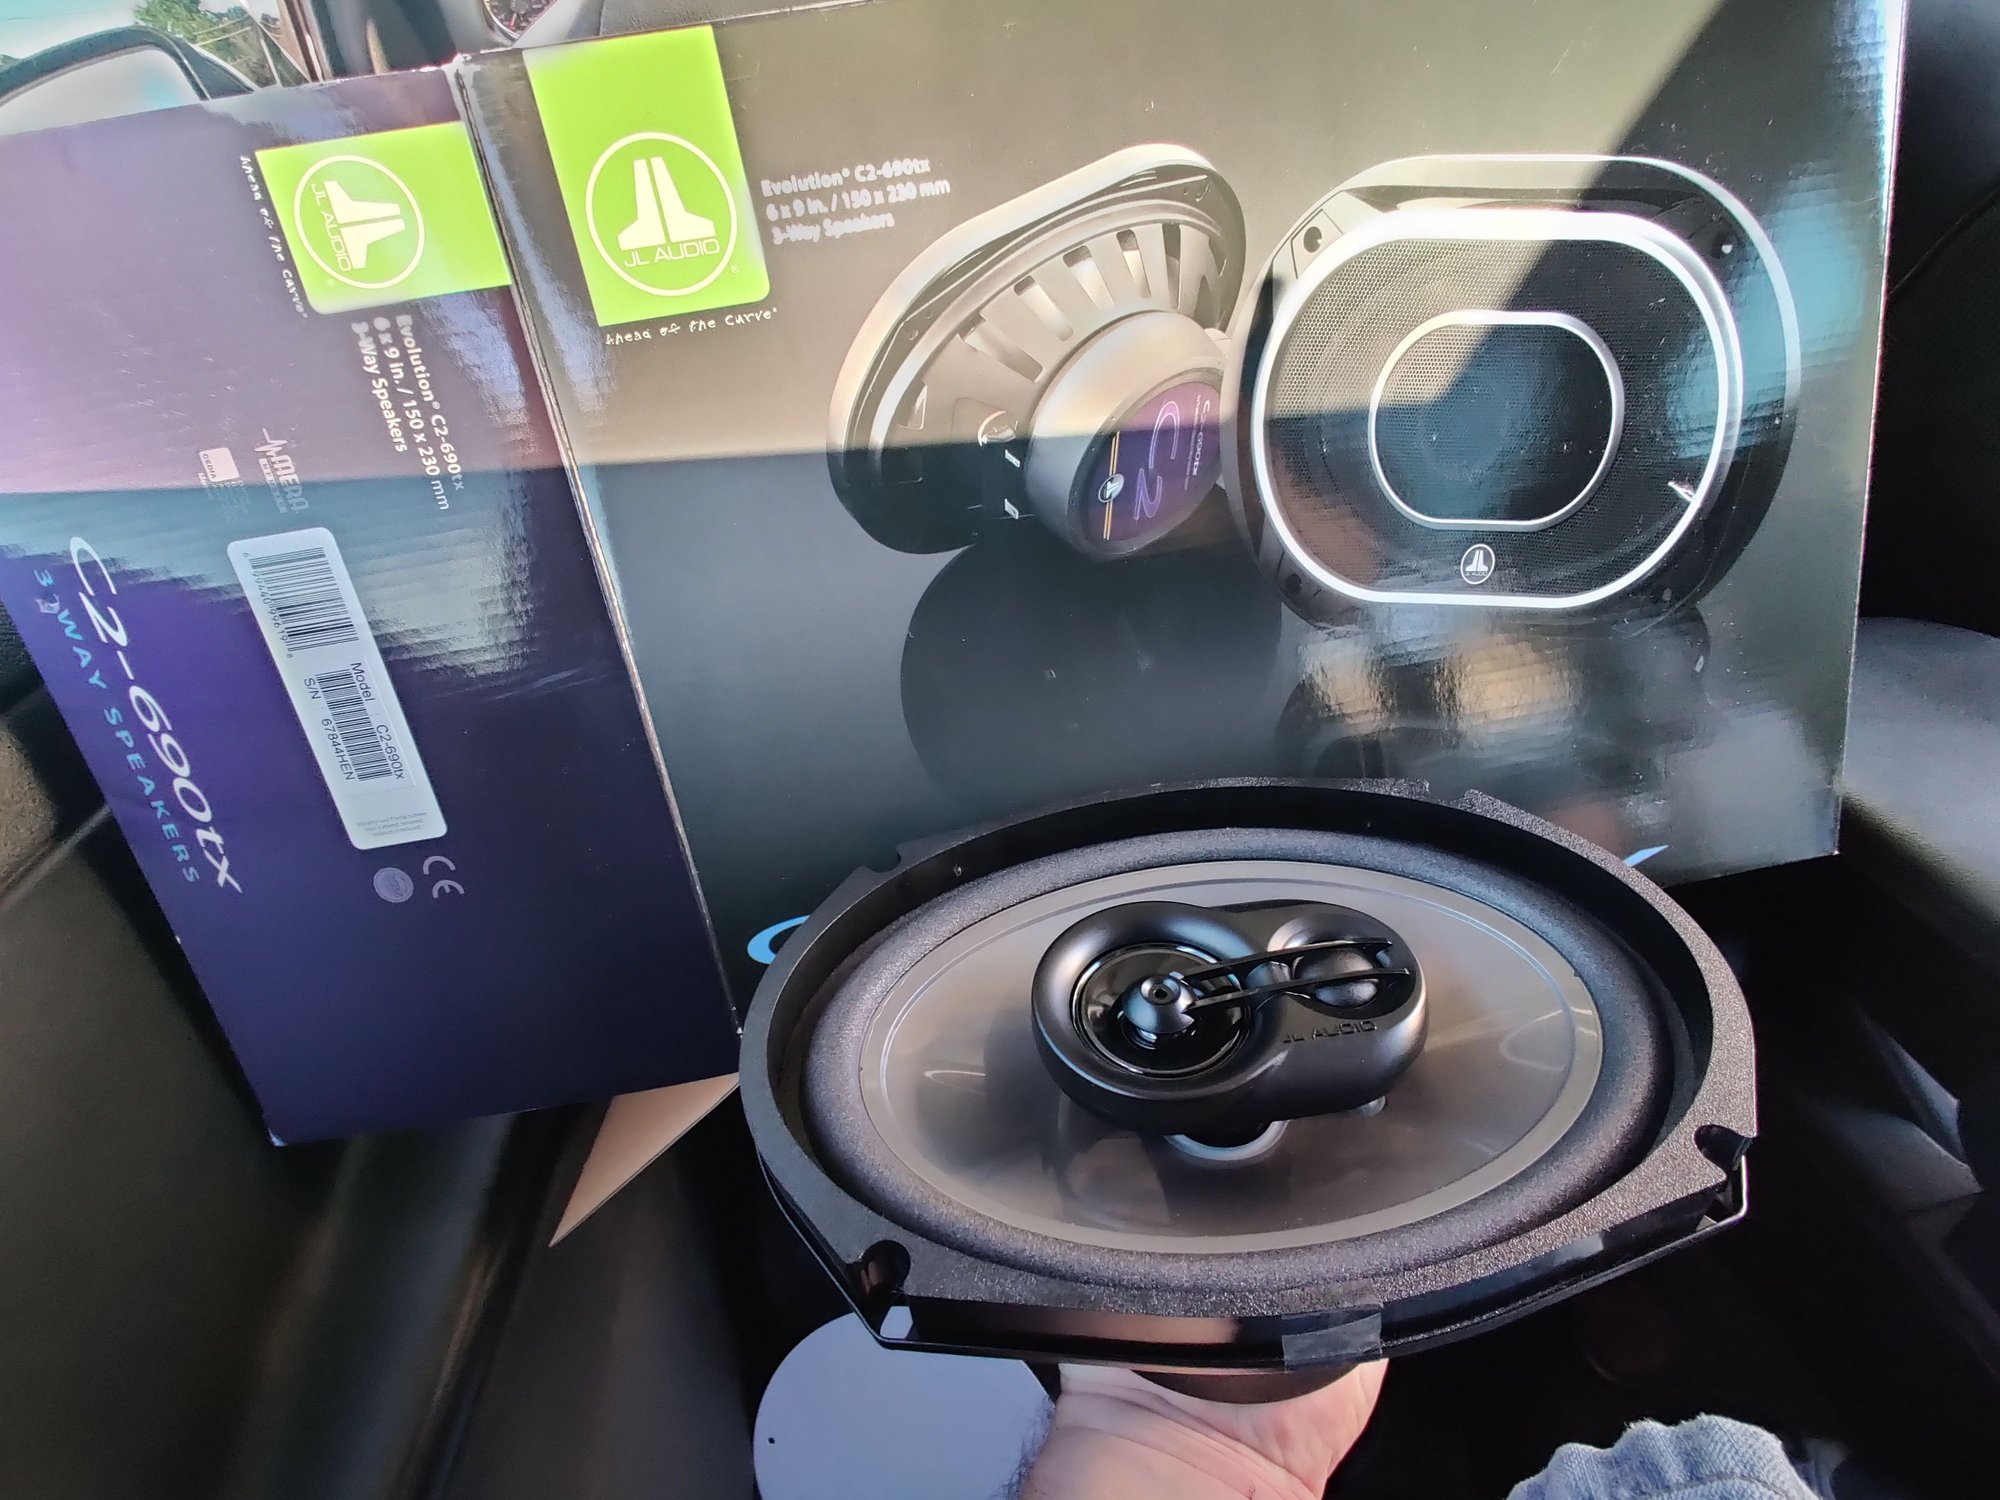
Big update. I finished the rear of the car, including seat area and installed my new rear speakers (boy are they clear). I think this has been the most amount of exercise I've done in the last couple of years 
I wanted to the doors yesterday but it was way to windy so it's been put off again.
Spoiler
The following 3 users liked this post by ProfDNS:
#21
Thread Starter
Senior Member
Joined: 01-31-16
Posts: 5,292
Likes: 545
From: Frozen Wasteland of the North
#22
I did that to my 67 Camaro and It doesn't go far. I think I ended up using 3 boxes of 36 sq feet.
The following users liked this post:
Zo6balt (03-06-2021)
#25
I don't know much about the "Dynamat" or other brands. I also have never really looked into it all. I have a few questions. Why cut out so many squares and rectangles, and shapes? would it work better to use solid sheets? Like some panels have voids with empty space, couldn't you just cover the empty space? or like on the trunk floor, couldn't you just lay it down in long strips, cut where you need to, and butt it up against the the previous piece? I feel like more coverage can only increase the outcome.... I could be totally wrong though.
Also this is to help sound quality in the car and keep reverb down by adding thickness to the panels right? This won't really help keep road noise and exhaust noise down in the cabin right?
Also this is to help sound quality in the car and keep reverb down by adding thickness to the panels right? This won't really help keep road noise and exhaust noise down in the cabin right?


 Moderator