ProfDNS' Interior "Build"
#76
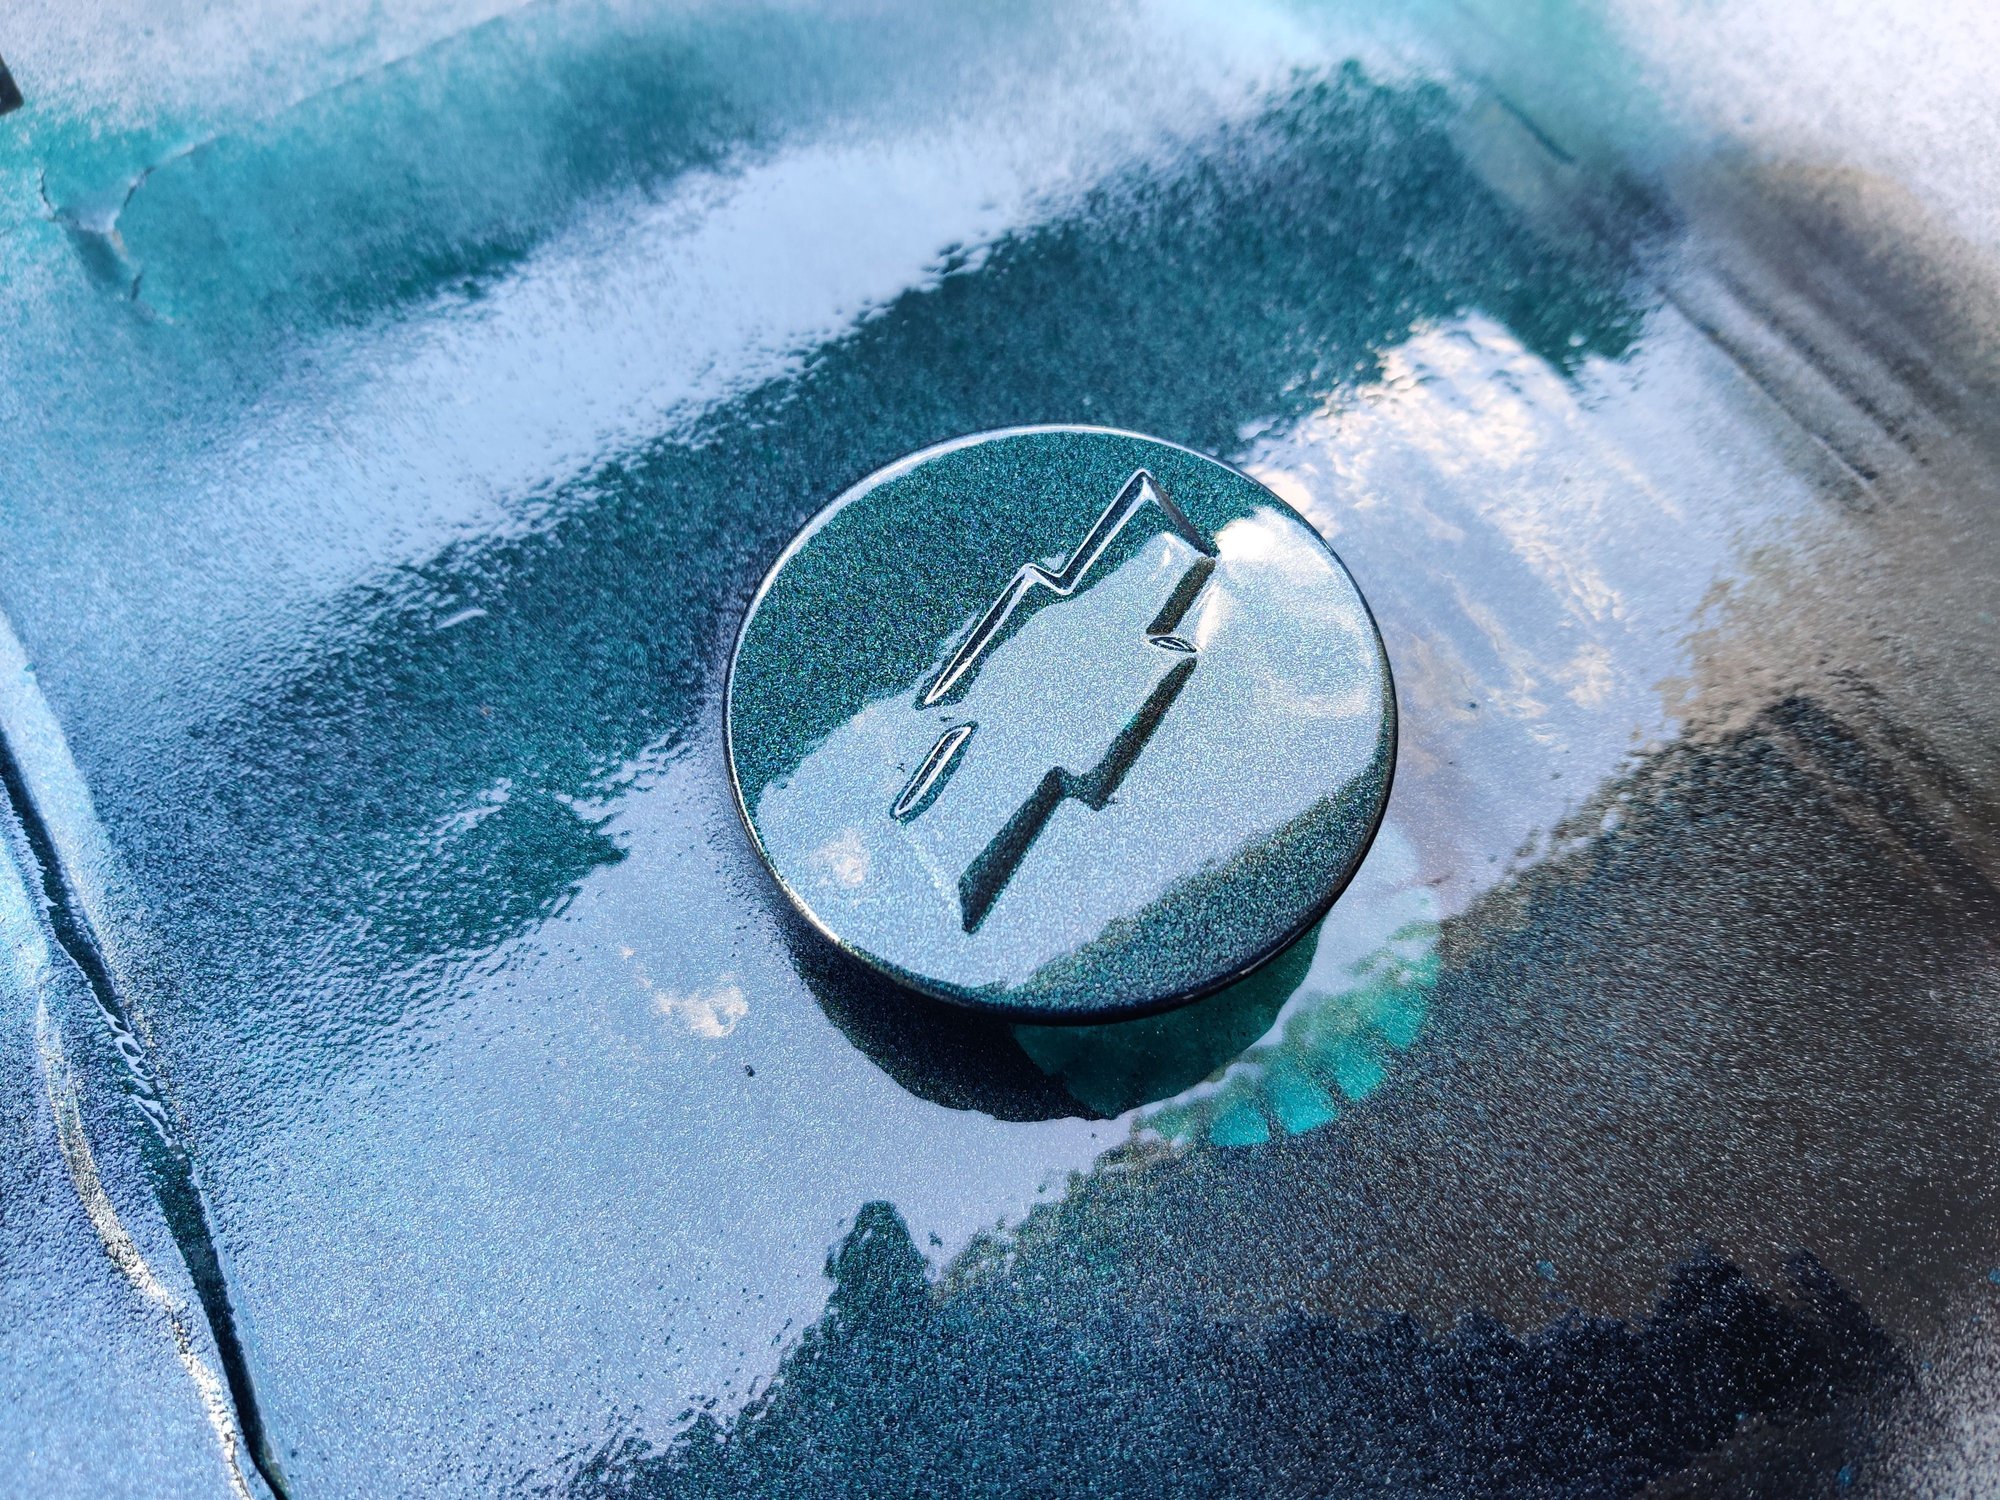
I'm...not sure; I'll have to check. Otherwise, I'll need to drive a couple hours to a family member's house and use their backyard at least to paint. They have the tools at least to complete the project. I figure if everything goes well, I should have all 4 rims ready for painting this weekend. I also purchased a couple months back 2K gloss clear coat so it should give that extra sheen. I still need to paint the badges as well, and I think that will be it for this year.
As for the rest of my sound deadener, I'll need to watch a couple videos on how to remove the carpet and such to do the floor and as much as the firewall as I can reach. I still need to work on the subwoofer box and get all that installed.
As for the rest of my sound deadener, I'll need to watch a couple videos on how to remove the carpet and such to do the floor and as much as the firewall as I can reach. I still need to work on the subwoofer box and get all that installed.
The following users liked this post:
BlackielawlessSS (09-02-2020)
#79
Thread Starter
Senior Member
Joined: 01-31-16
Posts: 5,292
Likes: 545
From: Frozen Wasteland of the North
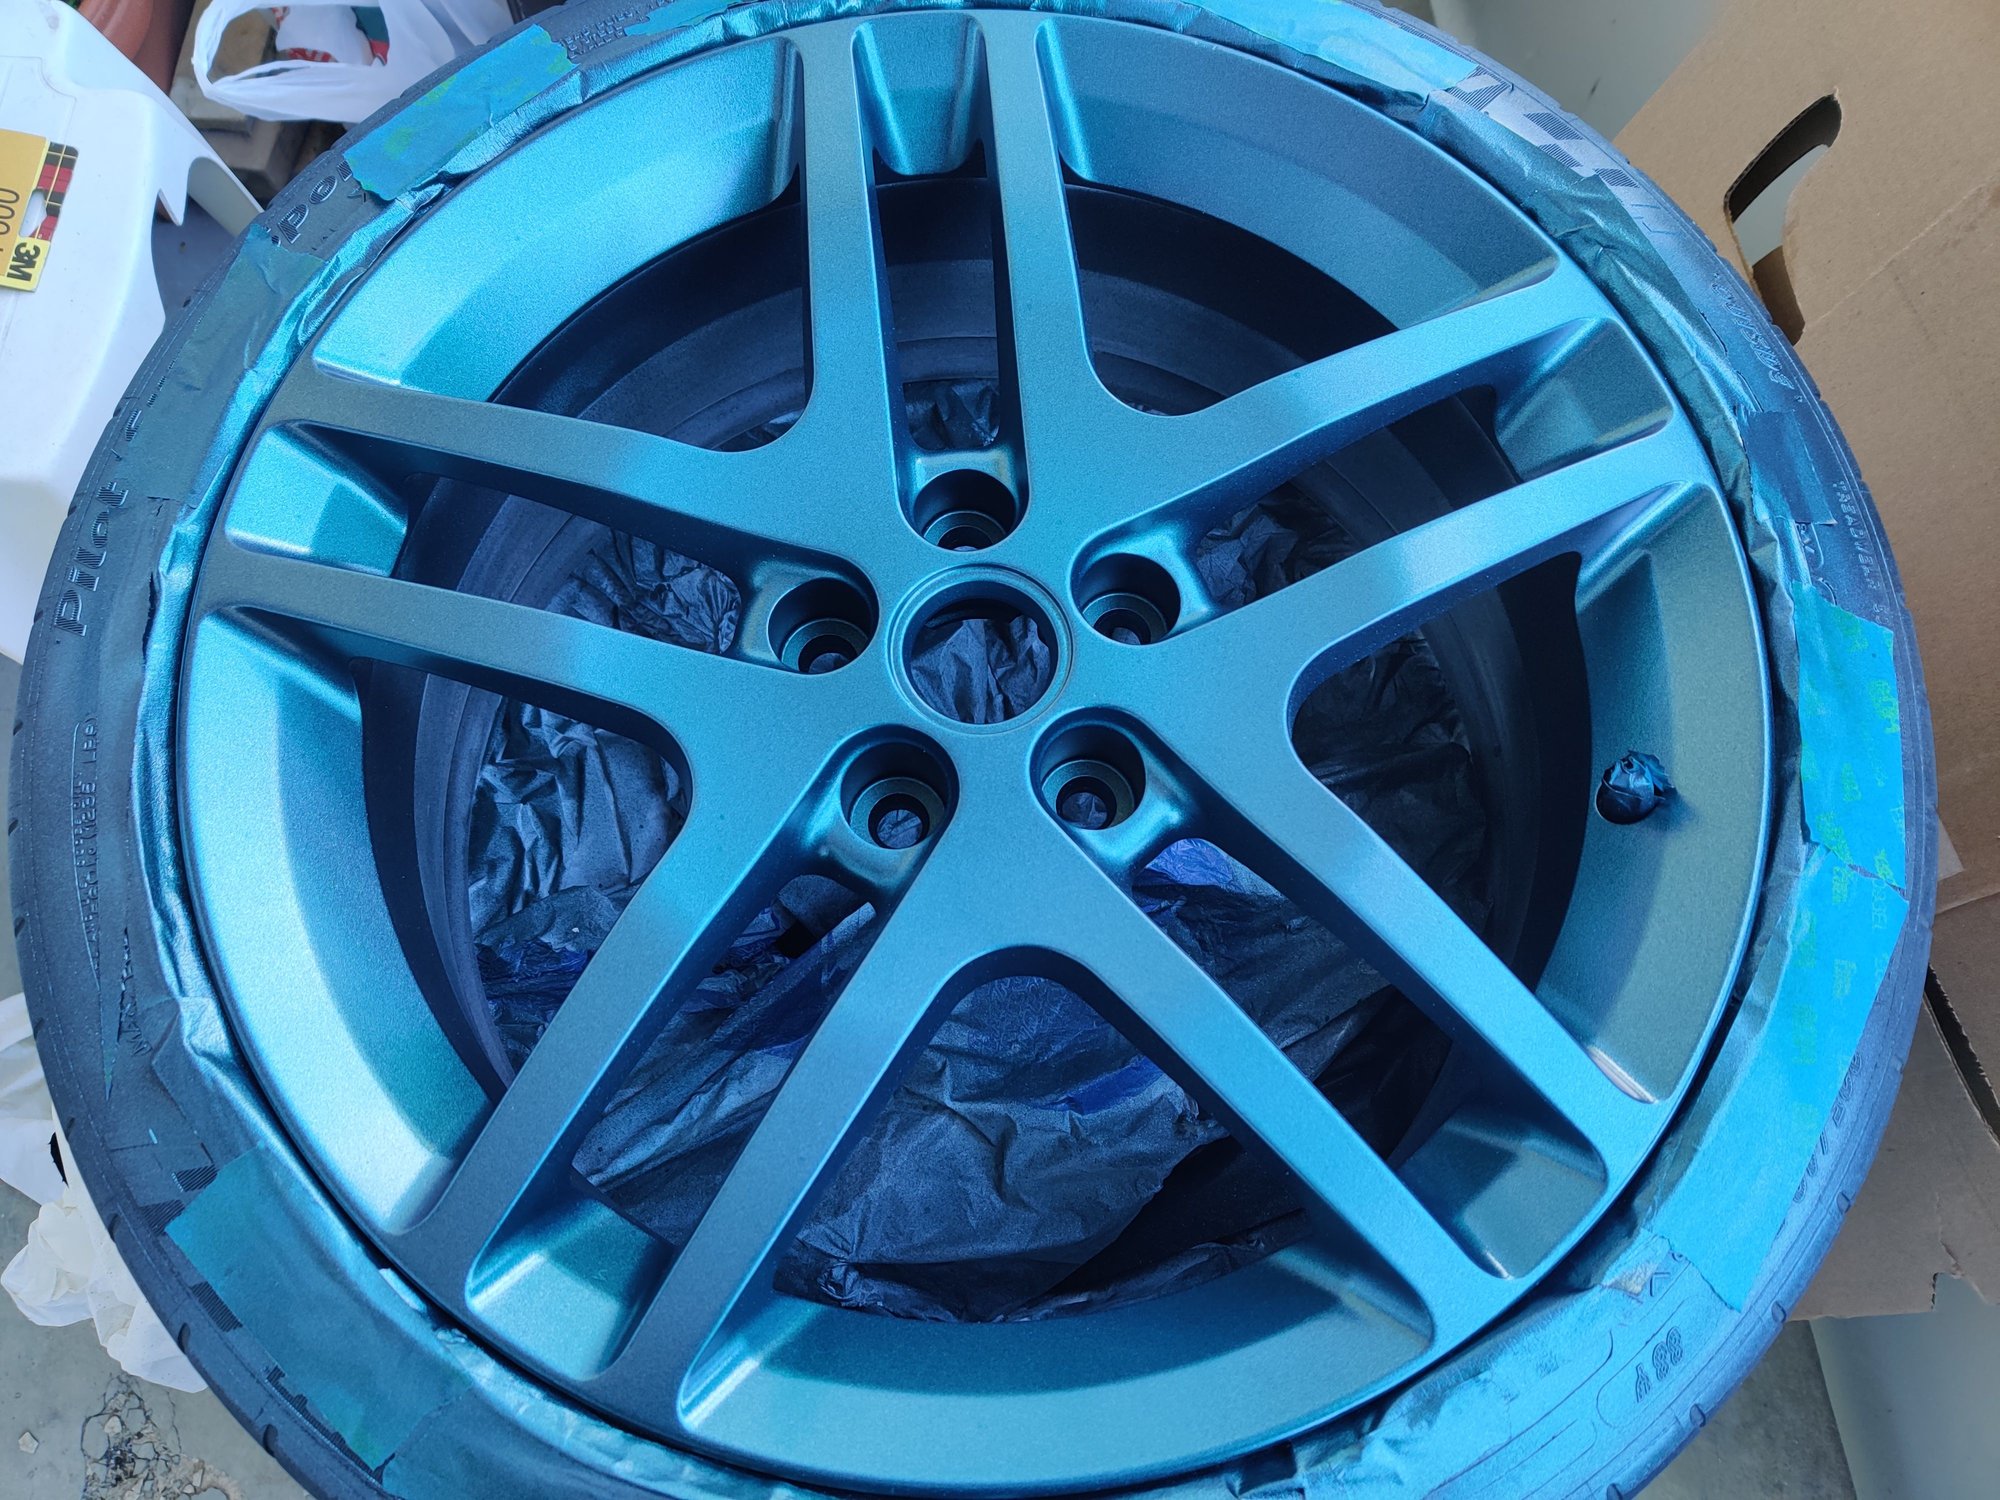
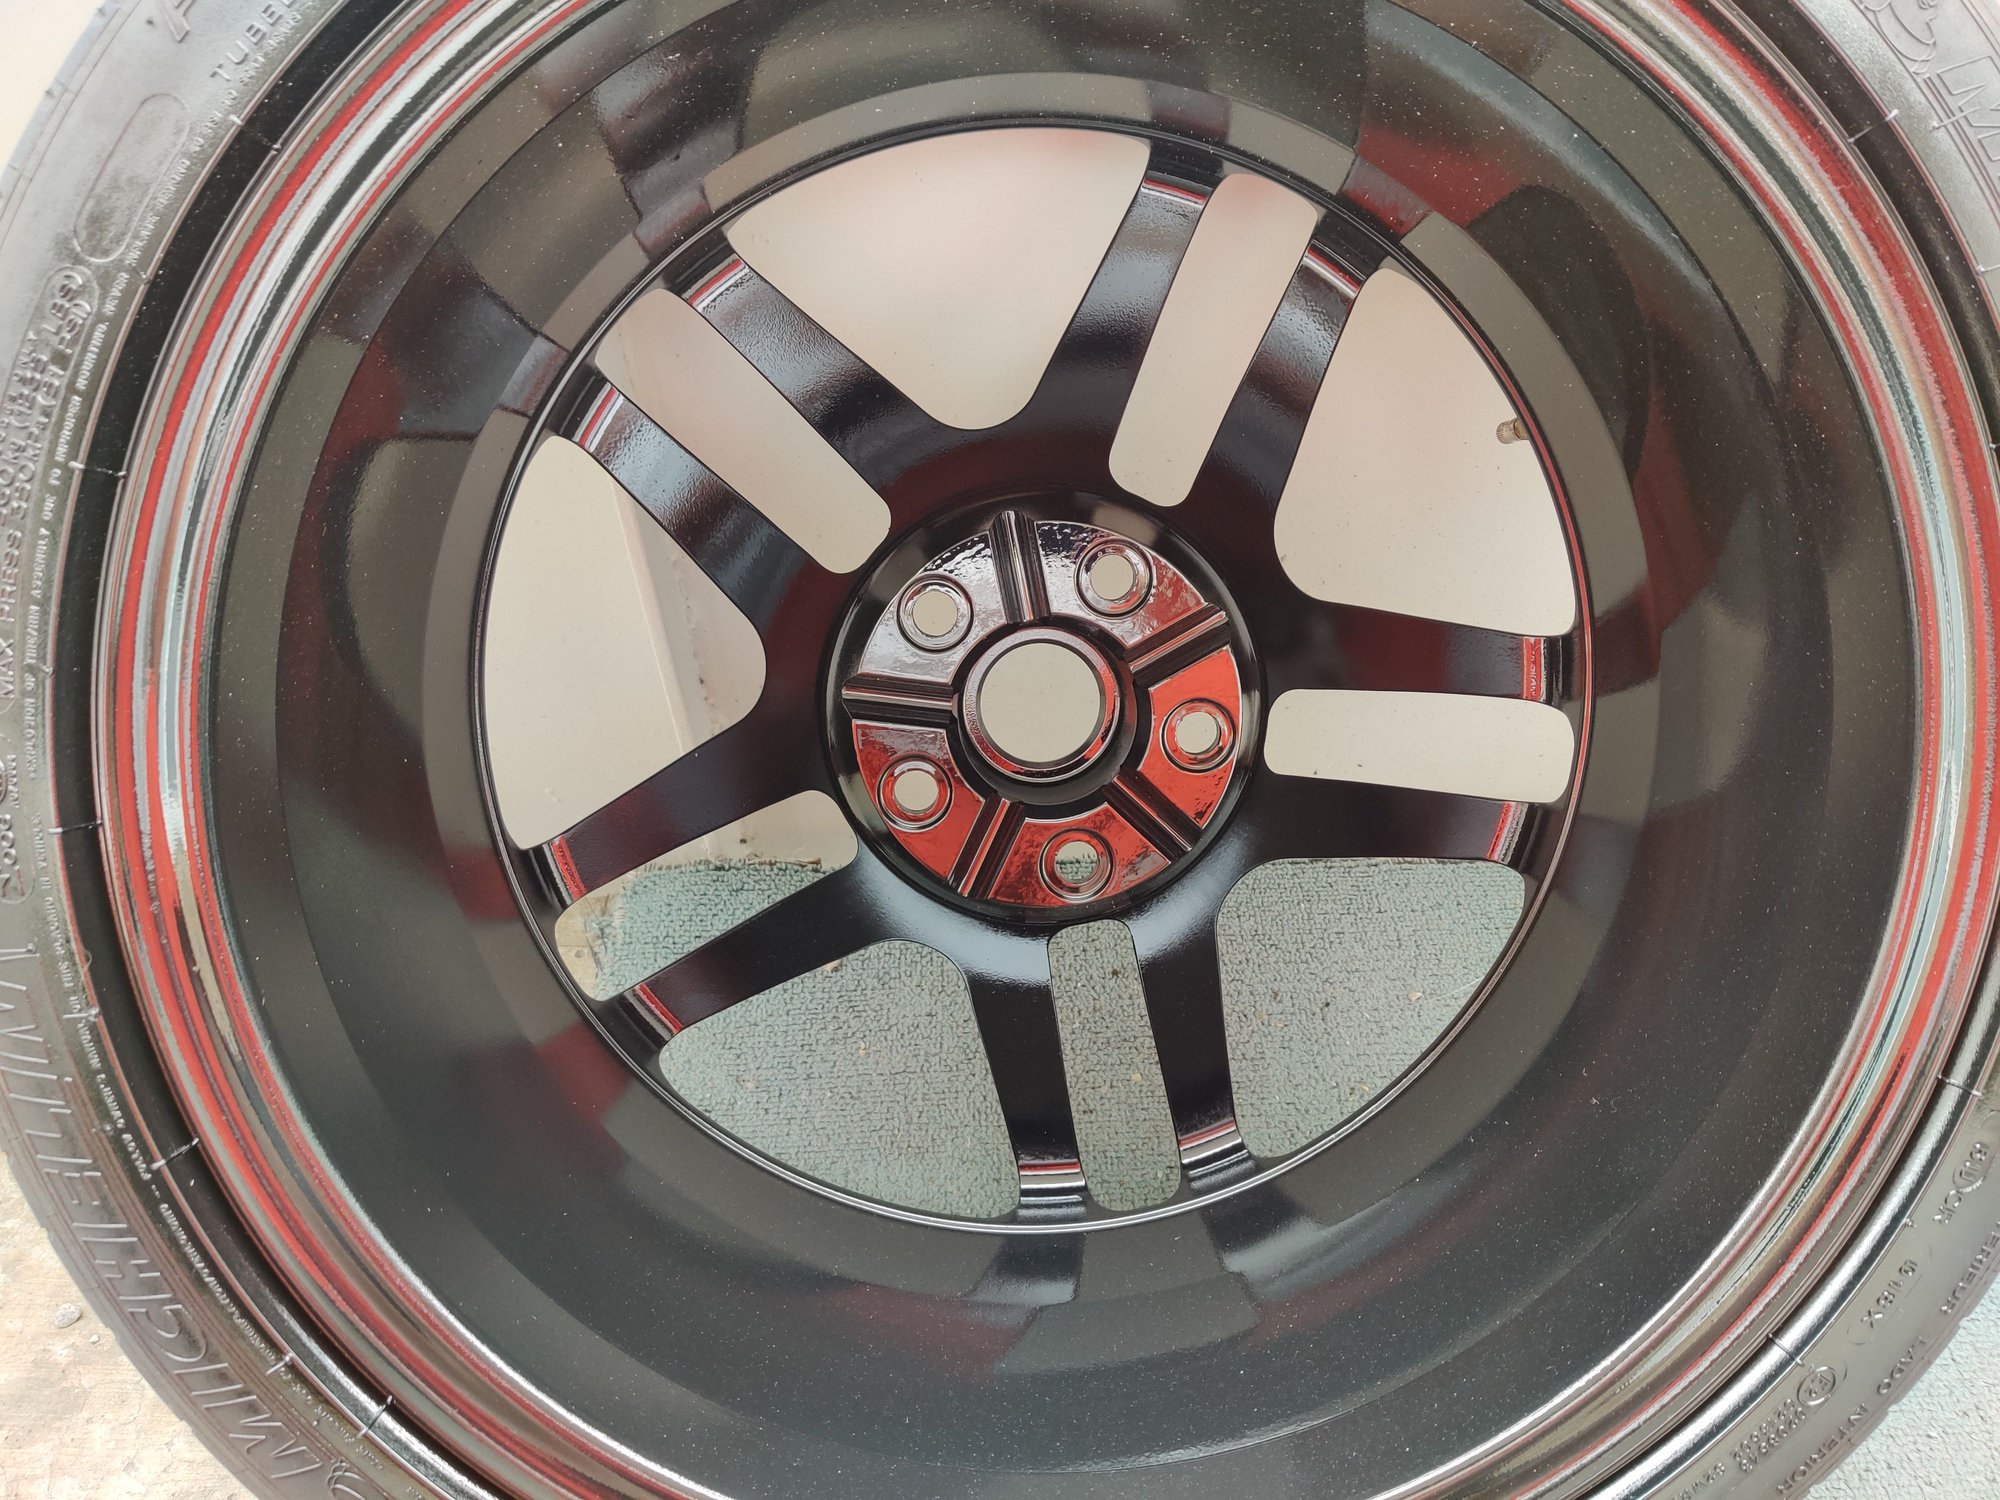
Sneak peak:
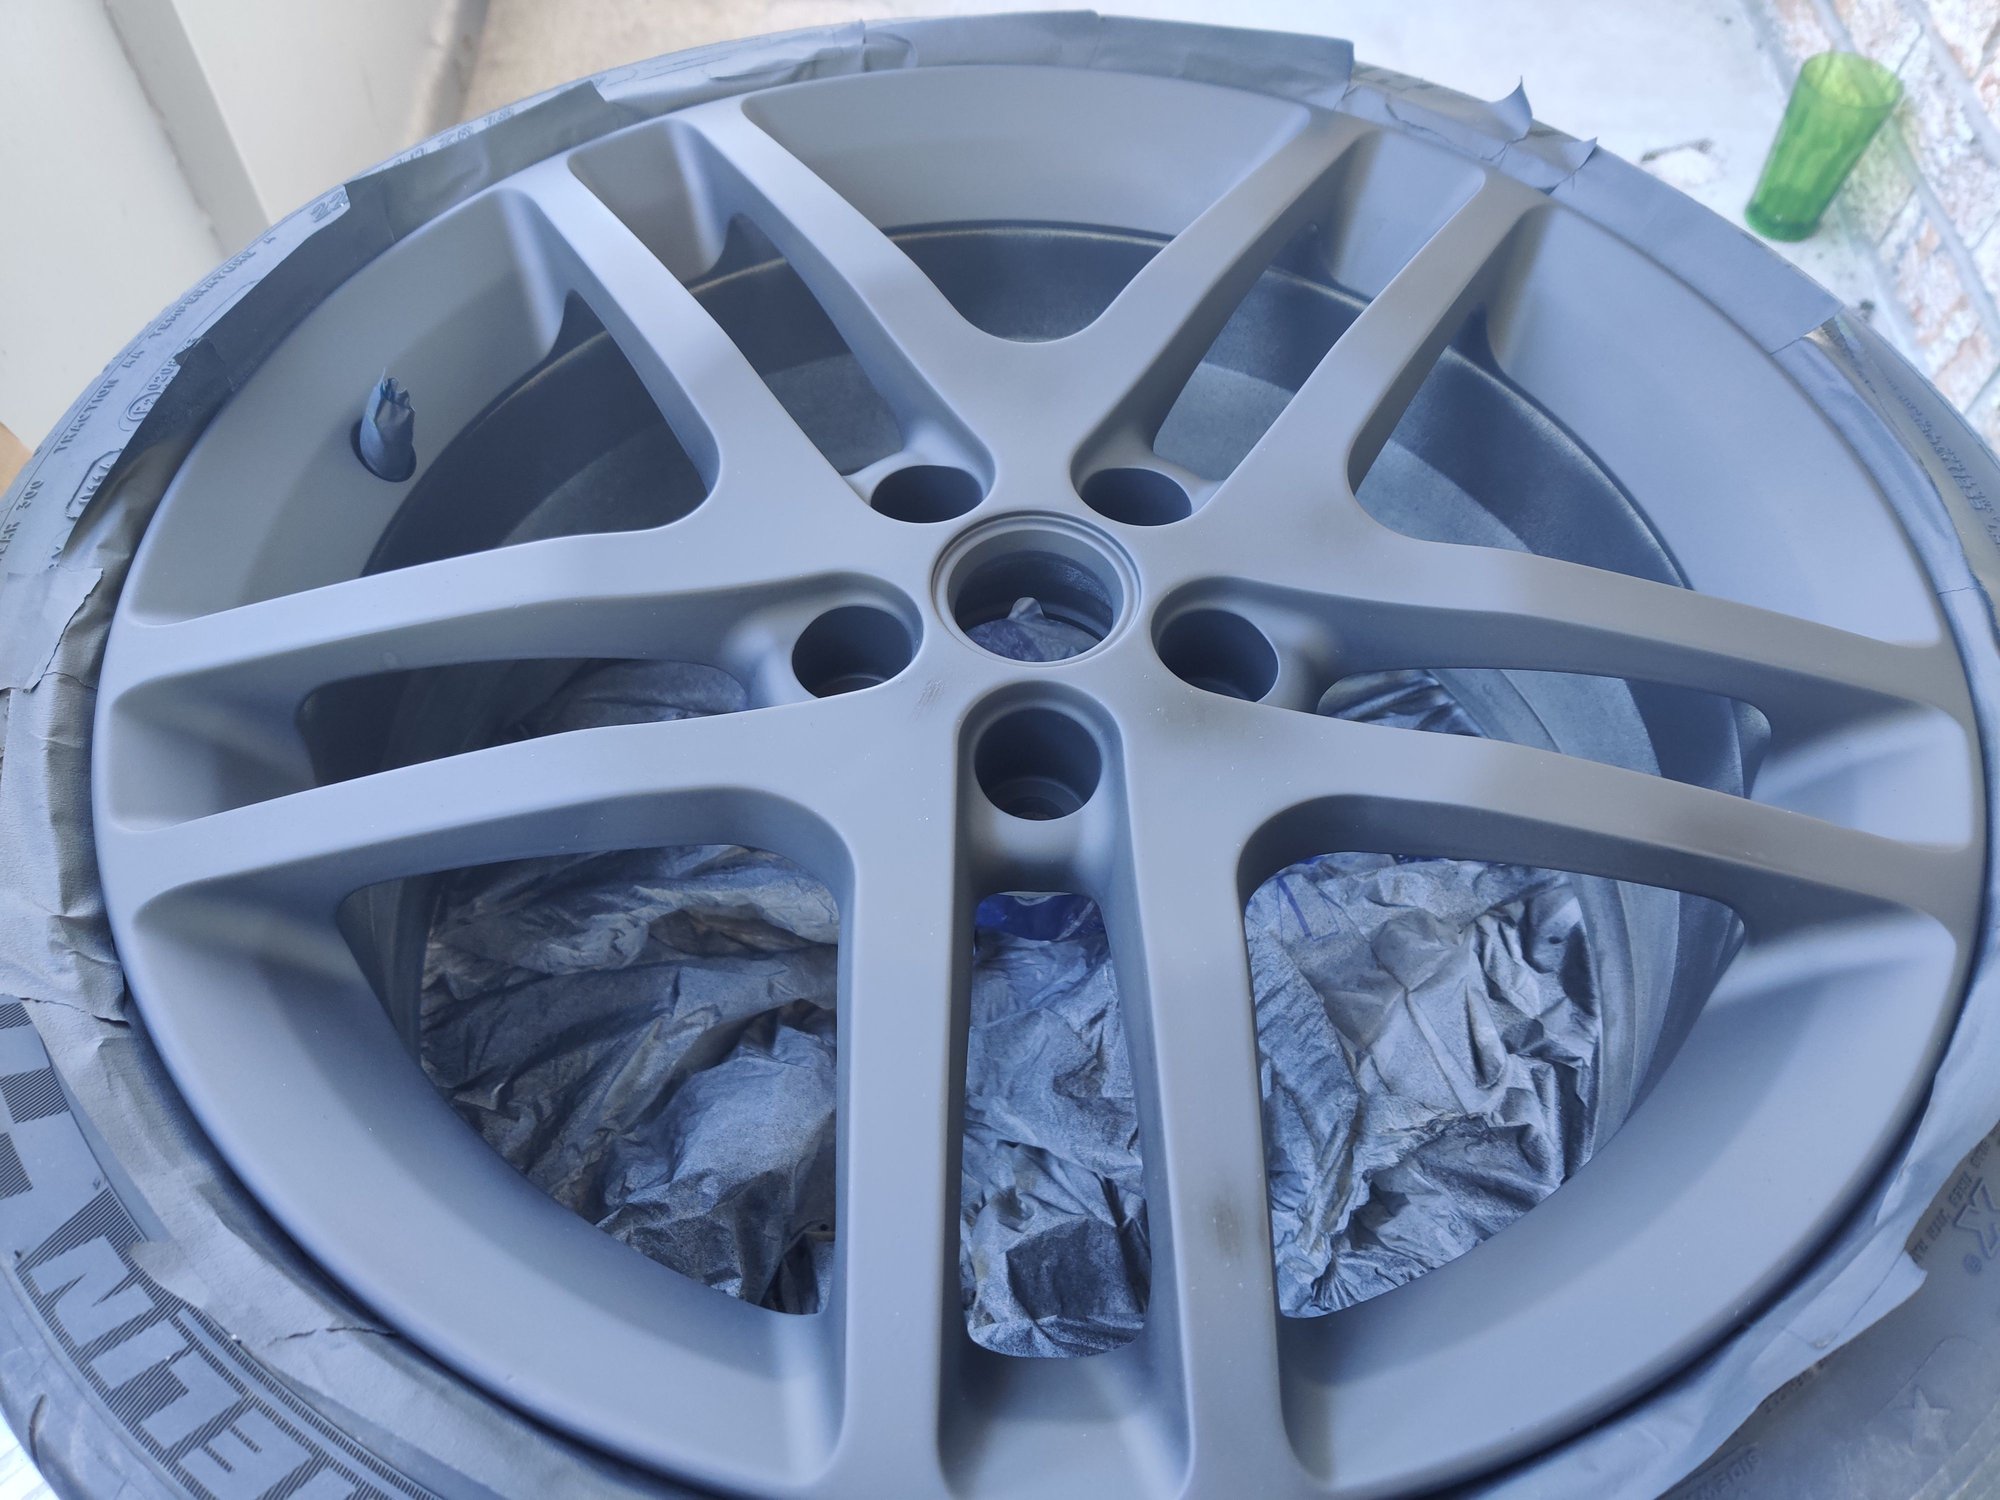
I also did a light wet sanding of the primer using 600 grit to smooth it out. Once this cures (24 hours) I'll compound and polish the clear coat and it'll be ready to mount!
Spoiler
I also did a light wet sanding of the primer using 600 grit to smooth it out. Once this cures (24 hours) I'll compound and polish the clear coat and it'll be ready to mount!
Spoiler
Last edited by ProfDNS; 09-04-2020 at 03:32 PM. Reason: 1 more picture
The following users liked this post:
BlackielawlessSS (09-04-2020)
The following users liked this post:
ProfDNS (09-04-2020)
#81
Thread Starter
Senior Member
Joined: 01-31-16
Posts: 5,292
Likes: 545
From: Frozen Wasteland of the North
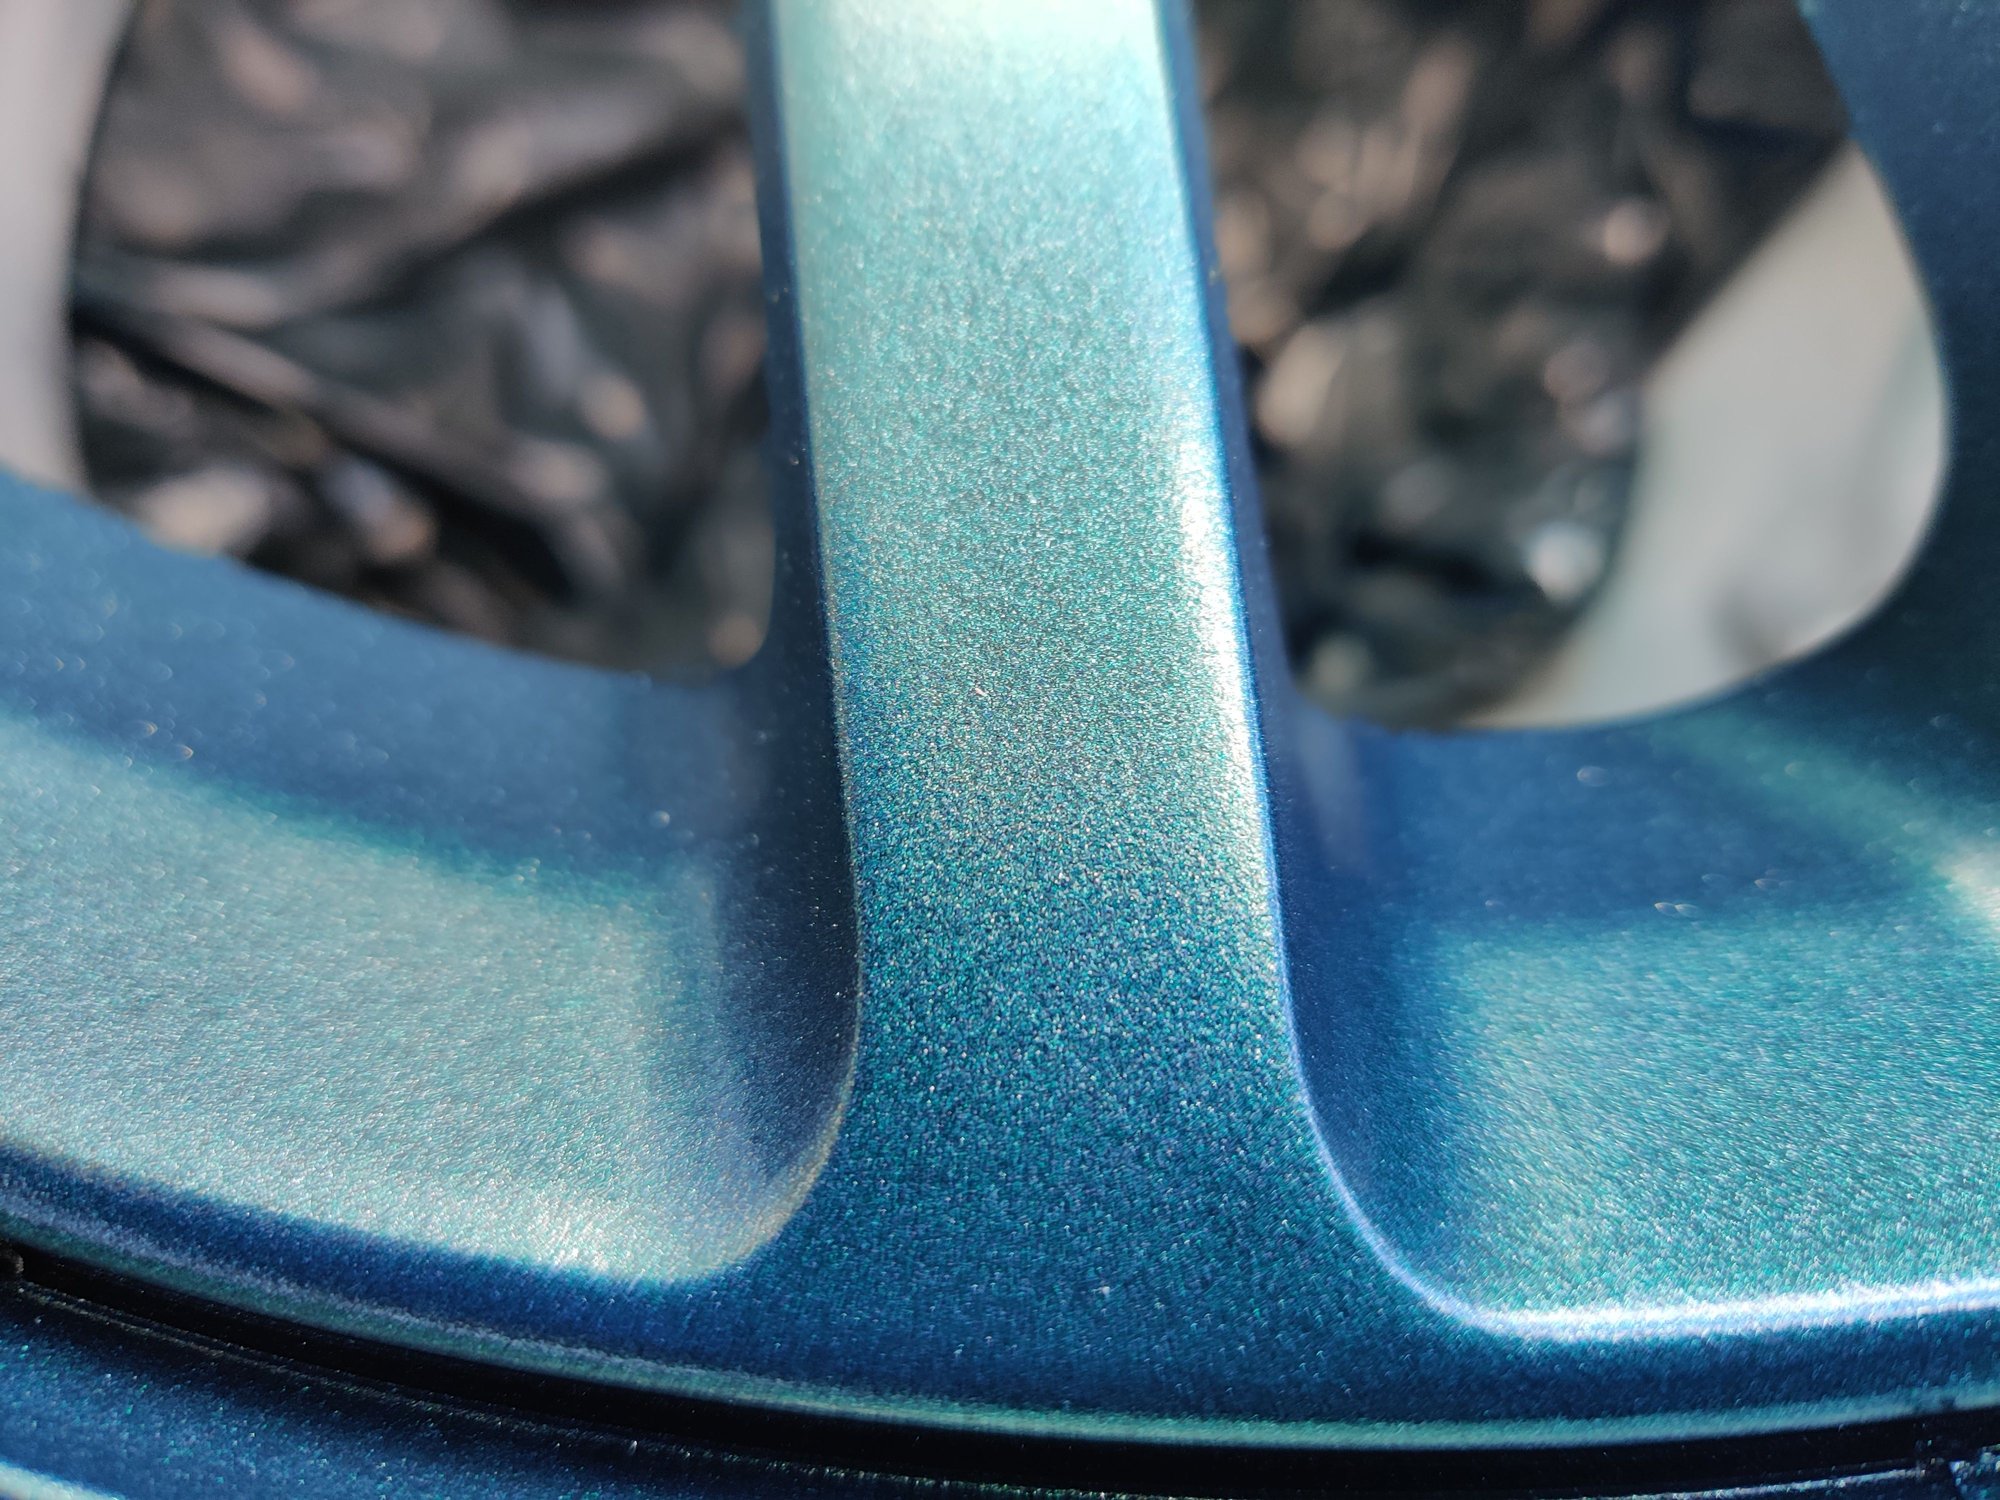
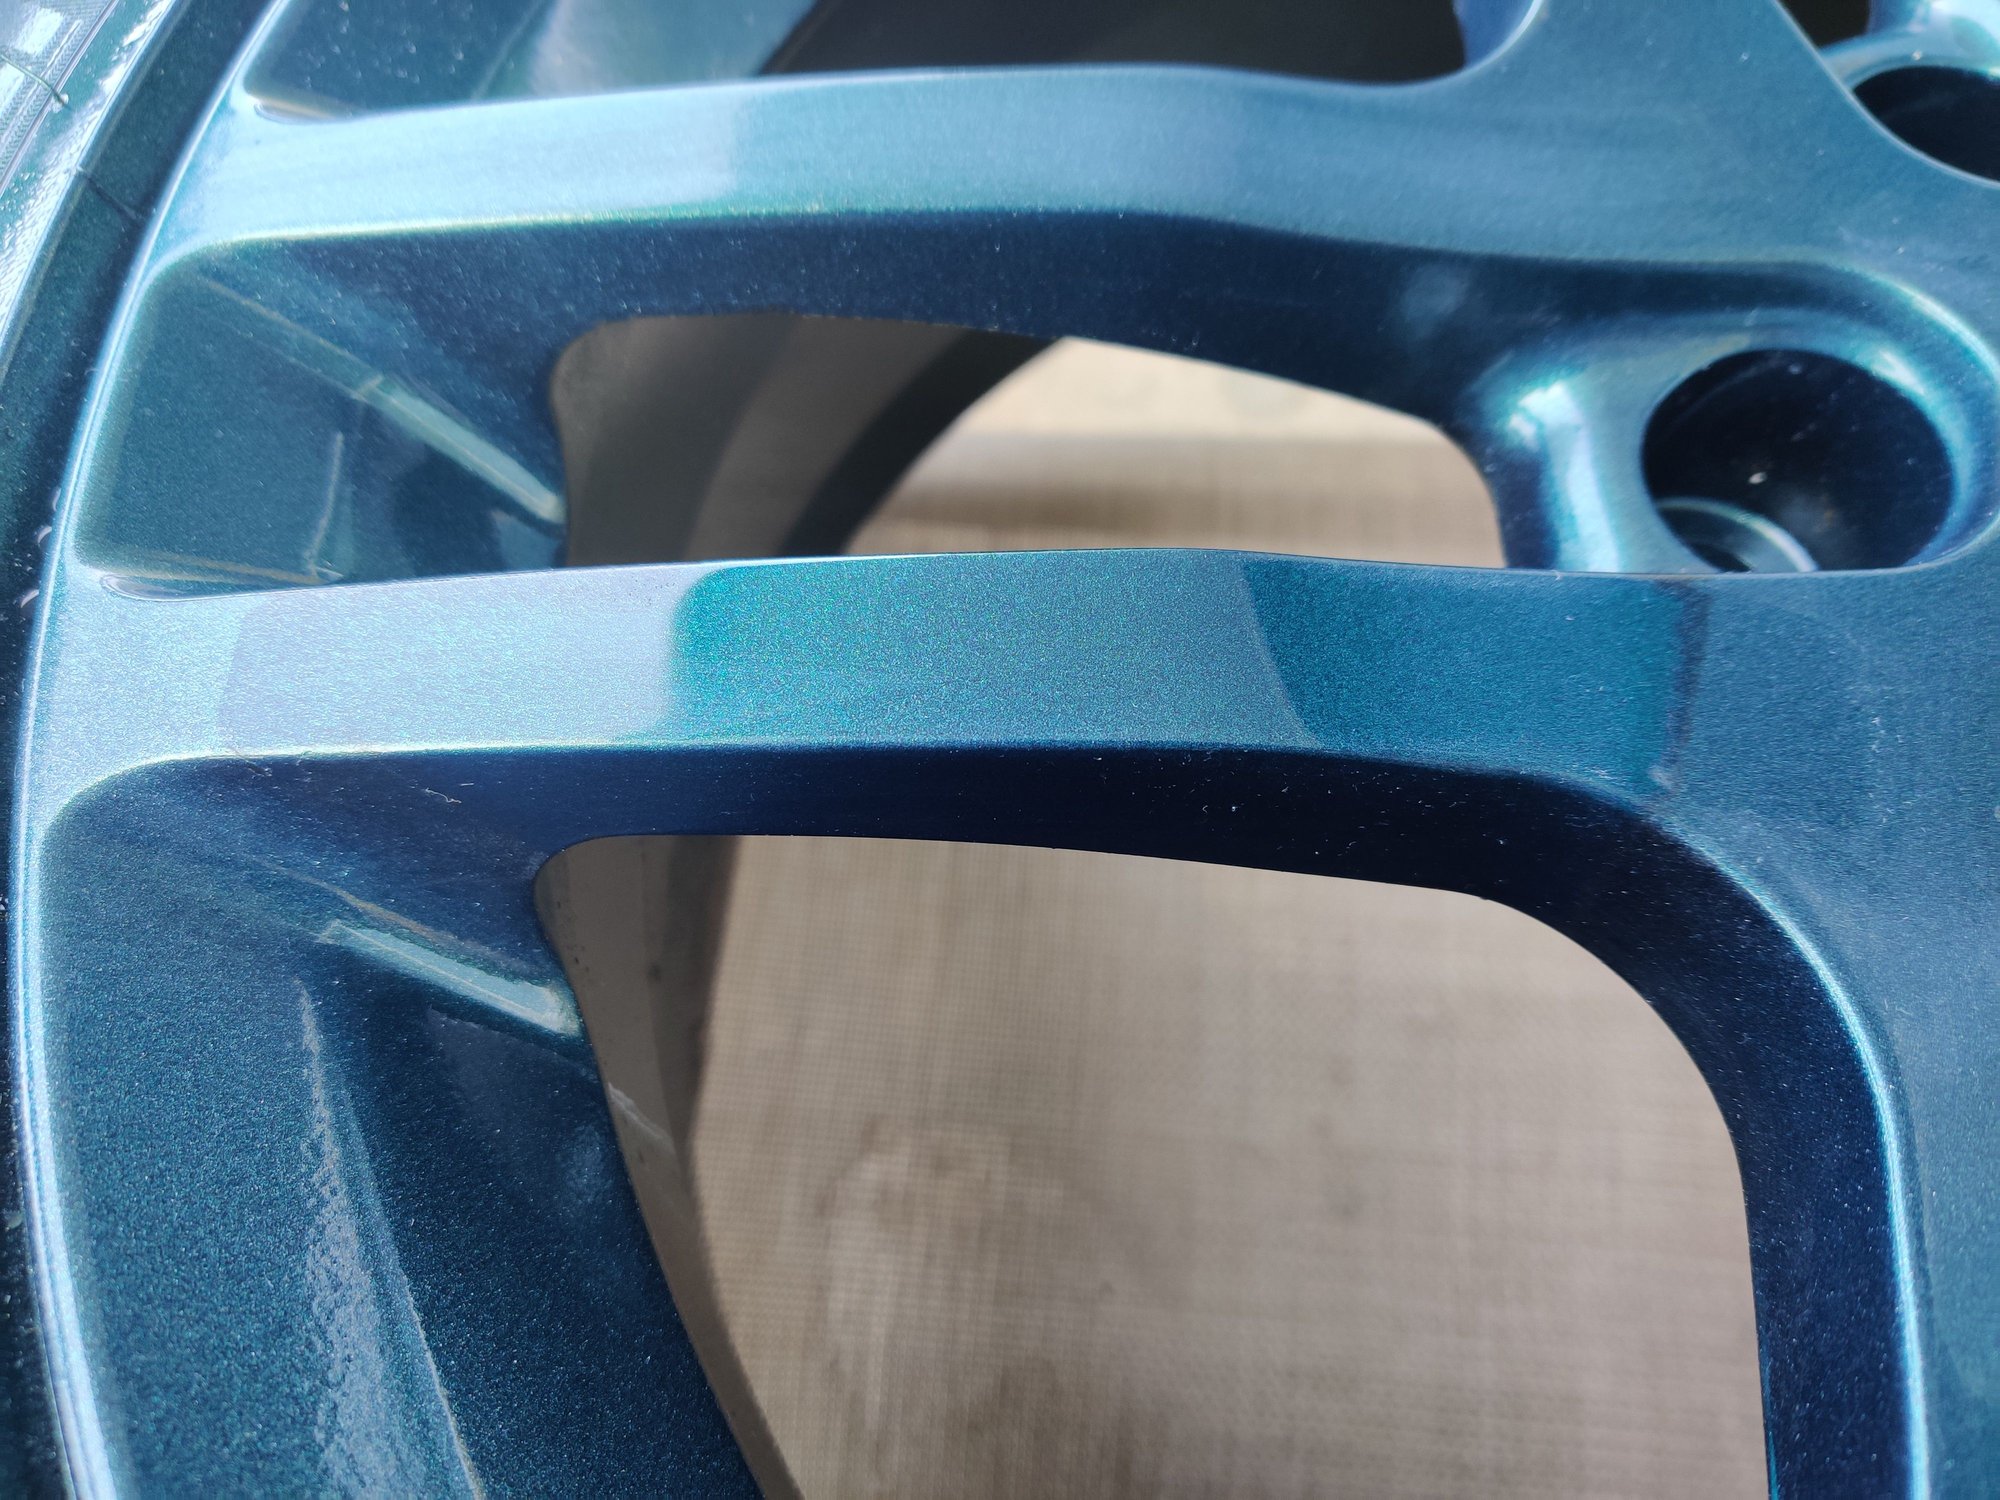
It does slightly change colours from light to shade but I like that subtle. I feel I would've done a better job if it wasn't so breezy but I should be able to hide most of the perfections after the polishing.
#83
Thread Starter
Senior Member
Joined: 01-31-16
Posts: 5,292
Likes: 545
From: Frozen Wasteland of the North
Im pretty happy with it this far. Just finished rim #2. I forgot to mention that the inside of the rim will be black. I'll do that after the curing process for the front.
The following users liked this post:
BlackielawlessSS (09-07-2020)
#84
Thread Starter
Senior Member
Joined: 01-31-16
Posts: 5,292
Likes: 545
From: Frozen Wasteland of the North
All 4 fronts are done. I'll see how the curing is by tomorrow afternoon and see if I will be painting the backside. I'll take a few more photos when I'm sure I can touch the rims again.
#85
Thread Starter
Senior Member
Joined: 01-31-16
Posts: 5,292
Likes: 545
From: Frozen Wasteland of the North
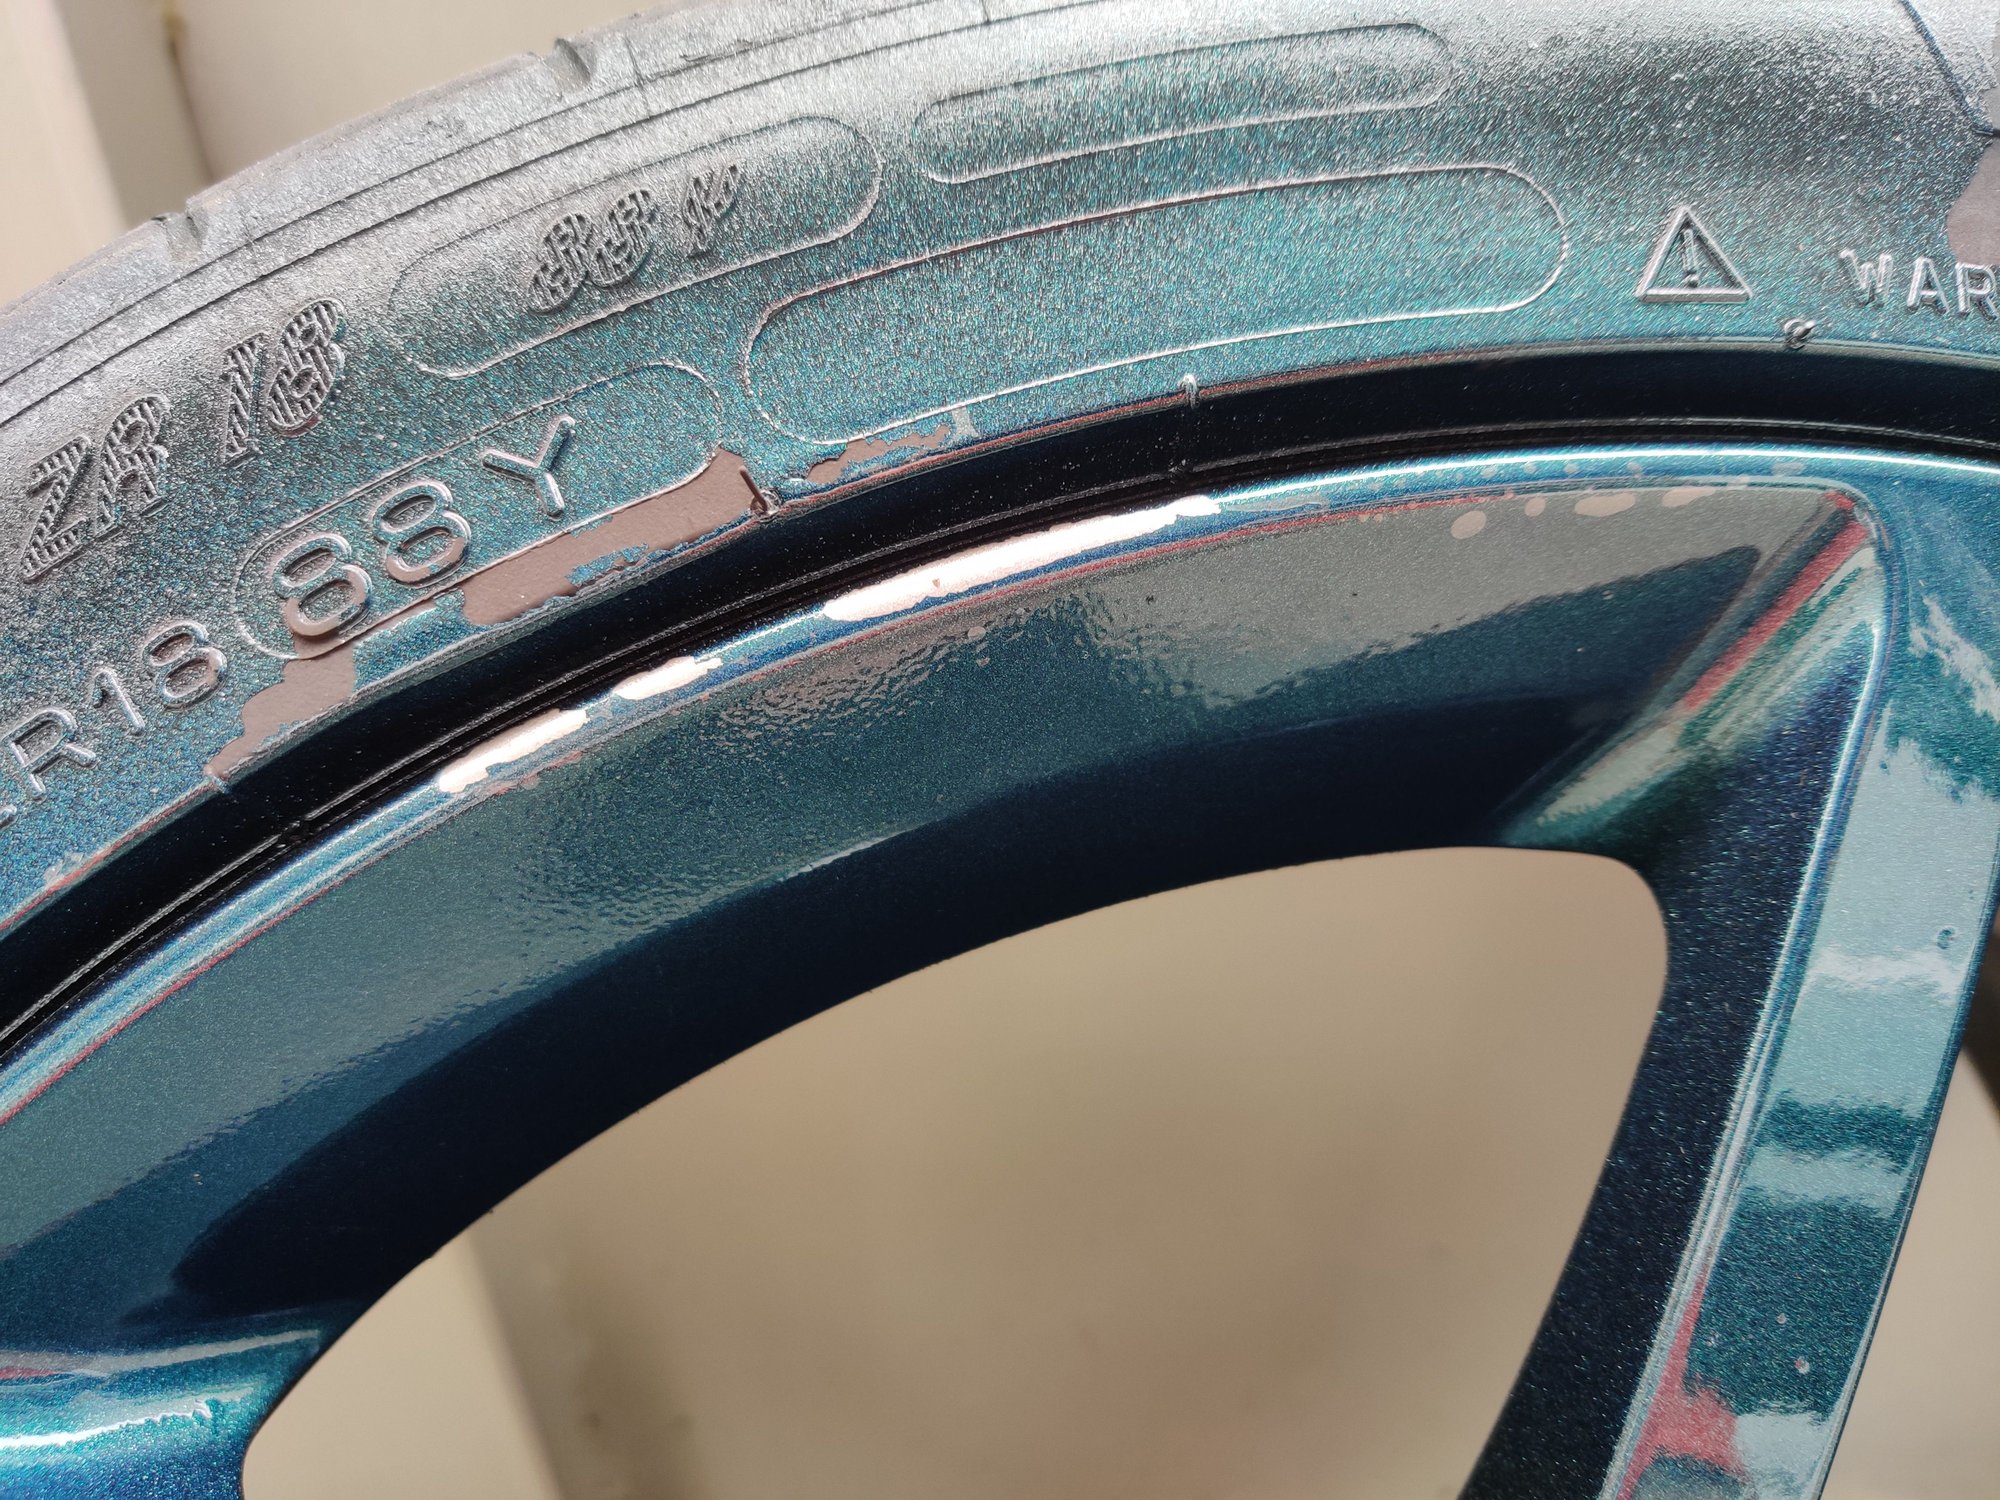
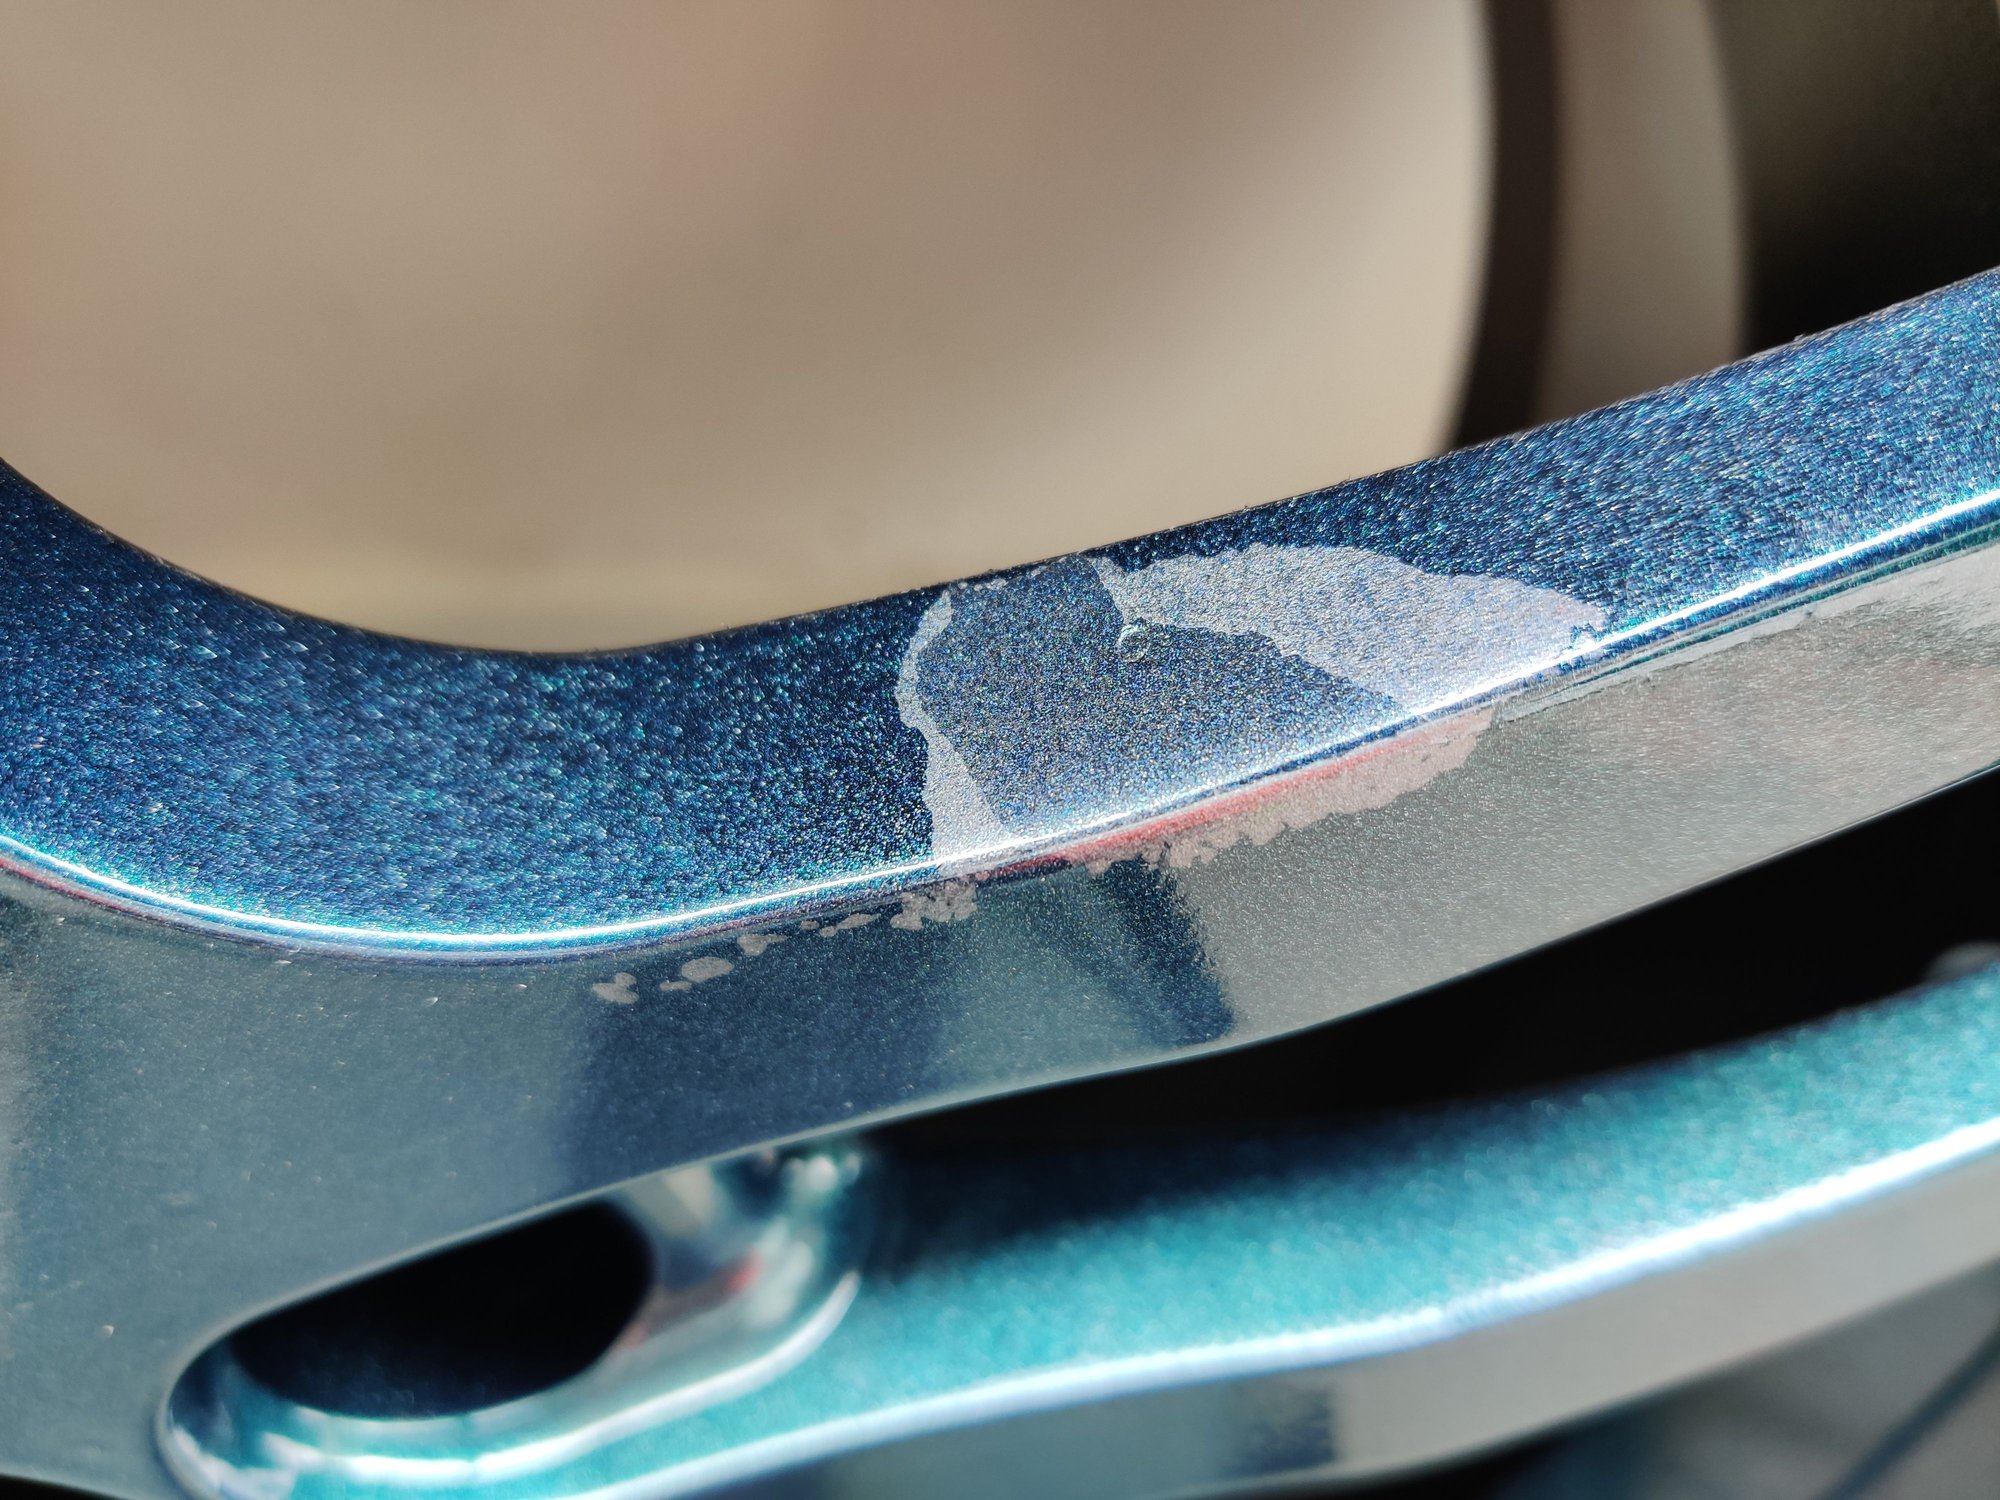
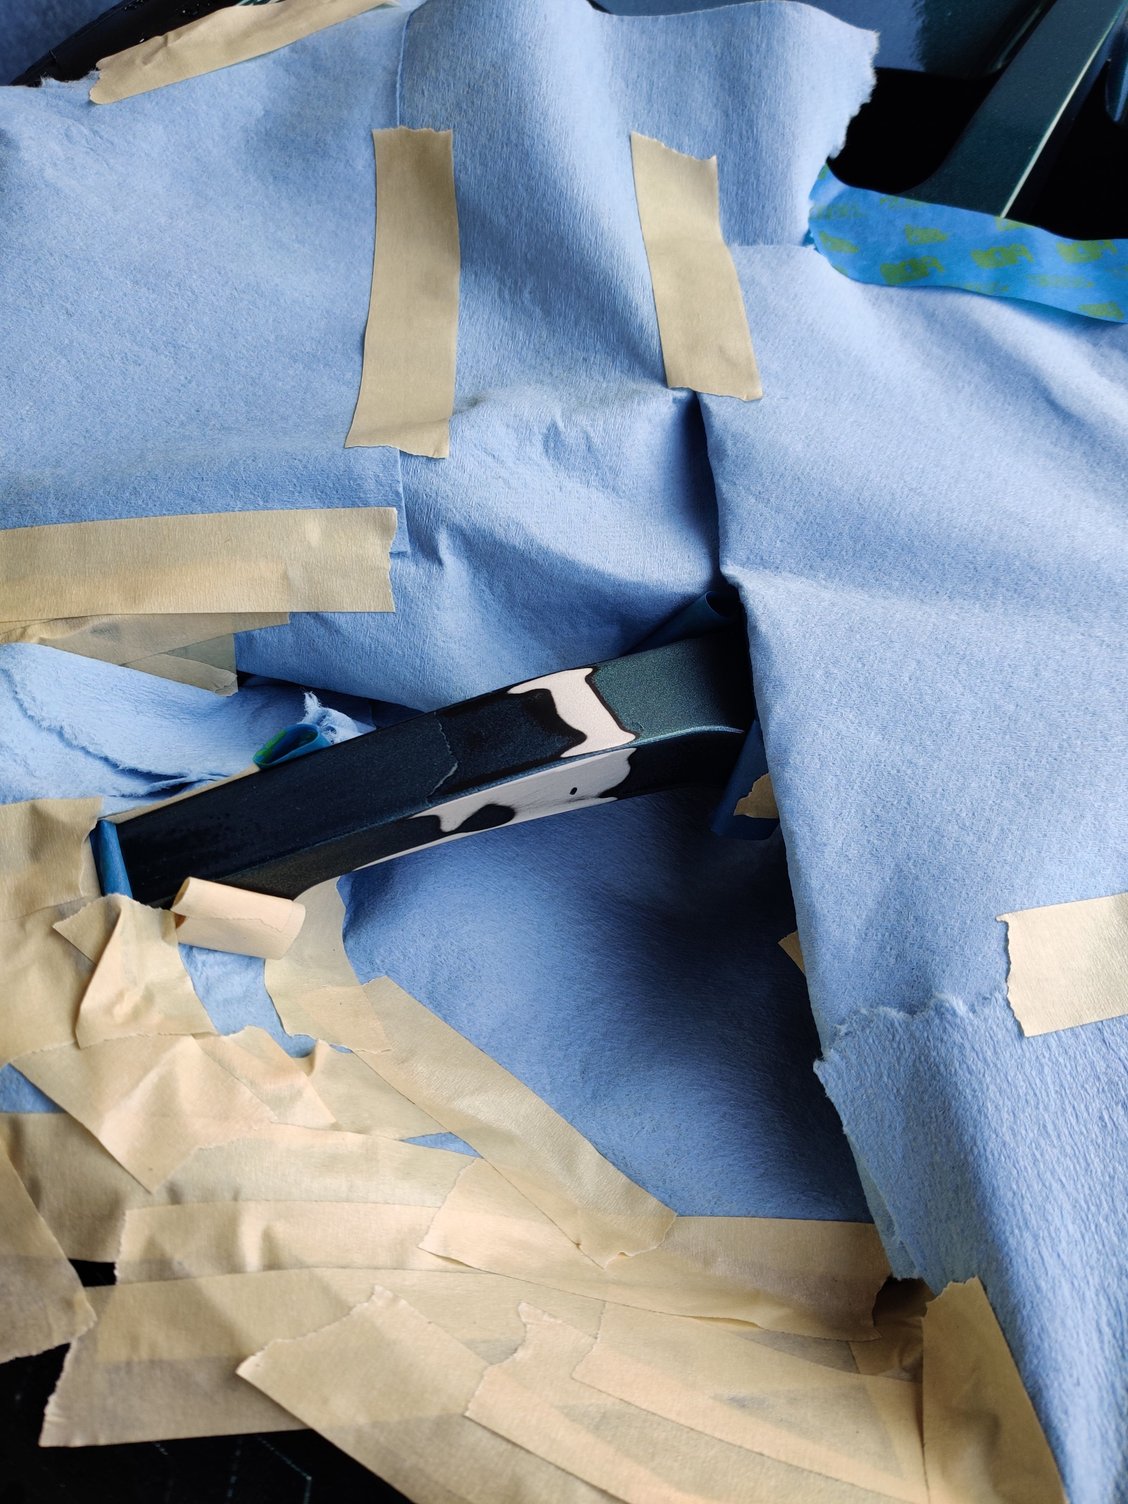
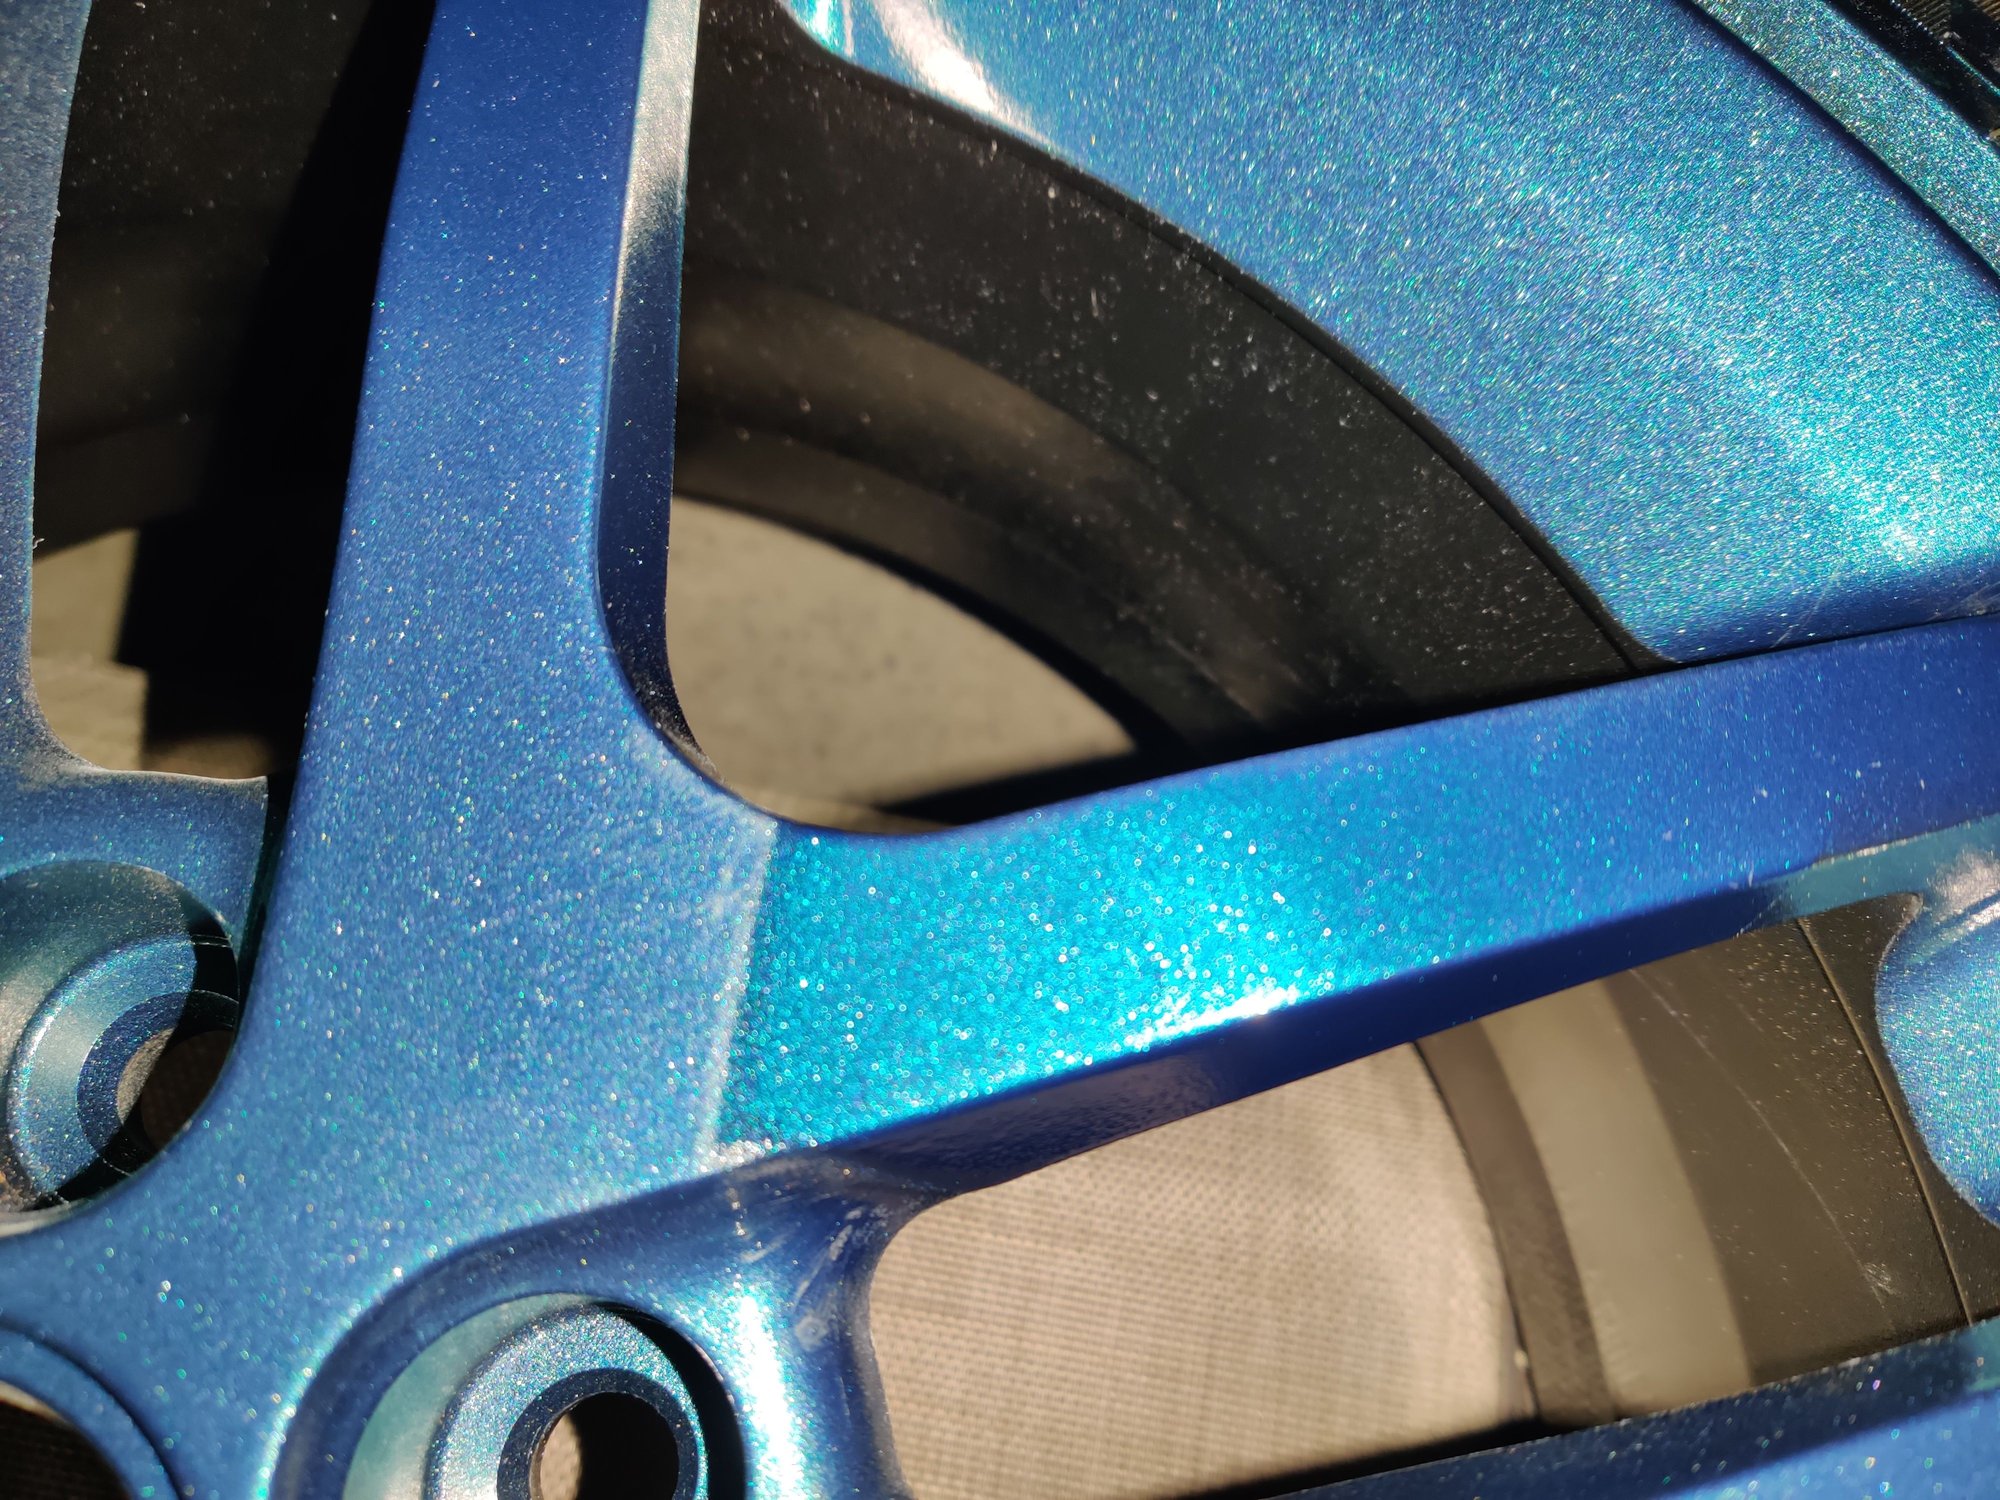
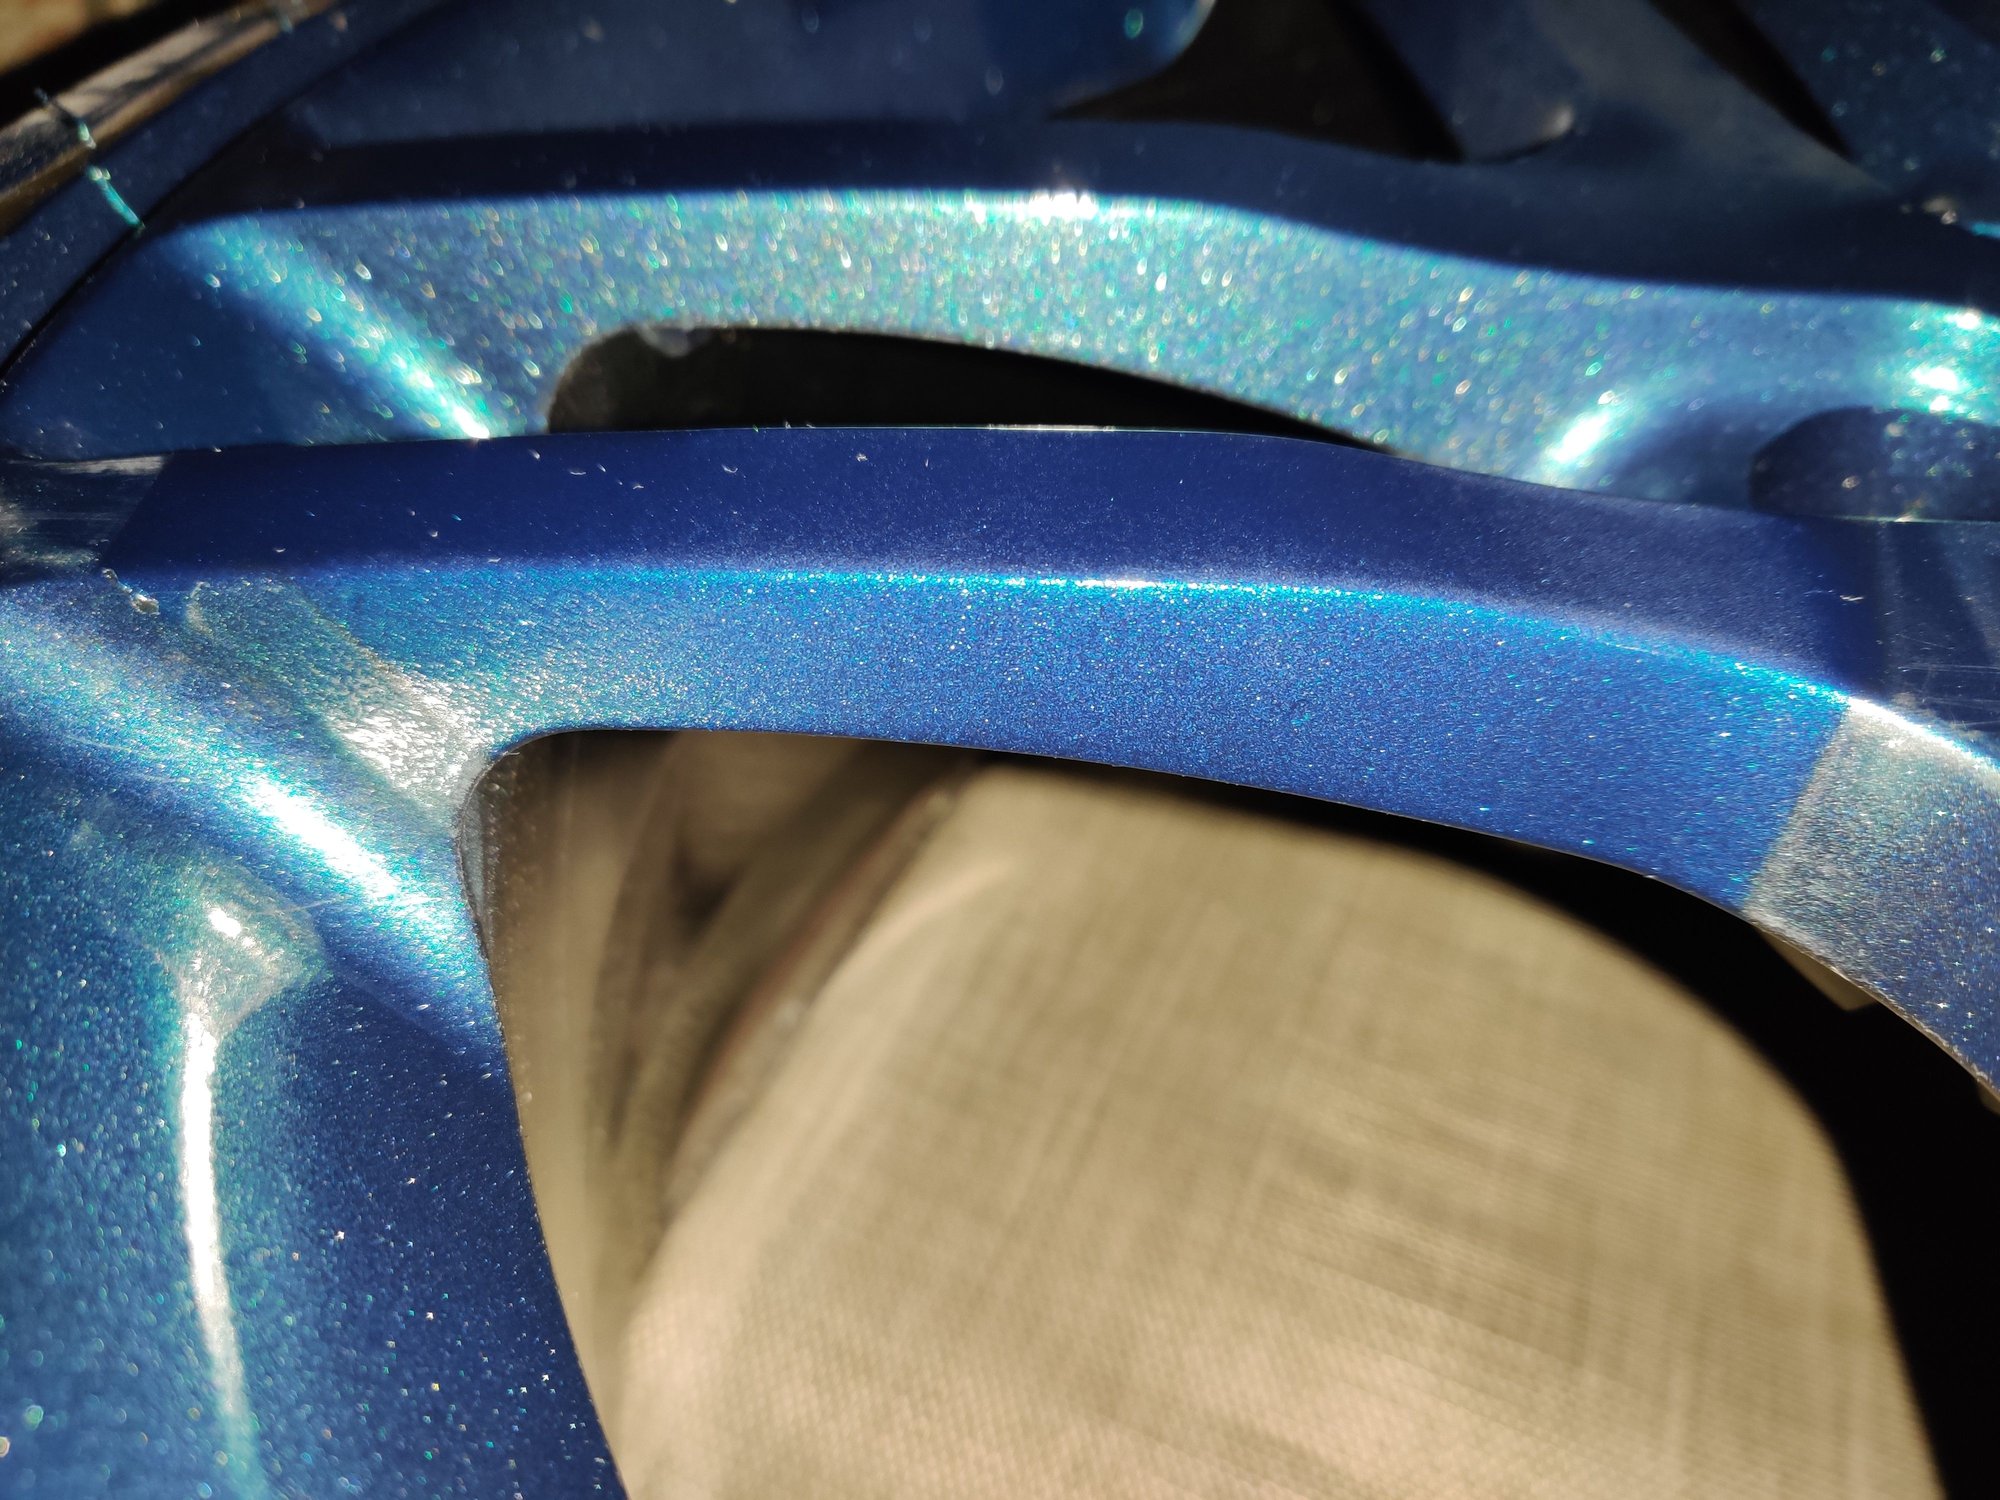
Finished all 4 rims. 2 of them turned perfect. One, a small section of the spoke the tape pulled off the clear coat down to the paint itself. The other, the painter's tape took off the clear coat, paint and primer leaving the bare metal along the rim in a few spots. I have no idea how this happened, I let the fronts cure for over 36 hours. Ugh. Pictures when done curing, and it's windy as **** outside.
#87
Thread Starter
Senior Member
Joined: 01-31-16
Posts: 5,292
Likes: 545
From: Frozen Wasteland of the North
The tires themselves are end of life, so I'm not worried about them.
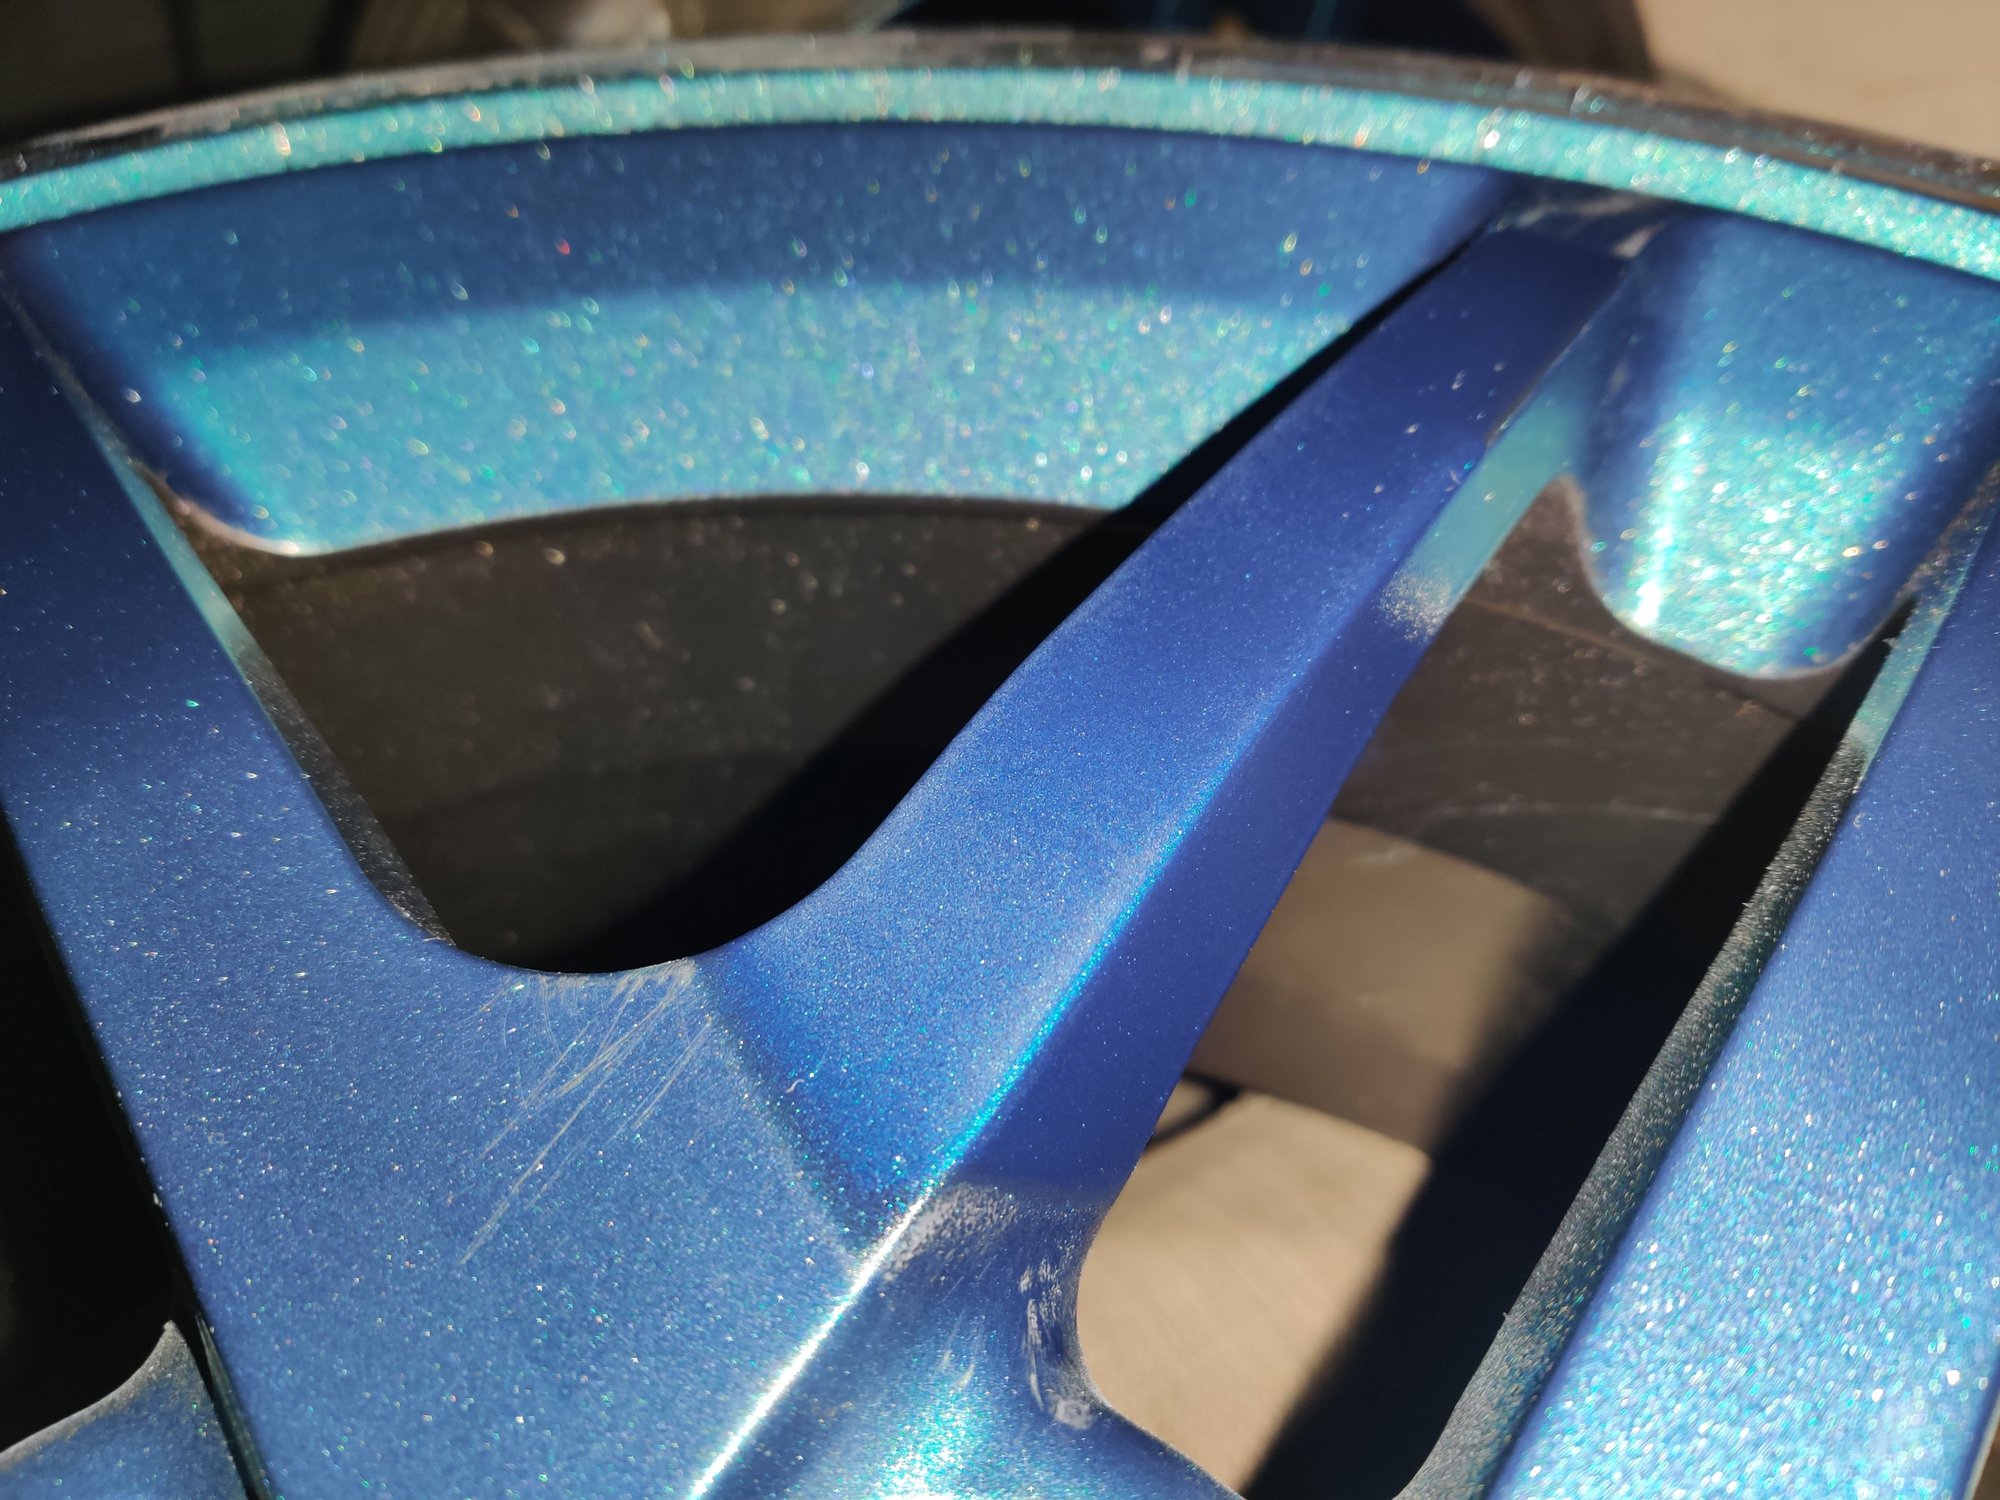
The rim edge I think I can fix by masking off the edges around it and try to feather the sides. However, that clear coat peel I'm not sure if I want to sand those sections and start over or see if I can't feather the clear coat in via 3 light coats.
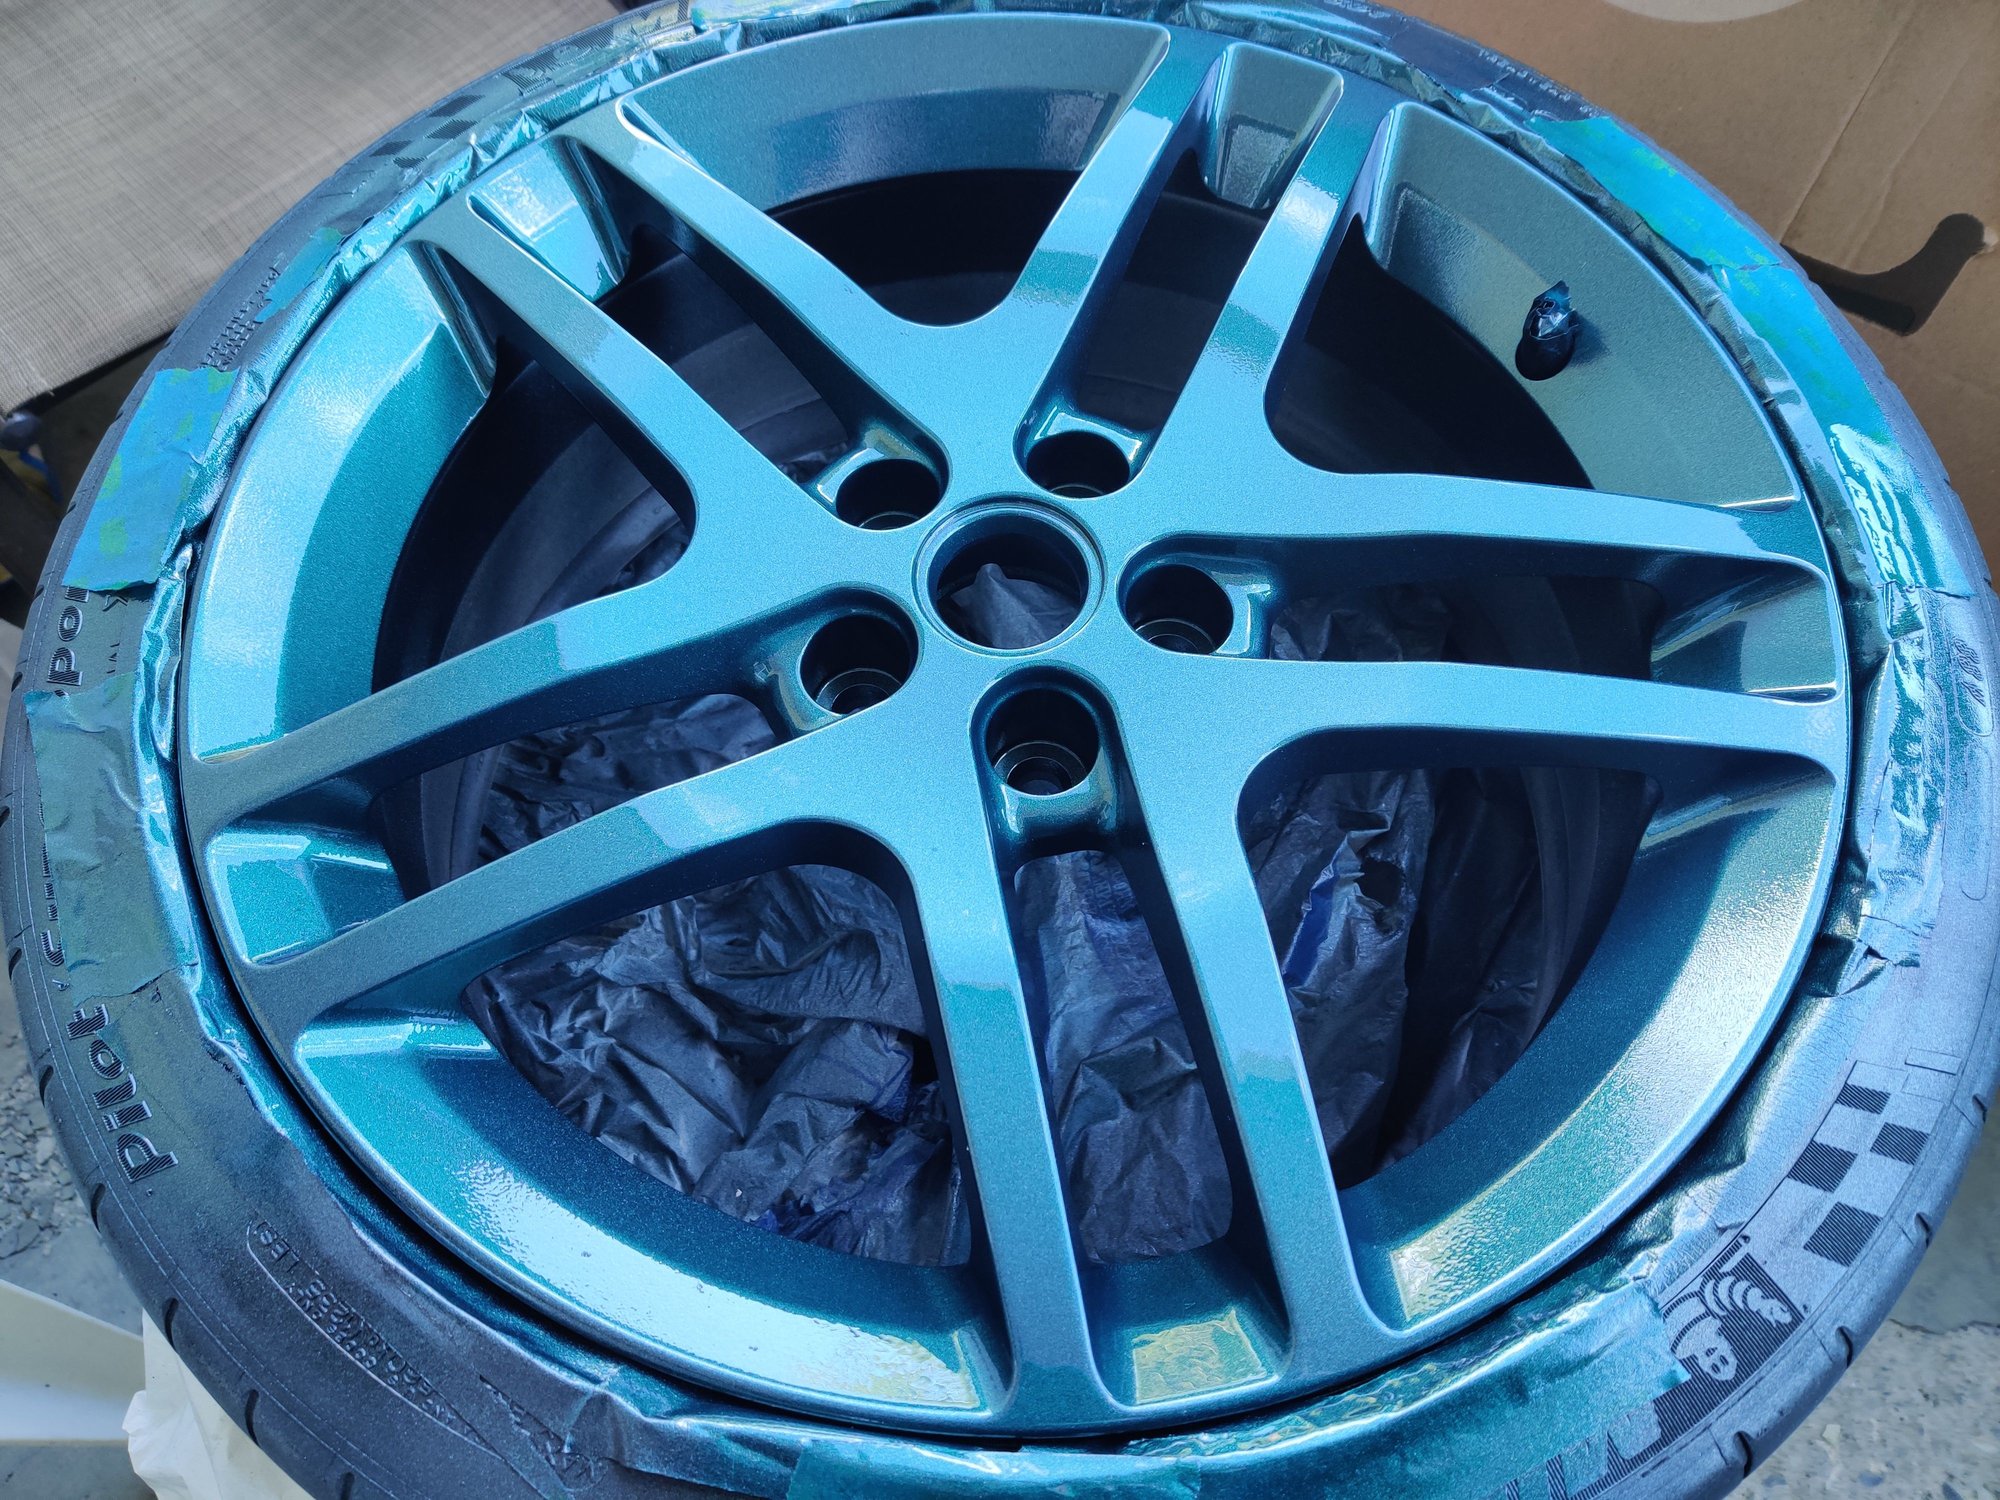
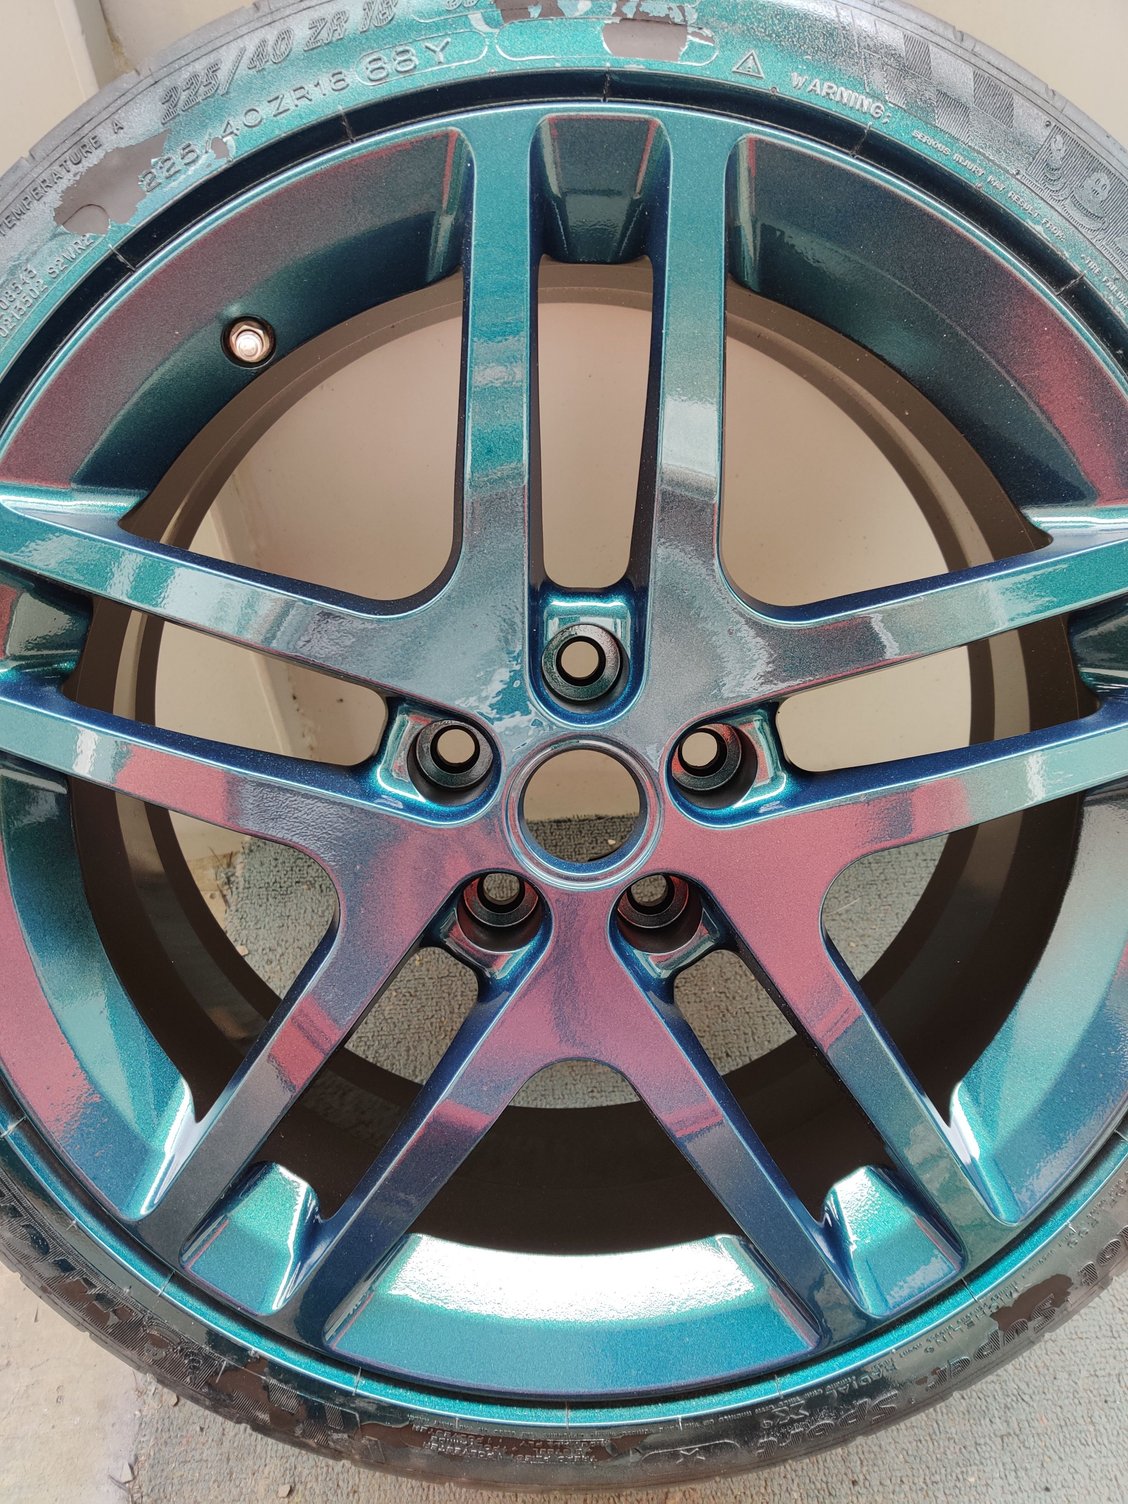
This is the final product:
Spoiler
This is the final product:
Spoiler
#90
Thread Starter
Senior Member
Joined: 01-31-16
Posts: 5,292
Likes: 545
From: Frozen Wasteland of the North
Hopefully I can have those pictures by next week.
The sanding was done between 60-320 grit sandpaper, then I cleaned with isopropyl alcohol twice to make sure there was no dirt, then a tack cloth to remove the dust that may have landed on it since I was doing everything outside. 2 coats of primer, wet sanded the primer with 600 grit to smooth out the orange peel, then sprayed with the colour and clear. I used scotch blue painter's tape for the creasing to spray the black on the back (which was very successful) then standard masking tape to cover the rest. The scotch tape did the clear coat peel and the masking tape did the rim damage despite being careful on pulling the tape slowly at a 45 degree angle.
#91
Hopefully I can have those pictures by next week.
The sanding was done between 60-320 grit sandpaper, then I cleaned with isopropyl alcohol twice to make sure there was no dirt, then a tack cloth to remove the dust that may have landed on it since I was doing everything outside. 2 coats of primer, wet sanded the primer with 600 grit to smooth out the orange peel, then sprayed with the colour and clear. I used scotch blue painter's tape for the creasing to spray the black on the back (which was very successful) then standard masking tape to cover the rest. The scotch tape did the clear coat peel and the masking tape did the rim damage despite being careful on pulling the tape slowly at a 45 degree angle.
The sanding was done between 60-320 grit sandpaper, then I cleaned with isopropyl alcohol twice to make sure there was no dirt, then a tack cloth to remove the dust that may have landed on it since I was doing everything outside. 2 coats of primer, wet sanded the primer with 600 grit to smooth out the orange peel, then sprayed with the colour and clear. I used scotch blue painter's tape for the creasing to spray the black on the back (which was very successful) then standard masking tape to cover the rest. The scotch tape did the clear coat peel and the masking tape did the rim damage despite being careful on pulling the tape slowly at a 45 degree angle.
#92
Thread Starter
Senior Member
Joined: 01-31-16
Posts: 5,292
Likes: 545
From: Frozen Wasteland of the North
Absolutely, but by the time I started the masking, it was 36 hours after spray, so it should've cured enough to not have that kind of damage.
#93
#94
Thread Starter
Senior Member
Joined: 01-31-16
Posts: 5,292
Likes: 545
From: Frozen Wasteland of the North
The last week it's been mild at best. In fake temp numbers, it's been low 70's, 30% humidity give or take max. On the weekend it rained but I was already well done before then. In high temps/humidity, when I was painting my interior trim, I did have to redo 1 piece completely as the paint wrinkled, but the masking didn't pull anything off.
#96
Thread Starter
Senior Member
Joined: 01-31-16
Posts: 5,292
Likes: 545
From: Frozen Wasteland of the North
It wasn't good weather for the last few days, but I did manage to "fix" the clear coat peel rim. I'm hoping some compound and polish should make it unnoticeable.Sanded with 600 and 1500 grit sandpaper to really bring those edges down. More clear coat peeled as I was sanding which is good - it won't bubble up in the future, but it went pretty wide.
Spoiler
#98
Thread Starter
Senior Member
Joined: 01-31-16
Posts: 5,292
Likes: 545
From: Frozen Wasteland of the North
Spoiler
I still need to fix the other wheel, but at least the damage is on the rim itself. Should be a bit easier to hide. It's mild/low humidity today so I'll be doing that tonight. I may try to sand down to the paint and see if I can't do any additional blending, then reapply the clear coat. I'll have to do that by tomorrow for the can's shelf life.
#99
I would just put that rim on the back passenger side of the car and call it good. Its minimal at best. I know how hard it is to paint stuff outside. My first real project was a 15 year old urethane ground effect piece that did nothing but fight me. I kept stripping it down until I finally got it right. What primer did you use? I always did etching.
#100
Thread Starter
Senior Member
Joined: 01-31-16
Posts: 5,292
Likes: 545
From: Frozen Wasteland of the North
I had etching but ran out, so I used regular primer. The 2 that came out flawless, 1 had the etching (before it ran out), the other was the Rustoleum Primer. Same for the blemished rims, 1 was etch, the other was primer. In chronological order, 2 and 3 were perfect. The first one with the clear coat peeling, and the last one was the rim damage. Strange.


