2.0 LNF Engine: How to install injector seals (LNF)
#1
How to install injector seals (LNF)
It's a simple process, but I don't see a how-to so I decided to put one together. This requires the use of a special tool. There are two that I know of that will work: EN 48266 and EN 49245. The 48266 is the "correct" tool for the LNF. I own the 49245. The important inner diameter dimensions are the same for this tool so it works just fine. The difference is the 49245 has two cones instead of one, and they are both different lengths than the cone in the 48266 tool. It really doesn't matter.
OK. First things first is to obtain your injector seal kit. This kit comes with 8 of the black viton seals, so if you mess one up it's not a big deal. Next remove the injectors from the engine and the fuel rail. I'll leave that to a different how-to.
Now on to the first injector. Here's everything you'll need:
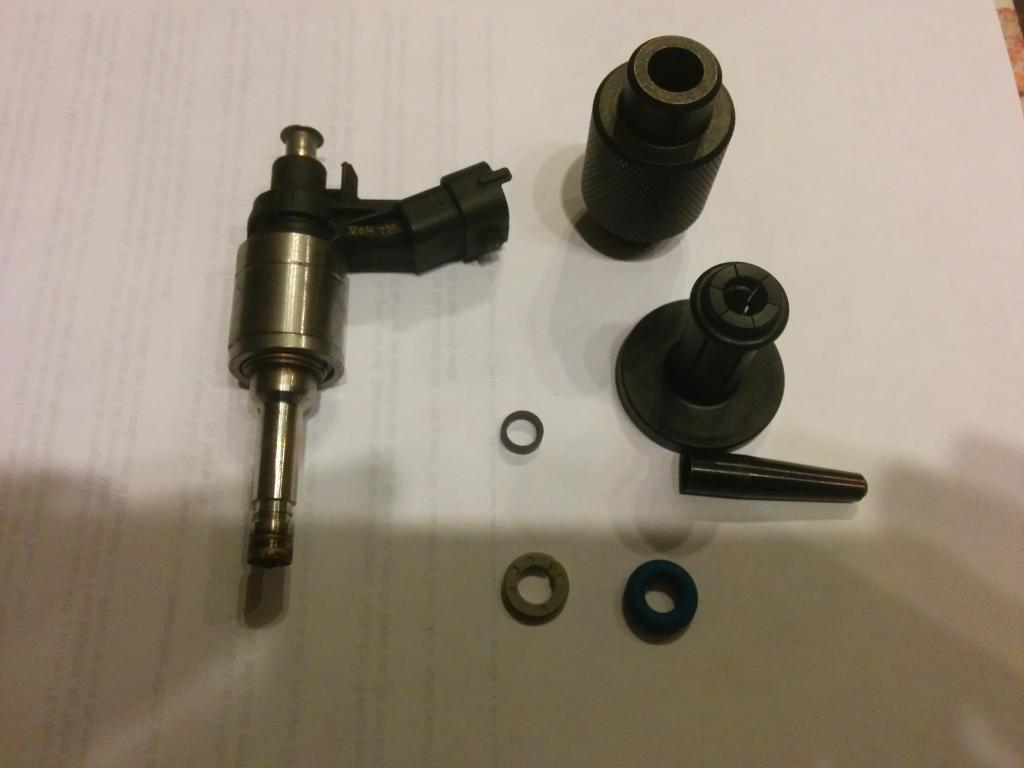
The 49245 pictured has a cone and two large black pieces. One is a big hunk of steel, and the other is plastic. I'll explain what each of the parts is for shortly. There are three replaceable seal parts: the small black viton seal that seals the combustion chamber, a large blue o-ring that fits in the fuel rail, and a grey plastic retainer thingy.
The first step is to put the black seal onto the tip of the cone:
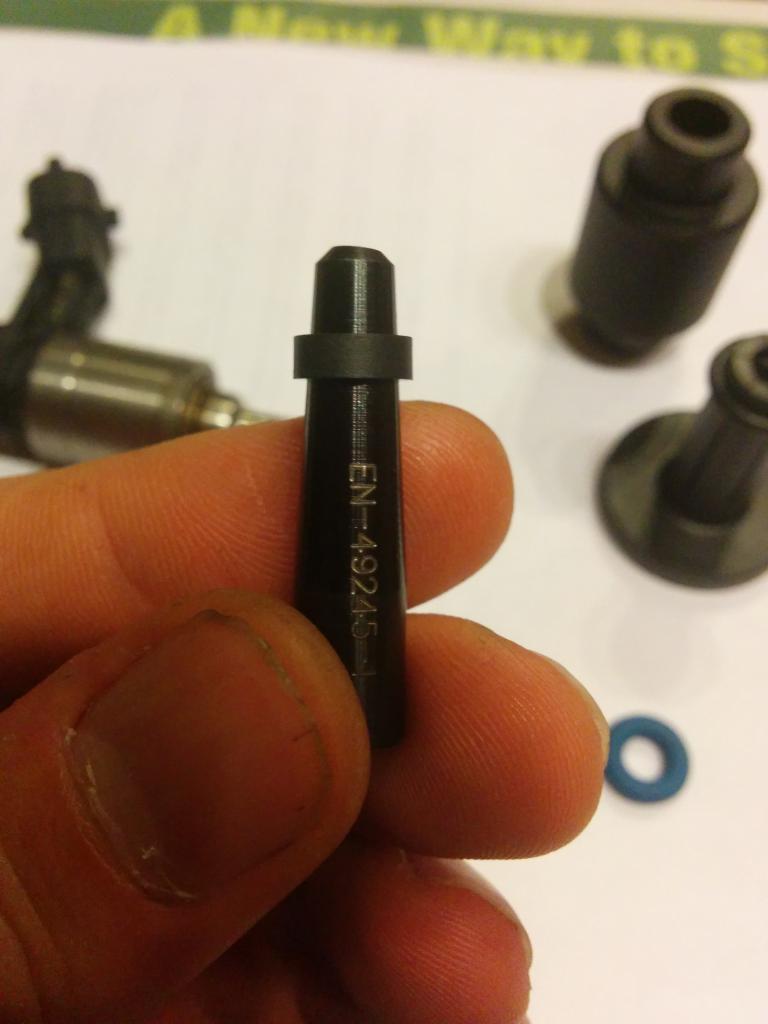
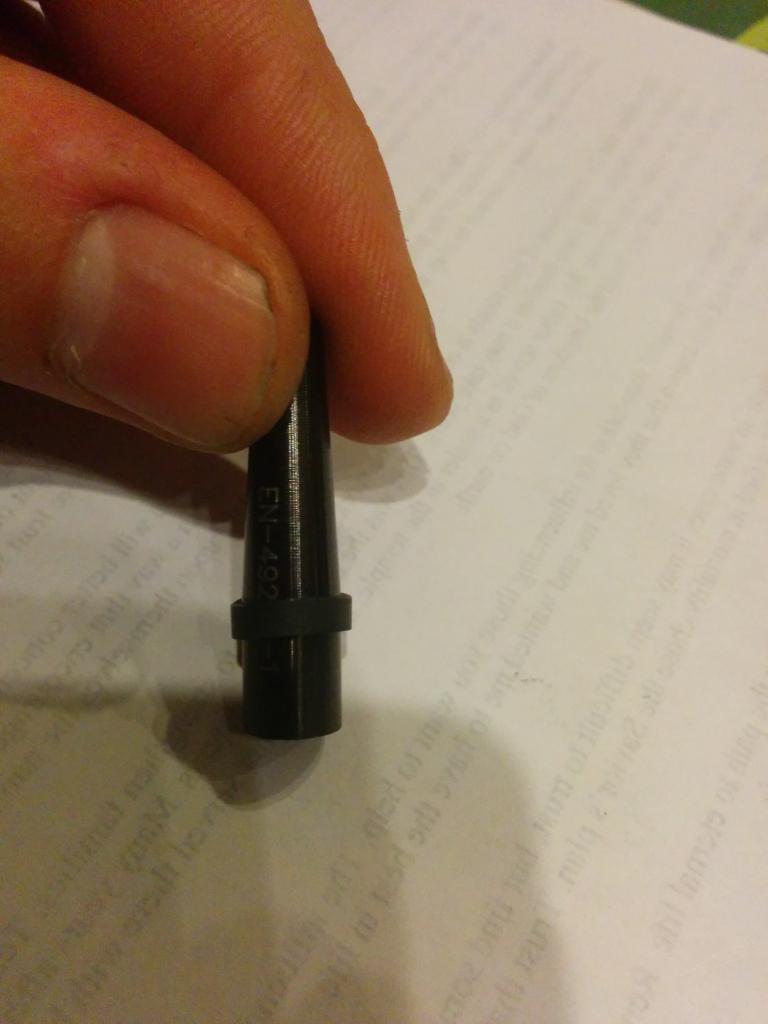
Push the seal down the cone with your fingers for a ways. The seal will stretch as it goes down. It'll take a little force to push it down. As long as you push it evenly, it won't break. Push it down until it is this far:
Now place the cone over the injector:
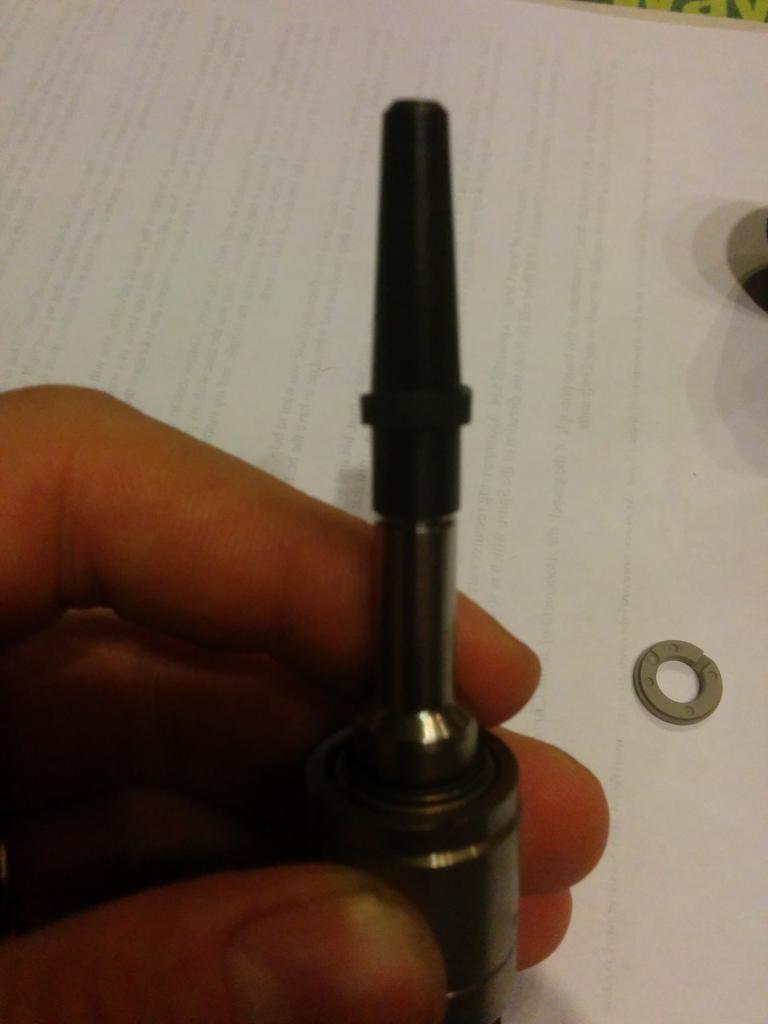
With the 49245 tool, the cone is a little too long and overlaps the groove where the seal fits. It's not a big deal. I didn't mess up any seals using it, so you can too. Now grab the plastic piece of the tool and insert the tip of the cone into it like so:
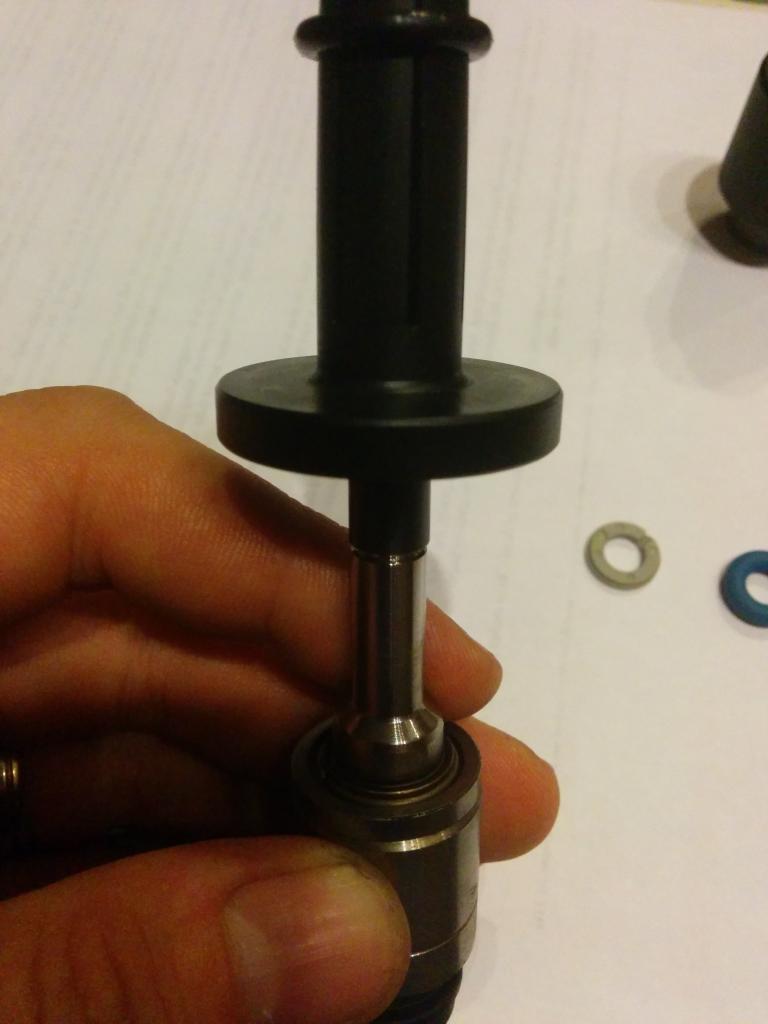
The 48266 tool only has the large steel piece. Each side has a slightly different inner diameter. At this point you would insert the tip of the cone into the larger diameter side of the tool.
Now use the tool to push the viton seal off of the cone and onto the injector into the groove. With the LNF tool the seal should slide right into the groove. With the 49245 tool, it will just miss the groove. Once the seal is free of the cone remove the tool and cone from the injector:
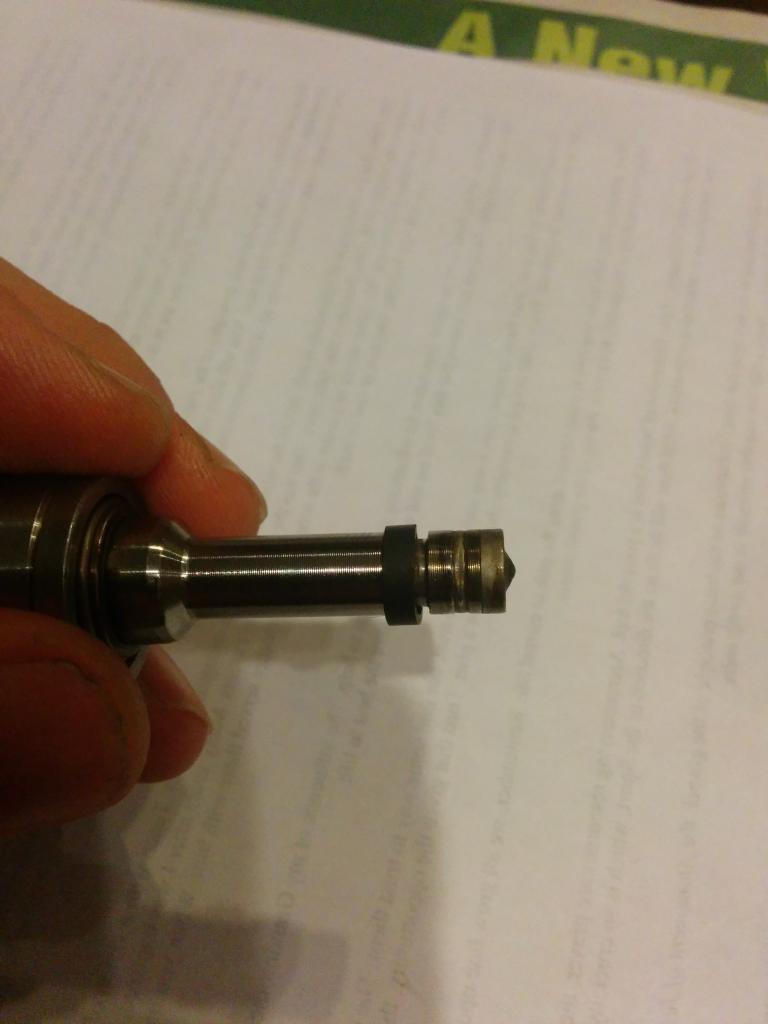
If the seal isn't totally seated in the groove, just push it into the groove. You'll notice that the seal is pretty loose in the groove. This is where the other tool comes in. If you have the LNF tool, flip it around so that the injector tip is inserted into the smaller diameter side. With the 49245 tool, the ID's are the same for the whole tool. This tool forms the seal into the correct diameter for the whole in the head. The tool will require some good force to slide down the injector:
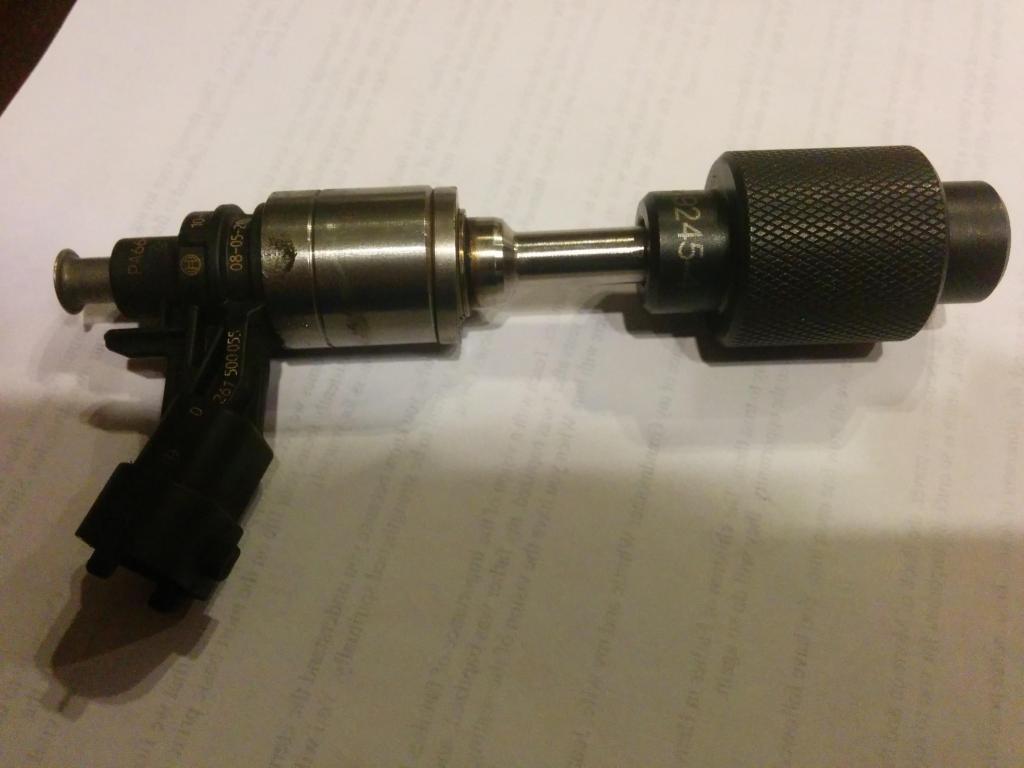
I flipped the injector around and pushed it into the tool like this (BE CAREFUL NOT TO LET THE INJECTOR TIP HIT THE TABLE):
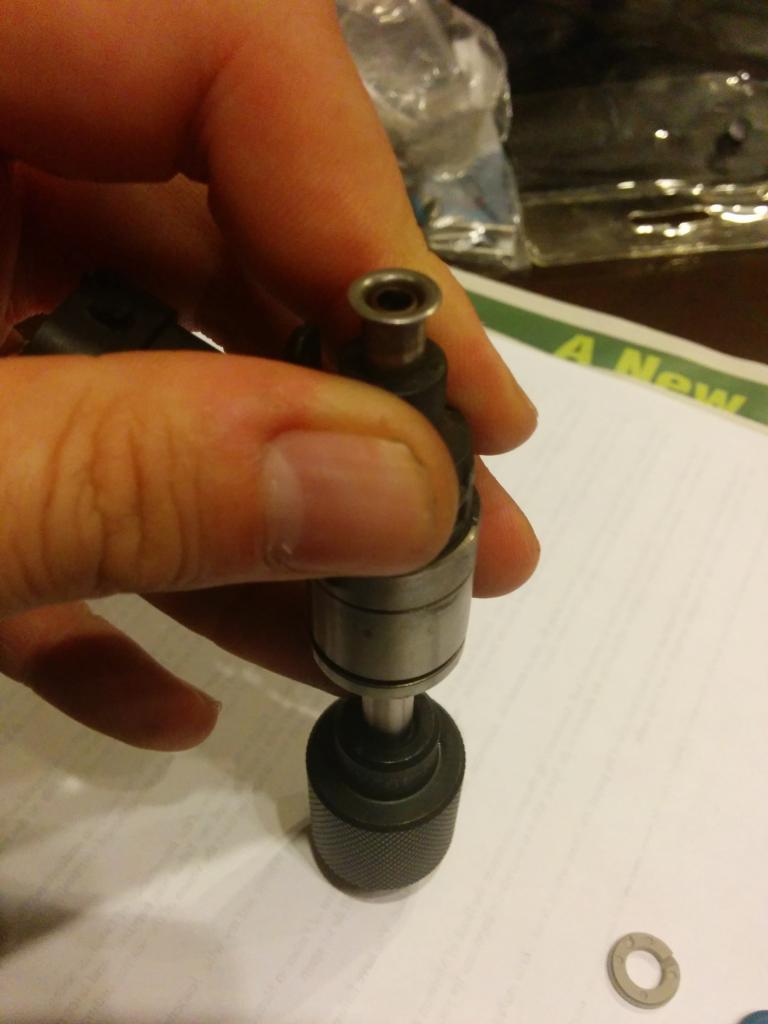
Make sure the seal fits all the way into the tool and turn the tool a few times. Keep the tool on the seal for a few minutes to make sure it doesn't relax back to the loose state. Then slide the injector out of the tool:
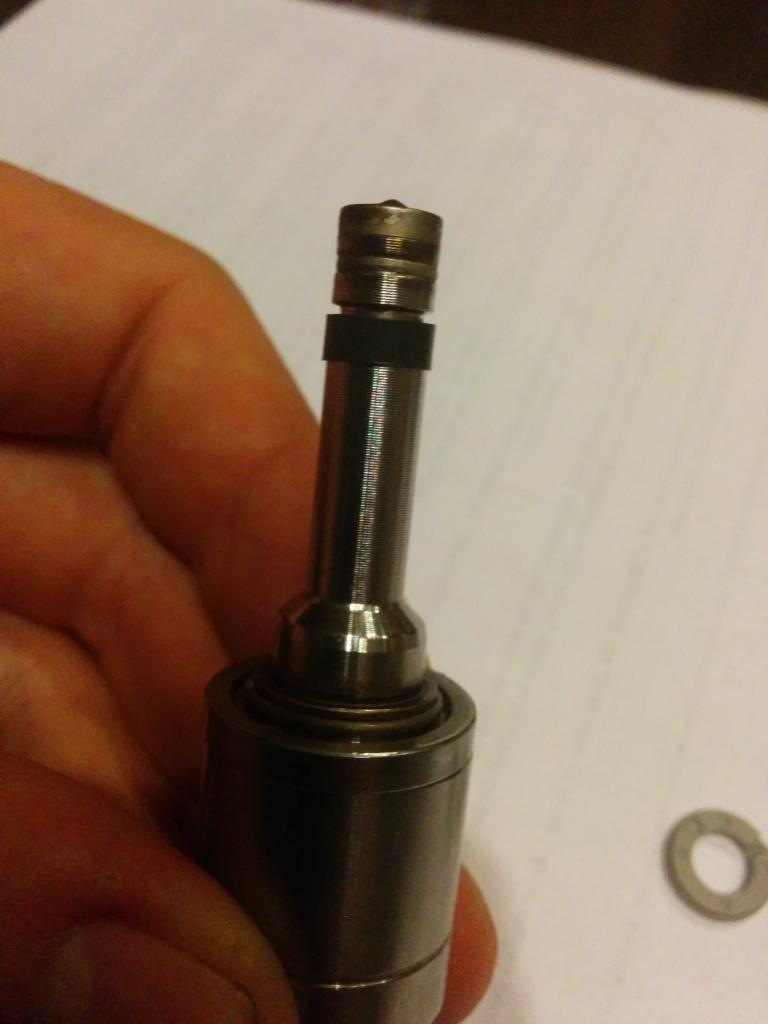
The hard part is over! Now put the grey spacer thing on the back of the injector:
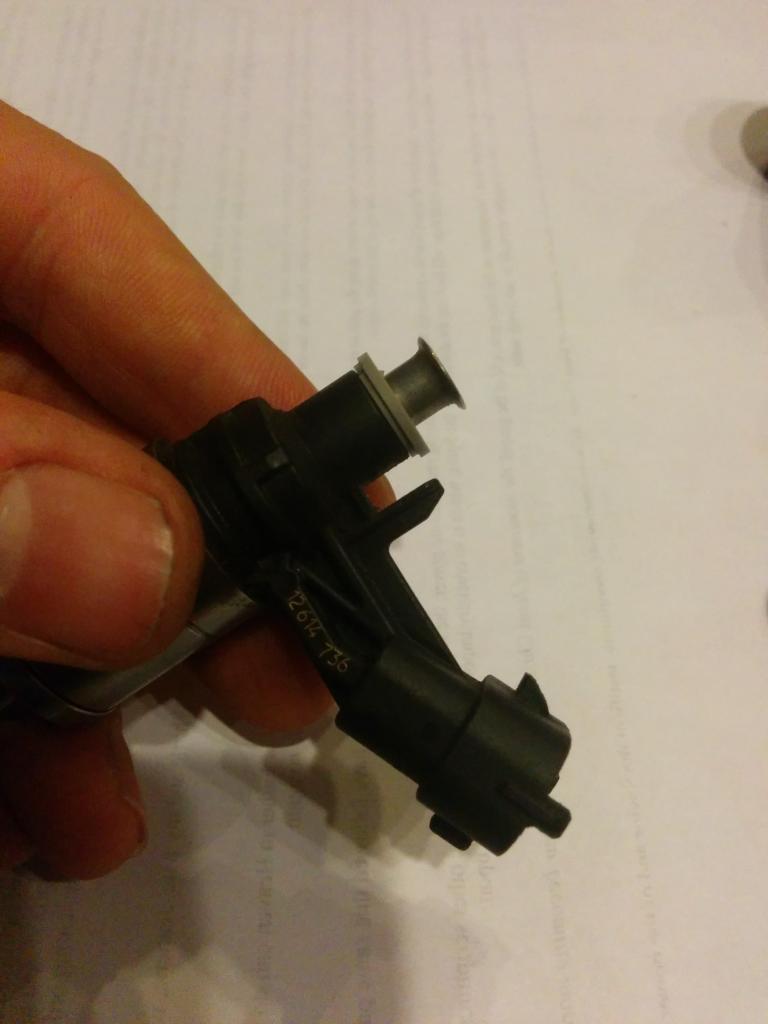
Then the blue o-ring:
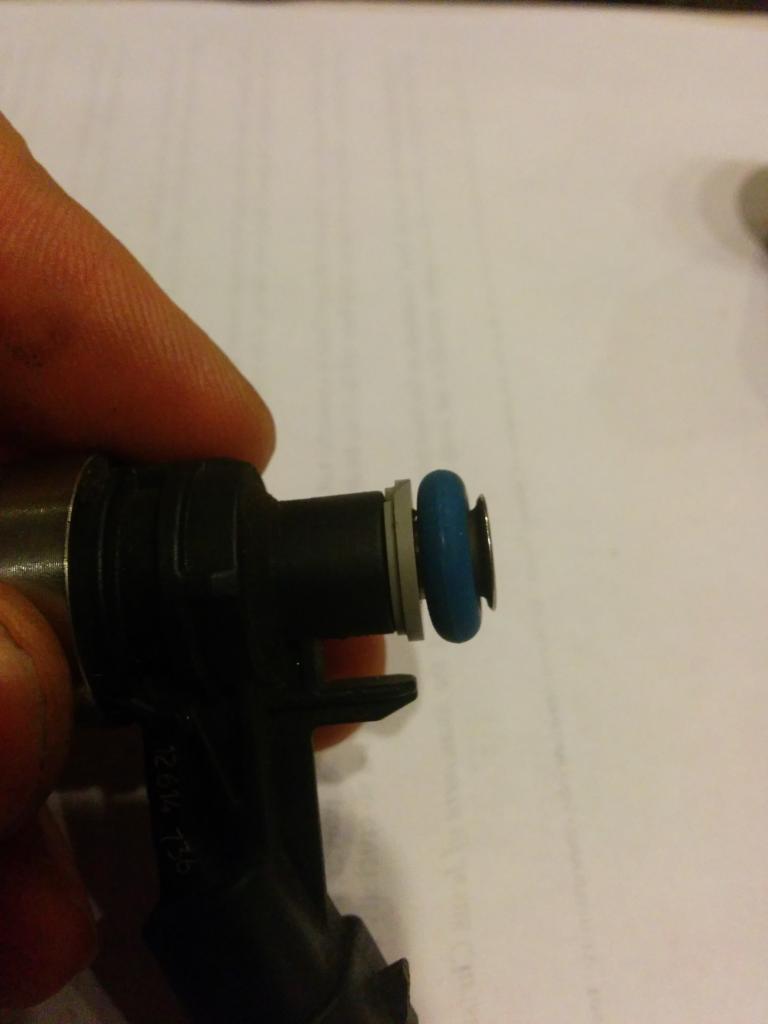
One injector done!
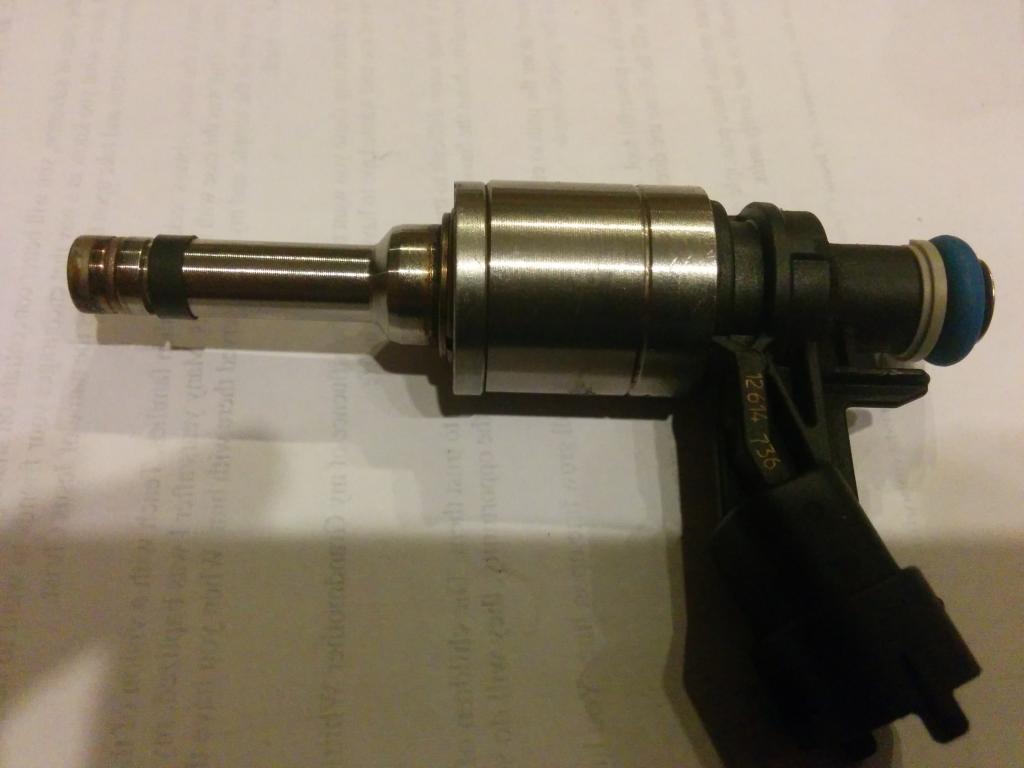
Now repeat three more times. Easy!
OK. First things first is to obtain your injector seal kit. This kit comes with 8 of the black viton seals, so if you mess one up it's not a big deal. Next remove the injectors from the engine and the fuel rail. I'll leave that to a different how-to.
Now on to the first injector. Here's everything you'll need:

The 49245 pictured has a cone and two large black pieces. One is a big hunk of steel, and the other is plastic. I'll explain what each of the parts is for shortly. There are three replaceable seal parts: the small black viton seal that seals the combustion chamber, a large blue o-ring that fits in the fuel rail, and a grey plastic retainer thingy.
The first step is to put the black seal onto the tip of the cone:

Push the seal down the cone with your fingers for a ways. The seal will stretch as it goes down. It'll take a little force to push it down. As long as you push it evenly, it won't break. Push it down until it is this far:

Now place the cone over the injector:

With the 49245 tool, the cone is a little too long and overlaps the groove where the seal fits. It's not a big deal. I didn't mess up any seals using it, so you can too. Now grab the plastic piece of the tool and insert the tip of the cone into it like so:

The 48266 tool only has the large steel piece. Each side has a slightly different inner diameter. At this point you would insert the tip of the cone into the larger diameter side of the tool.
Now use the tool to push the viton seal off of the cone and onto the injector into the groove. With the LNF tool the seal should slide right into the groove. With the 49245 tool, it will just miss the groove. Once the seal is free of the cone remove the tool and cone from the injector:

If the seal isn't totally seated in the groove, just push it into the groove. You'll notice that the seal is pretty loose in the groove. This is where the other tool comes in. If you have the LNF tool, flip it around so that the injector tip is inserted into the smaller diameter side. With the 49245 tool, the ID's are the same for the whole tool. This tool forms the seal into the correct diameter for the whole in the head. The tool will require some good force to slide down the injector:

I flipped the injector around and pushed it into the tool like this (BE CAREFUL NOT TO LET THE INJECTOR TIP HIT THE TABLE):

Make sure the seal fits all the way into the tool and turn the tool a few times. Keep the tool on the seal for a few minutes to make sure it doesn't relax back to the loose state. Then slide the injector out of the tool:

The hard part is over! Now put the grey spacer thing on the back of the injector:

Then the blue o-ring:

One injector done!

Now repeat three more times. Easy!
Last edited by exninja; 01-07-2015 at 11:11 AM.
The following users liked this post:
sugarcanejuice (11-30-2022)
#5
Thanks! Although I just noticed I spelled hole as "whole" :S
Yes, you need to remove the IM in order to get the injectors out. I did it as preventative maintenance when I replaced my engine. I wouldn't go and replace them as preventative maintenance unless they've failed or they're coming out anyways. When I pulled mine I noticed the seals were kinda brittle so I didn't want to risk putting the engine back together and finding out the seals failed. The seals are also a very tight fit (for obvious reasons) so I wasn't sure if they'd form a good seal after being removed from the hole. If you're removing the injectors anyways then replacing the seals is a good idea. They're cheap. Going from the white seals to the black ones is also a good idea if you plan on using ethanol.
I have this tool available for rent, check out the details here: https://www.cobaltss.net/forums/08-1...rogram-314619/
#15
#16
#18
The op exninja, rents out the tool in this thread to members who make a deposit ahead of time, then ship it back to him tp receive the deposit back, minus shipping/pp fees.
I currently have the tool, been waiting to get a couple more seals to also do my opel injectors since they've been out. Even if I shipped it back this week, you wouldn't get it until late next week, after the deposit and shipping, which is around $80 I believe.
Check ebay, or ask around like a gm dealer ship ect. If you need it now.
#19
I'm bringing this thread back from the dead in case anyone is still needing to do this. I've owned my car over 8 years & done one engine swap to an LHU but never had to do injector seals until now. The LHU is split in half so I'm in the middle of an LNF engine rebuild so I'm late to the party lol. I have a few tips on this from my experience.
I'm using the same "incorrect" tool as the OP. It's $45 shipped on Amazon. It works but I suspect it's an even cheaper version than the OP's. The metal shrink tool doesn't seem to be machined the greatest. And mine although is the same ID all the way through as the OP says, the taper at the leading edge is different on each end. And mine came with 4 cones. Of which only one is sort of correct. I ruined 2 seals before I figured this process out.
1st: Don't use your fingers to run the seal down the cone. By the time you do 4 seals you'll destroy your fingers lol. I used the plastic install tool to carefully a little at a time work it down each side at a time. It was like a eureka moment for me to figure that out.
2nd: Once it makes it down the cone to the largest part to go onto the injector & you get it into the groove... let it sit for a bit to relax. Take your fingers & sort of roll the seal to semi-shrink it for a few minutes.
3rd: Put a tiny amount of vaseline on the seal & then put it into the shrink tool. On mine the end without writing on it was a more gradual taper. Then stand it up in a drill press & using it as an arbor press, carefully press the injector into the tool as straight as possible. I found that even slow pressure as straight as possible is a MUST or the tool will push the seal past the groove destroying it. A small drill press probably wont work. Mine has a 3/4" chuck so theres a decent enough flat spot on the bottom. This will not work on Opels since they have that stupid fragile straw on the top.
The following users liked this post:
DeanSsspsh (10-28-2021)
Thread
Thread Starter
Forum
Replies
Last Post


 Moderator
