
Interior: How To: Paint your dash

 02-19-2008, 10:18 AM
#177
Senior Member

Join Date: 07-20-06
Location: Albuquerque, NM
Posts: 1,396
Likes: 0
Received 0 Likes
on
0 Posts
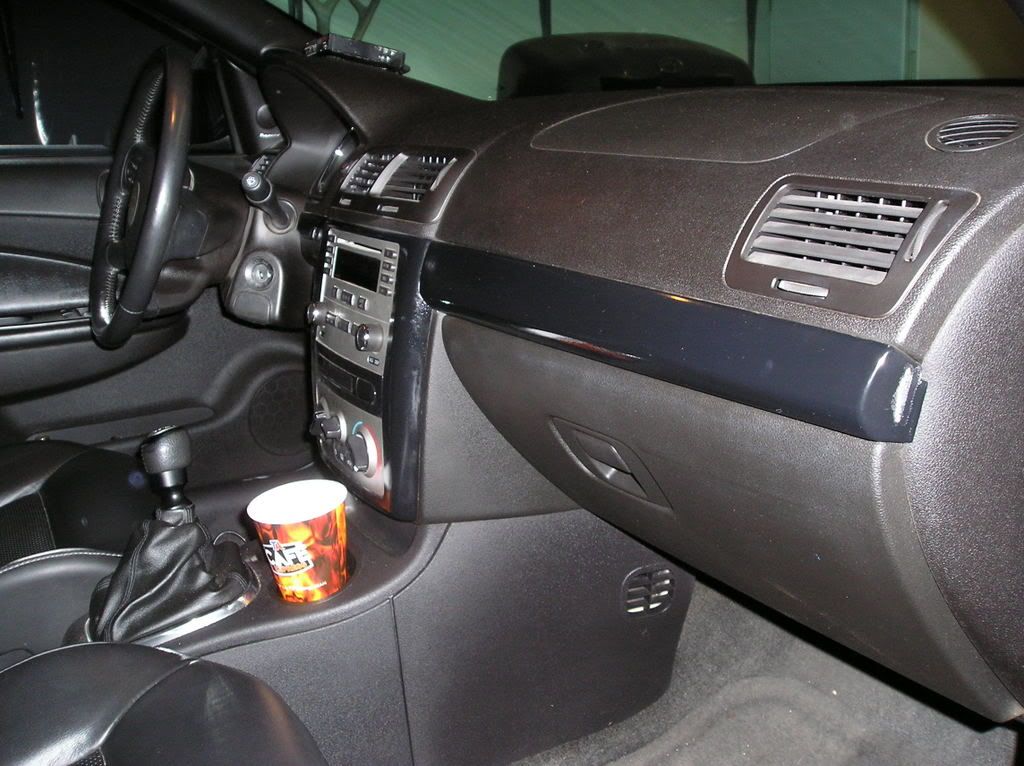
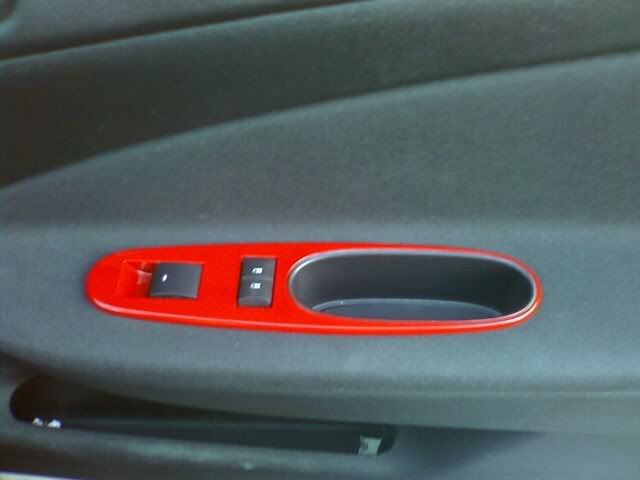
heres mine. the pic of the side of the glovebox there's a spot where the door kept rubbing on the paint and rubbed it off.
I also did the pillars black and i thought they came out great!
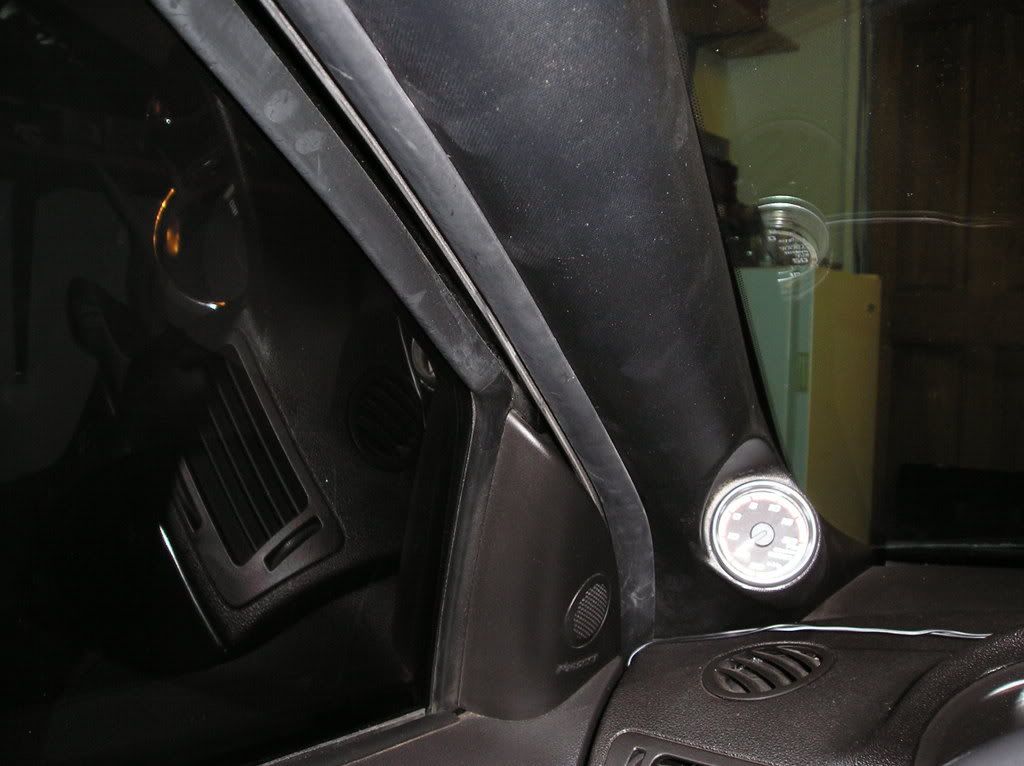
I also did the pillars black and i thought they came out great!
02-19-2008, 04:33 PM
#182
Senior Member

Join Date: 03-13-06
Location: Michigan
Posts: 1,004
Likes: 0
Received 0 Likes
on
0 Posts
at least someone has the ***** to do it, i think it looks alright from the pictures i saw, but i'd like to see more with a more full lit view of the interior. I have a black balt and also can't get enough of the blackness.

 02-19-2008, 07:19 PM
#184
Senior Member

Join Date: 01-26-08
Location: OH-IO
Posts: 515
Likes: 0
Received 0 Likes
on
0 Posts
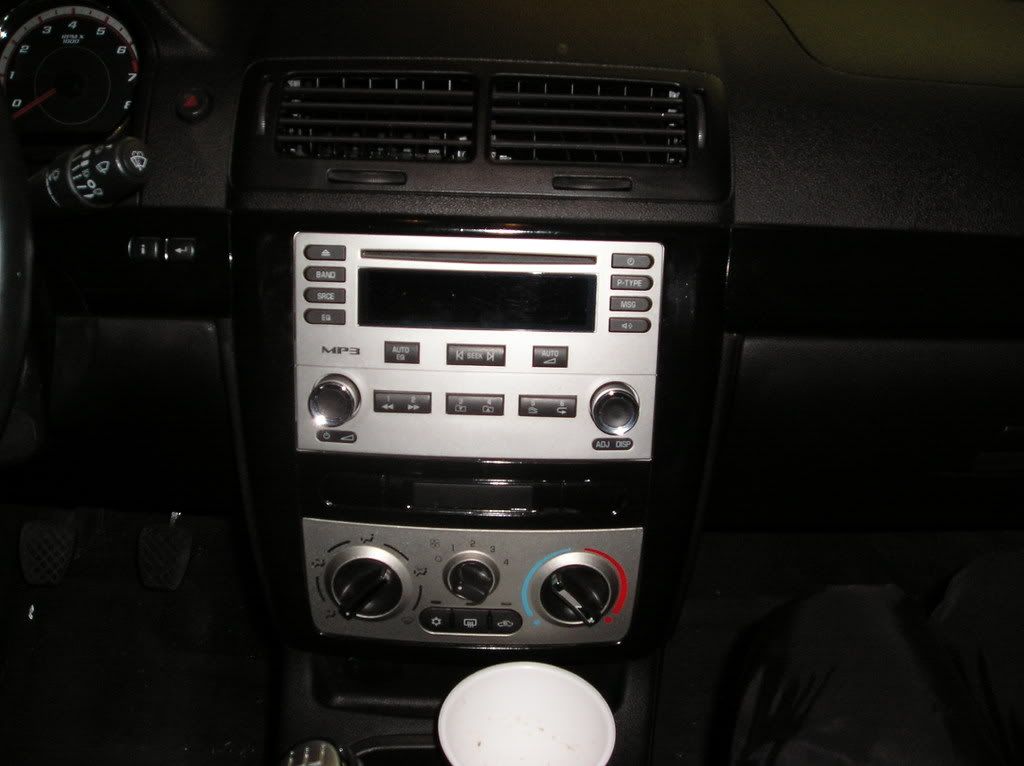
so i figured since everyone else was painting their dashes just the exterior stock color i would try to be different. Although i absolutely love the way that everyone else's turned out i had to take yet another step in the "i gotta be different" column.
Now my mission was to figure out exactly that... how do i make it anymore different... i mean its just a couple of dash pieces.... till the answer stood out right infront of me... i'll just let the stripes appear to flow into the dash onto the pieces that we are all ever so addicted to painting....
so i bring everyone up to speed on project "striped interior"

well for some reason the other pics wont load... so here is my cardomain site and on the very bottom are some more pics...
http://www.cardomain.com/ride/2992217
Now my mission was to figure out exactly that... how do i make it anymore different... i mean its just a couple of dash pieces.... till the answer stood out right infront of me... i'll just let the stripes appear to flow into the dash onto the pieces that we are all ever so addicted to painting....
so i bring everyone up to speed on project "striped interior"
well for some reason the other pics wont load... so here is my cardomain site and on the very bottom are some more pics...
http://www.cardomain.com/ride/2992217
 03-28-2008, 12:31 AM
#188
Senior Member

Join Date: 09-23-07
Location: texas
Posts: 821
Likes: 0
Received 0 Likes
on
0 Posts
04-11-2008, 05:28 PM
#190
Senior Member

Join Date: 02-09-08
Location: Tampa, FL
Posts: 883
Likes: 0
Received 0 Likes
on
0 Posts


 04-11-2008, 05:44 PM
#191
Member

Join Date: 03-27-08
Location: Chandler, Arizona
Posts: 388
Likes: 0
Received 0 Likes
on
0 Posts
Disable the supplemental inflatable restraint (SIR) system. Refer to SIR Disabling and Enabling . (Basically pull the airbag fuses)
On the sides of the steering wheel are 2 openings. Insert a small blunt-ended punch, or equivalent, through the access openings on the left and right of the steering wheel.
Push the spring fastener inward through the access hole. Repeat the step for the other opening. Disconnect the wires from the airbag module and put it someplace safe, metal side down. Remove the screws from the trim pieces.
04-11-2008, 06:34 PM
#192
Senior Member

Disable the supplemental inflatable restraint (SIR) system. Refer to SIR Disabling and Enabling . (Basically pull the airbag fuses)
On the sides of the steering wheel are 2 openings. Insert a small blunt-ended punch, or equivalent, through the access openings on the left and right of the steering wheel.
Push the spring fastener inward through the access hole. Repeat the step for the other opening. Disconnect the wires from the airbag module and put it someplace safe, metal side down. Remove the screws from the trim pieces.
On the sides of the steering wheel are 2 openings. Insert a small blunt-ended punch, or equivalent, through the access openings on the left and right of the steering wheel.
Push the spring fastener inward through the access hole. Repeat the step for the other opening. Disconnect the wires from the airbag module and put it someplace safe, metal side down. Remove the screws from the trim pieces.
 04-19-2008, 01:13 AM
#196
Senior Member

Join Date: 08-07-07
Location: Michigan
Posts: 627
Likes: 0
Received 0 Likes
on
0 Posts
i totally fucked mine up haha. I did the radio bezel perfect (exactly how I wanted it) but the small pieces are fed up becuase I wasnt thinking and i let it sit on a bucket with some thinner and it like messed the plastic up. I have to sand it all super smooth very very carefully now. but I do really like the way the radio one turned out.
04-20-2008, 12:56 PM
#197
Senior Member
Join Date: 08-07-07
Location: Michigan
Posts: 627
Likes: 0
Received 0 Likes
on
0 Posts
edit: worked on fixing it yesterday. I took ALOT of extra work but its all set now. Theres only one flaw, in the piece on the left of the steering wheel i touched it pretty hard while it was wet. oh well ill fix it later.


 04-25-2008, 06:17 PM
#200
Senior Member
just rough them up a little bit and use a good primer. never cheap out on the primer as any flaws in the base coats will show through to the final product