Appearance: How-To: Replace a Burnt Out Halo
#1
How-To: Replace a Burnt Out Halo
I sure hope nobody held their breath for this how-to. JoeWorksTooHard (JOE), helped me greatly in this process. If you have any questions ask him, or myself. But here it is:
1.) Own a Cobalt
2.) Have the projector halo headlights
3.) Have most of these materials:

They are: Soldering Gun/Iron, Rosin (to Solder with), 10 MM Ratchet (to take out the headlights), Needle Nose Pliers (to pull out the led's). 3MM/T1 LED's. They are either called 3MM or T1. There is 2 LED's per halo. In this case, I put WHITE LED's in there. You could also use a De-Solderer if you have one.
4.) Pop hood. Remove headlights using 10 MM Ratchet. Take the headlight out.
5.) Use a screwdriver to un-pop the rubber grommet to which halo you are replacing.

6.) Get your Needle Nose Pliers and grab onto that rubber grommet inside, and pull up
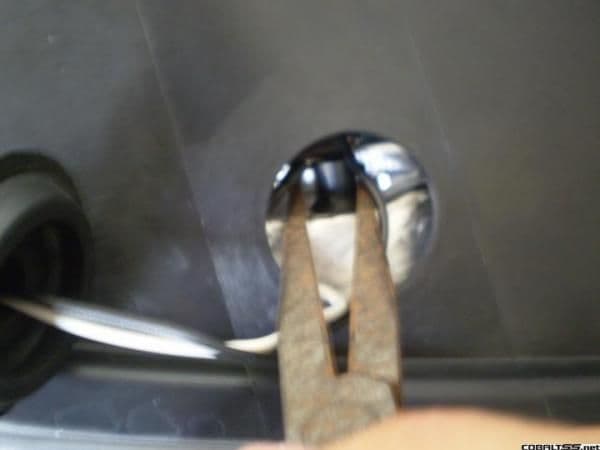
7.) You should be able to wiggle it out.
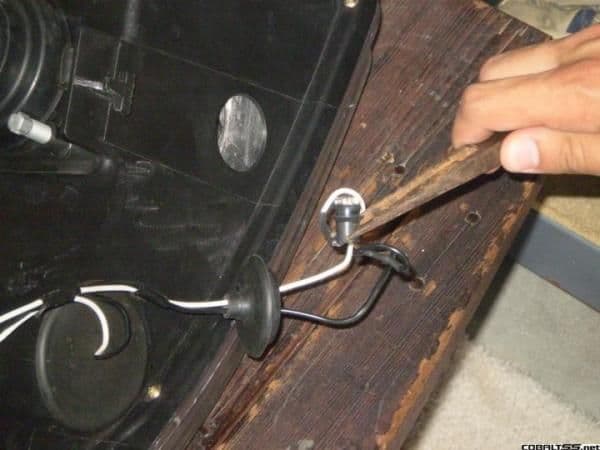
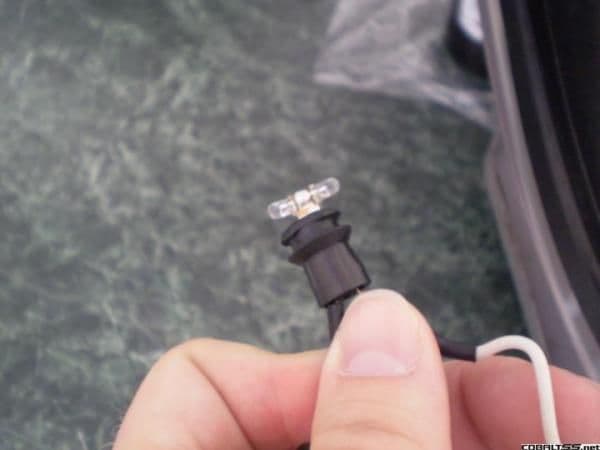
8.) Unhook those spade connectors, flatten it out and remove the rubber grommet. It looks like this

9.) Heat up that soldering iron/gun and put it on there to liquify that rosin on both sides.
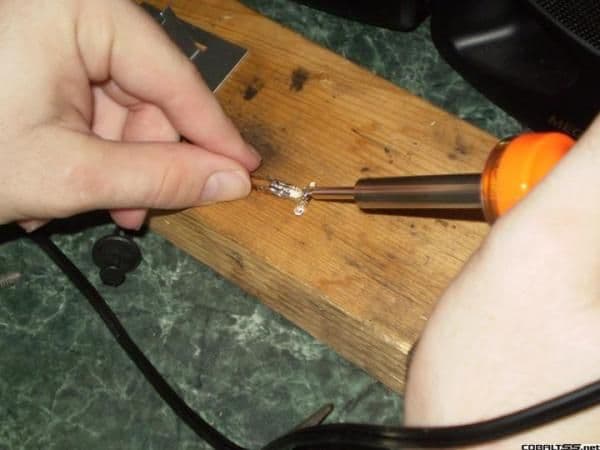
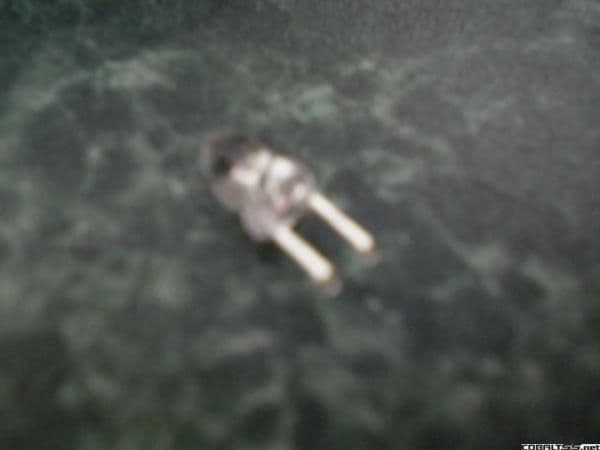
10.) You will have to cut the legs on the LED that you are putting in there. Here is approximately how long the legs should be
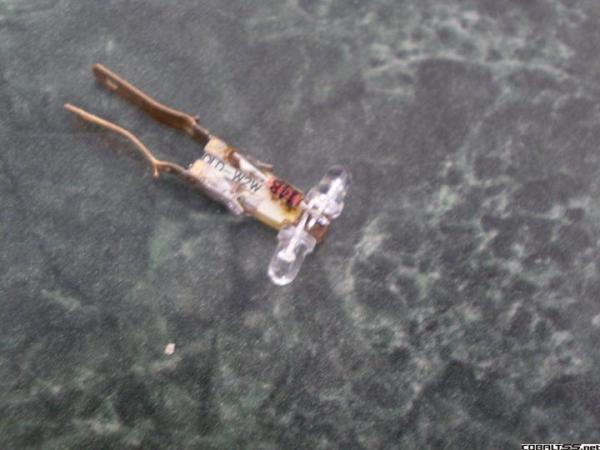
11.) Here is what the LED's are supposed to look like on it
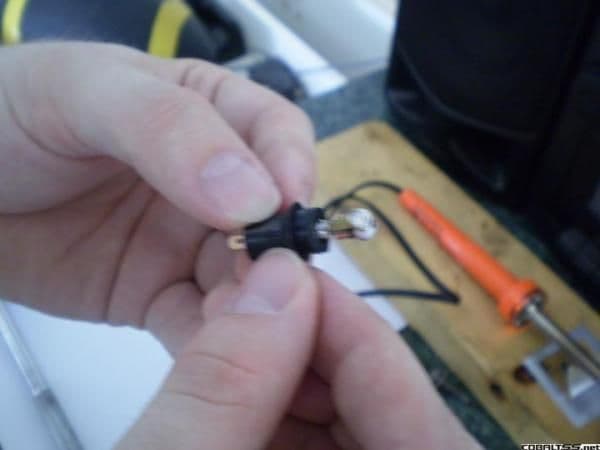
12.) Solder those back on and replace the rubber grommet
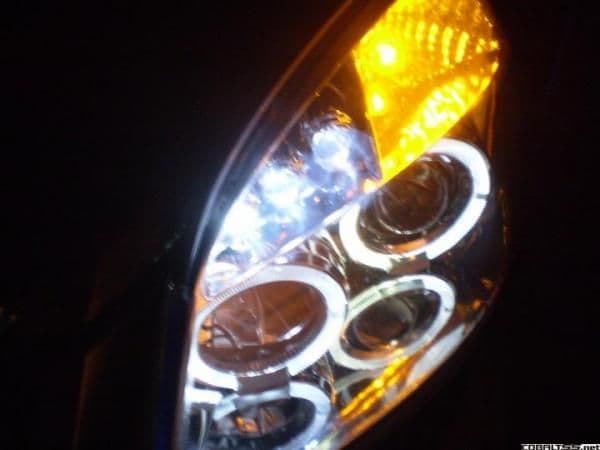
Here is what it should look like with WHITE LED's:
Here is what it should look like with BLUE LED's:
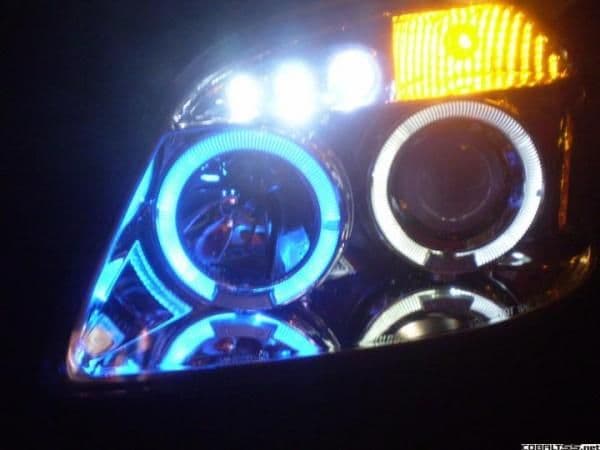
Let me know if you have any questions. You could also talk to JoeWorksTooHard. Hope everybody has fun with this, and I hope to see some different colors!!!
1.) Own a Cobalt
2.) Have the projector halo headlights
3.) Have most of these materials:
They are: Soldering Gun/Iron, Rosin (to Solder with), 10 MM Ratchet (to take out the headlights), Needle Nose Pliers (to pull out the led's). 3MM/T1 LED's. They are either called 3MM or T1. There is 2 LED's per halo. In this case, I put WHITE LED's in there. You could also use a De-Solderer if you have one.
4.) Pop hood. Remove headlights using 10 MM Ratchet. Take the headlight out.
5.) Use a screwdriver to un-pop the rubber grommet to which halo you are replacing.
6.) Get your Needle Nose Pliers and grab onto that rubber grommet inside, and pull up
7.) You should be able to wiggle it out.
8.) Unhook those spade connectors, flatten it out and remove the rubber grommet. It looks like this
9.) Heat up that soldering iron/gun and put it on there to liquify that rosin on both sides.
10.) You will have to cut the legs on the LED that you are putting in there. Here is approximately how long the legs should be
11.) Here is what the LED's are supposed to look like on it
12.) Solder those back on and replace the rubber grommet
Here is what it should look like with WHITE LED's:
Here is what it should look like with BLUE LED's:
Let me know if you have any questions. You could also talk to JoeWorksTooHard. Hope everybody has fun with this, and I hope to see some different colors!!!
Last edited by TommyP; 10-06-2012 at 10:14 AM.
#8
Looks good, i need some leds!

Here are the specs of the LEDS
Emitted Colour : Blue
Size (mm) : 3mm
Lens Colour : Water Clear
Peak Wave Length (nm) : 465 ~ 470
Forward Voltage (V) : 3.2 ~ 3.8
Reverse Current (uA) : <=30
Luminous Intensity Typ Iv (mcd) : Average in 5000
Life Rating : 100,000 Hours
Viewing Angle : 20 ~ 25 Degree
Absolute Maximum Ratings (Ta=25°C)
Max Power Dissipation : 80mw
Max Continuous Forward Current : 30mA
Max Peak Forward Current : 75mA
Reverse Voltage : 5~6V
Lead Soldering Temperature : 240°C (<5Sec)
Operating Temperature Range : -25°C ~ +85°C
Preservative Temperature Range : -30°C ~ +100°C
Last edited by mkulrey13; 07-28-2007 at 09:52 AM. Reason: Automerged Doublepost
#10
Looks good, i need some leds!

Here are the specs of the LEDS
Emitted Colour : Blue
Size (mm) : 3mm
Lens Colour : Water Clear
Peak Wave Length (nm) : 465 ~ 470
Forward Voltage (V) : 3.2 ~ 3.8
Reverse Current (uA) : <=30
Luminous Intensity Typ Iv (mcd) : Average in 5000
Life Rating : 100,000 Hours
Viewing Angle : 20 ~ 25 Degree
Absolute Maximum Ratings (Ta=25°C)
Max Power Dissipation : 80mw
Max Continuous Forward Current : 30mA
Max Peak Forward Current : 75mA
Reverse Voltage : 5~6V
Lead Soldering Temperature : 240°C (<5Sec)
Operating Temperature Range : -25°C ~ +85°C
Preservative Temperature Range : -30°C ~ +100°C
#14
#18
quick question, how did you unhook the halo led from the spade connectors.. did you take the heatwrap tape off? i could never get those connectors off so i just soldered the new ones in with them connected.. this is like the 3rd time i had to solder new ones in because they keep burning out on me.
#19
i have a quick question i actually had the chance of watching oneof the l.e.d.'s go out. it was flashing and i was like wtf then it just went out. do you think this a loose wire or connection or did it burn out?
#20
Some tips for doing this.....
Make sure you keep positive to positive and negative to negative. When you buy the LEDs the longer one is positive, shorter prong is ground. The red resistor is positive on this model and you can see below on the breadboard that it states positive. The other side is yellow and says negative. Try not to cross them.
Prongs:
I broke a prong and had to solder it back on until I realized it was easier just to slip the halo lights in BACKWARDS. Slide the forked prongs in first, then guide the leds in the little hole last, then spread the prongs to help situate it in place.
If your leds keep going out you have a bad resistor. Replace it.

Last edited by rrutter81; 08-21-2007 at 09:31 PM.
#21
did all of my leds with UV 3mm LEDs....they are fine for the angel eyes but the halos are gimped. Probably because the MCD is only 3000 and seems that ultra violet is naturally ALOT lower than others. Cant wait til my 5mm 7k UV leds arrive. Looks like they could fit (bit snug) ill post when i get them.
Ill post a pic later but seems completely dark at night my camera blows. Only good during the end of a sunset at most

see?
Ill post a pic later but seems completely dark at night my camera blows. Only good during the end of a sunset at most

see?
#23
theres someone on the site that sells the LED's (all kinds) i forget his exact screen name but hes selling the rear koni struts (in the FS section) and it says the LED expert on either his sig or under his name
#24


 Red halos would look nice but your gonna get pulled over as soon as you get off of your driveway.