2.0 LNF Engine: How To: Valve Gunk/Coking Removal
#1
How To: Valve Gunk/Coking Removal
INTRODUCTION
Alright, so I was having a bunch of misfires on my 2010 SS GMS1 (stock otherwise) with 29000 miles. It had a turbo replaced under warranty at 25000 miles after the shaft bearing went. The misfires usually happened right after Cat Warm up if it was cold outside that morning or during wide open throttle near the mid upper RPM’s when in third gear. It was noticeable in your seat to the point that my passengers noticed it.
Took it to Stealership and they couldn’t figure anything out and then when it finally happened in front of them (as I was picking up the car) they decided it was valve gunk and told me it was not covered under warranty. They wanted to do a fuel induction service for 150 bucks which would have done squat, according to John Powell. GM Customer Care also told me I was on my own.
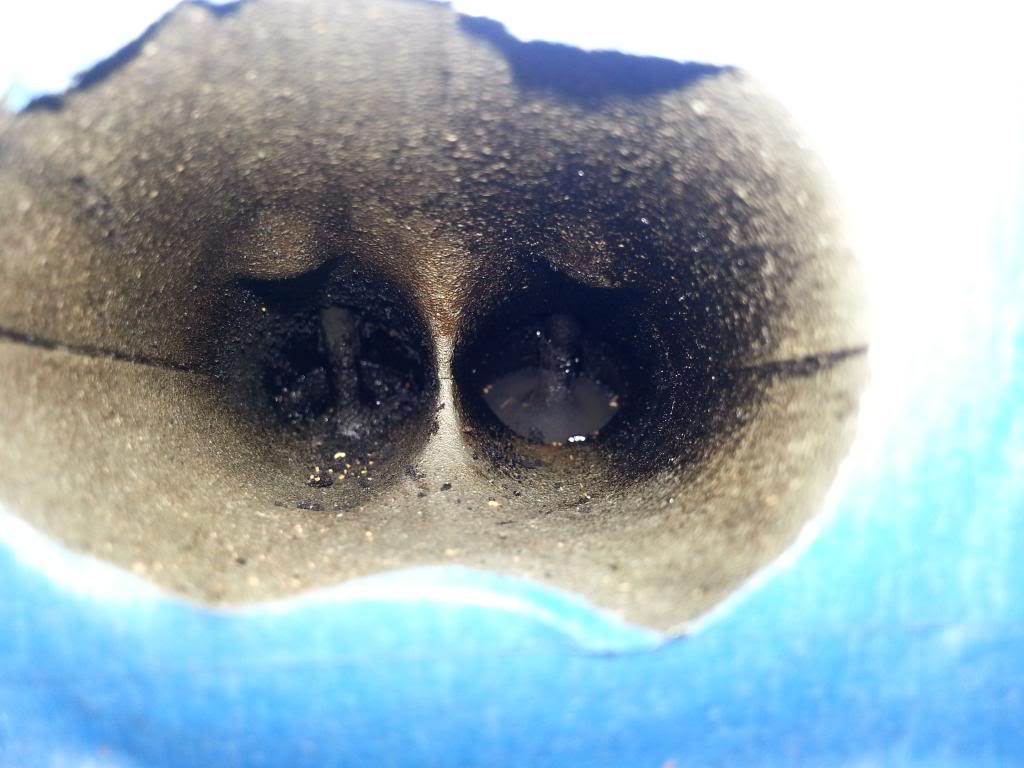
I used a bore scope that I got off of Amazon to take this following photo. I recommend you use one before pulling your manifold. This turned out to be one of the CLEANER valves of the bunch.
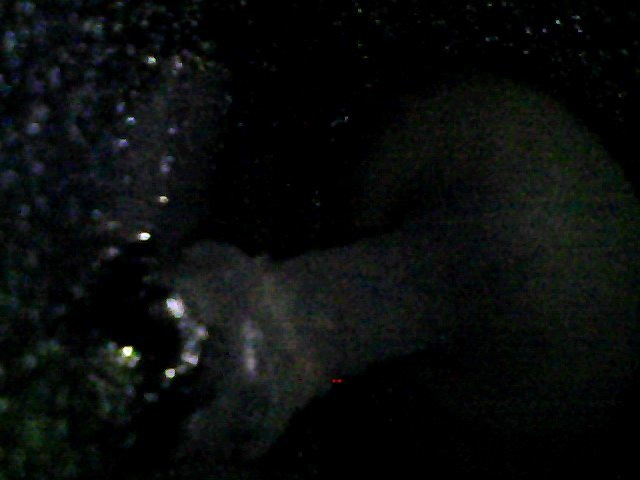
Needless to say, it looked like I needed a vale cleaning. Here are the steps I took. I hope they make the whole process easier for you.
EQUIPMENT NEEDED
1. Fridge with Beer. None of those bitch beers, only good ole Murica beers (Mexican beers count because Mexico really is part of America, right?)
2. New Manifold gasket. Get it from Crateenginedepot.com for about 10 bucks.
3. Plastic drop cloths. (I used plastic garbage bags that I cut into sheets.
4. Blue/Masking tape
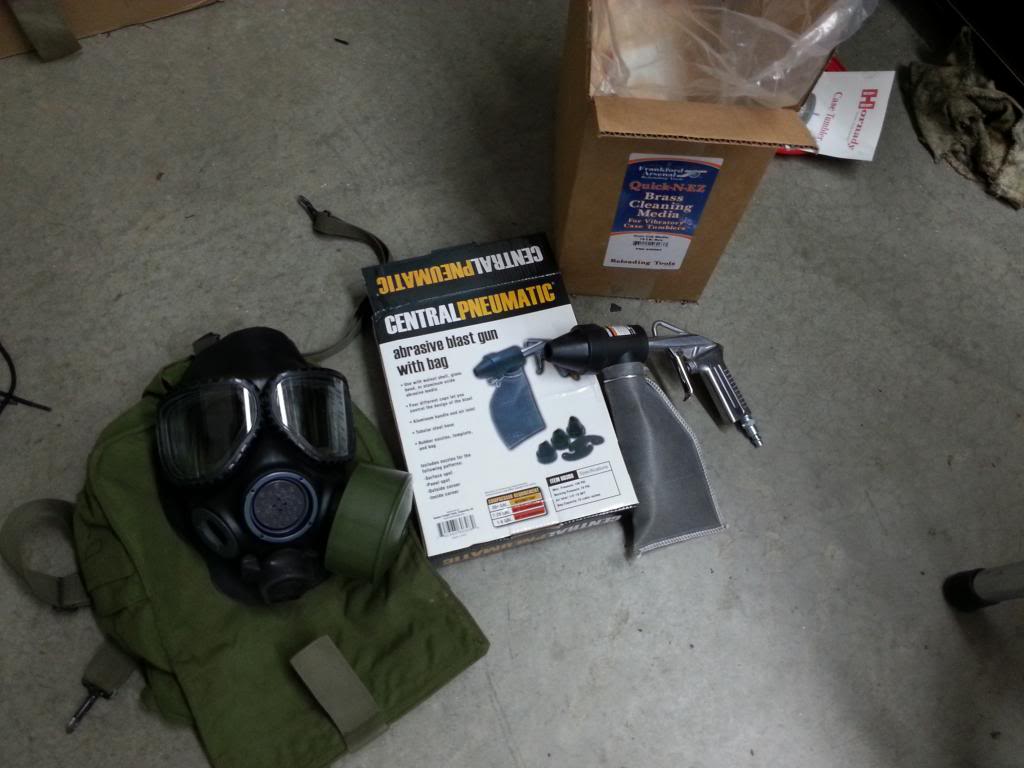
5. Blasting device (I got mine from Harbor Freight for 12 bucks. It worked OKAY but not great. I would have rather grabbed the 55 dollar 20 pound pressurized blast tank with hose and nozzle. If you get the cheapy one you can use a hose on the end to get further into the port. Also, take the cap off and load your walnut shell through the front, do not take the bag off and on, it’s a PITA.
6. Personal Protection Equipment. You will want a dust mask/ respirator/ nuclear biological chemical warfare gas mask, (you know... same thing), eye protection, gloves, and ear protection. When you hit the intake ports with compressed air, it sometimes makes the highest pitch, most painful whistle I have ever heard. Seriously, I cannot describe how awful of a sound it is.
7. Walnut Shell. Pick up a box of FINE grade from harbor freight for 24 bucks for 25 pounds. You will not even need one box.
8. Vacuum, Air compressor, broom, etc.; normal shop stuff that every guy with a garage has to have to maintain his man card.
9. Brushes, picks, etc. These are useful for pre-scraping the valves to remove the hard to blast stuff. I should have grabbed the dental pick set from harbor freight but neglected to. It would have helped a TON.
10. Optional: de gunking chemical. I used the GM Top engine cleaner from CED. It works as a foam and dissolves gunk great without knocking you out from fumes like carb cleaner does.
11. Tunes. You will get bored sitting there kneeling in front of your car. Crank up some music as long as it’s not some Lady Gaga or Kesha garbage. I rocked Floyd and similar.
12. Flashlight/droplight: It’s dark in those ports!
13. Patience. This is not a quick job if you are doing it right. If you finished in an hour – you’re doing it wrong.
PROCESS
1. Manifold Removal
Read how to remove the intake manifold here: https://www.cobaltss.net/forums/how-...nifold-304187/
Remove the old gasket. Mine had a ton of oil build up on it. My head also had oil up to its ears in the PCV port as well as the dead space pockets.
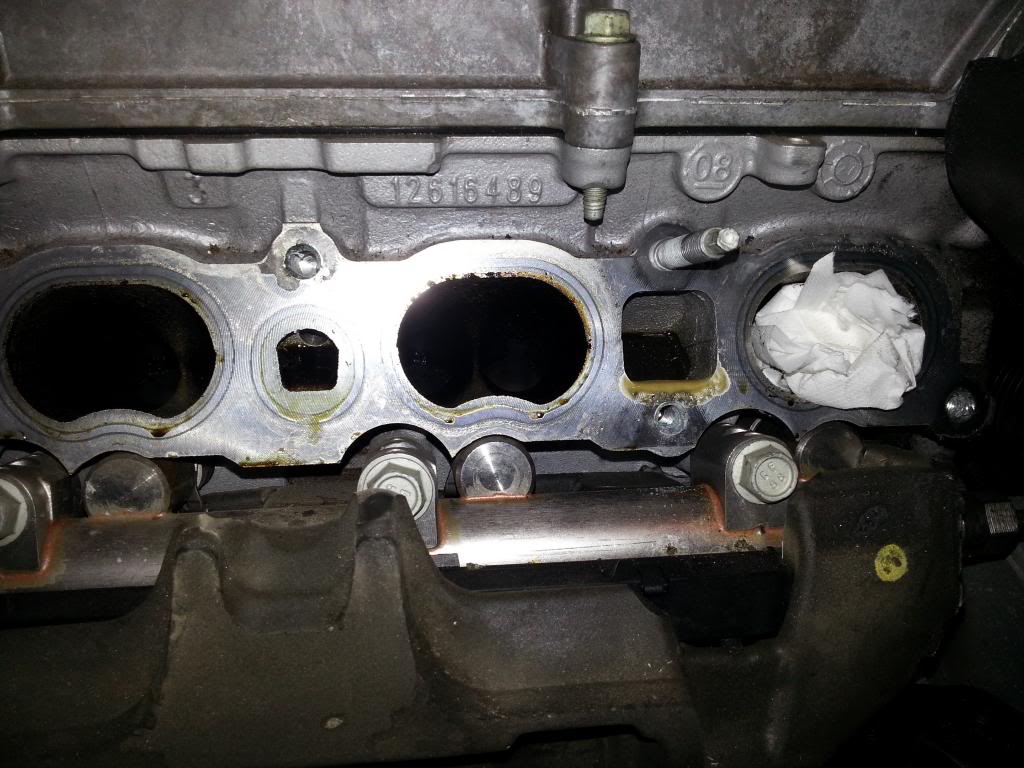
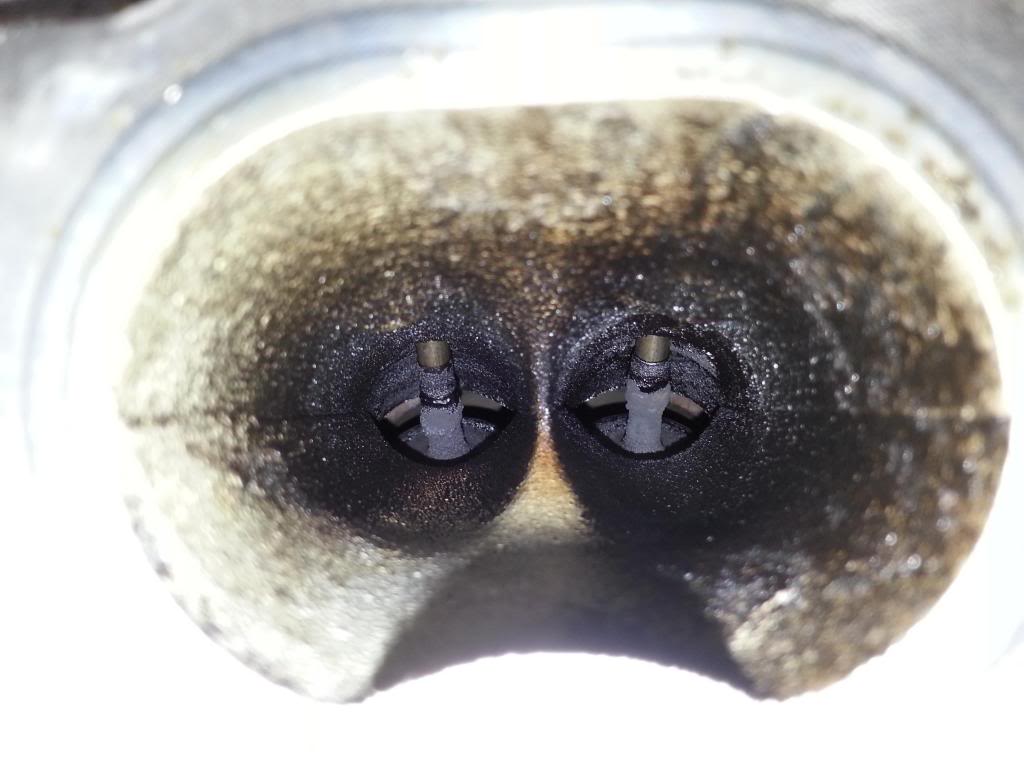
My valves were pretty nasty. Here is a visual of that. The walnut bits were from another cylinder and I had started to scrape a bit before taking this picture. Oddly, on every cylinder, the drivers side port was always cleaner than the passengers side port.
3. Valve Cleaning
Now that your MANifold (you can call it that unless you were drinking a wine cooler and listening to that chick music mentioned above) is off it is time to prep for walnut blasting.
Cover your open ports/hoses/pipes/and the other intake ports with tape. Trust me. Walnut media is a clever beast. It will find its way into anything it can even if you properly plastic cover the bay. I had walnut media sneak into my PCV port, my cold pipe, all over my engine bay, an inch of it in my pockets, my ears, my cell phone case, and even in my hair the next morning while taking a shower. It even ended up in the pockets of jeans that I never even wore in the shop. Practice safe walnut blasting.
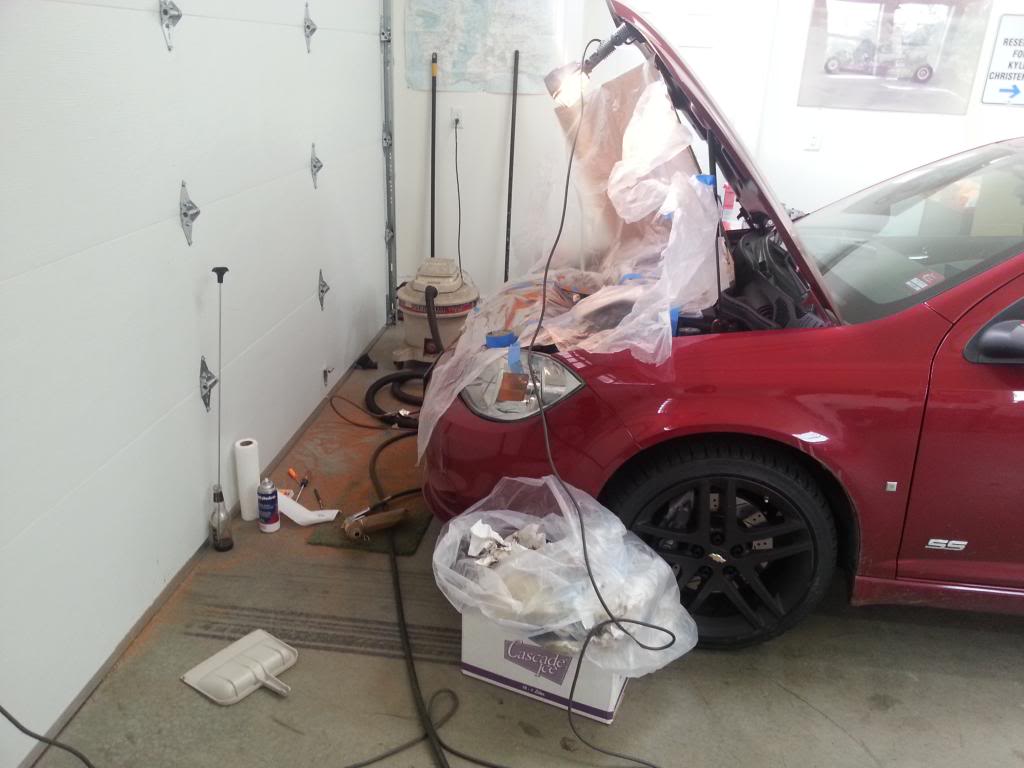
Note my garage floor. This was after about only 1 cylinder. I had vacuumed/swept the floor for the previous cylinders. This picture does not do the messiness justice.
Open Valves pictured here. Make sure to tape this port off with the rest of the important stuff!
Now lay the plastic over the bay and cut a hole larger than the port for the one in which you will start. It is easy to see which valves are closed and which one is open. Then lay tape between the plastic and the port face. Then cut a hole in the tape.
Before the chaos:
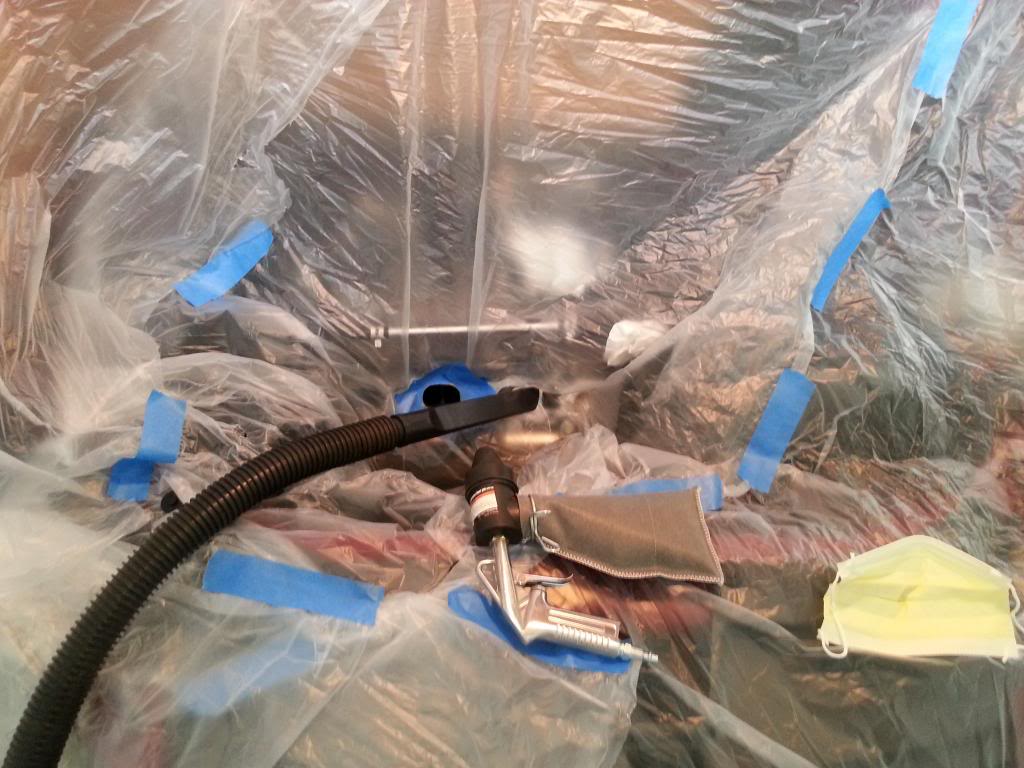
After the chaos:
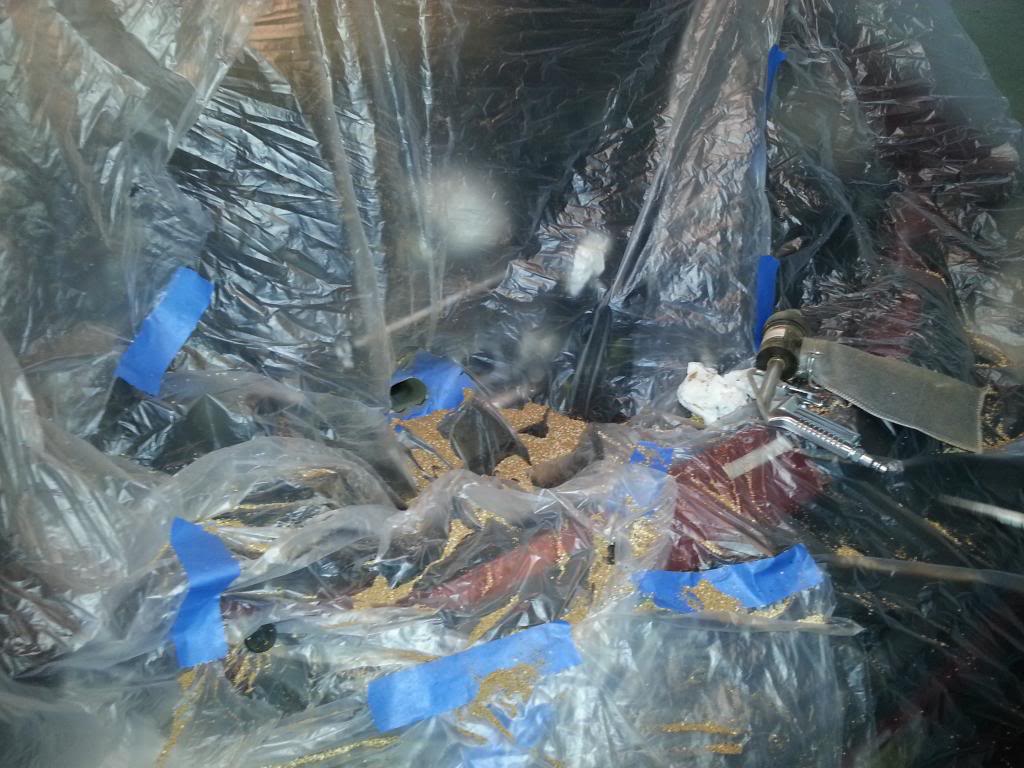
Now you can get to business. Use your scrapers to try and remove the brunt of the crap. Then blast with your walnut media. I used 110psi and quick bursts with blasts of compressed air between blasts to remove the piled up media. If you just keep blasting, you load the port up with media and it does nothing. This is when it gets messy. I tried to vacuum at the same time as the blasting and it did not work as well as just hitting it with air and spraying it all over myself.
Alternate these processes until everything looks decent. This will take a while so be patient and try to do a good job. I had to rush so I could have my car ready for college (this took me the whole weekend). I got it to this point and then filled the port with GM top end cleaner and then brushed the remaining gunk off of the valve stem and walls. Then crammed paper towels in the port, hit it with air, and continued to blast. Go until you are happy. I finished with walnut shell, blew it out with air and vacuum, and then paper toweled the walls to remove as much dust as possible.
This is what my valves looked like after:
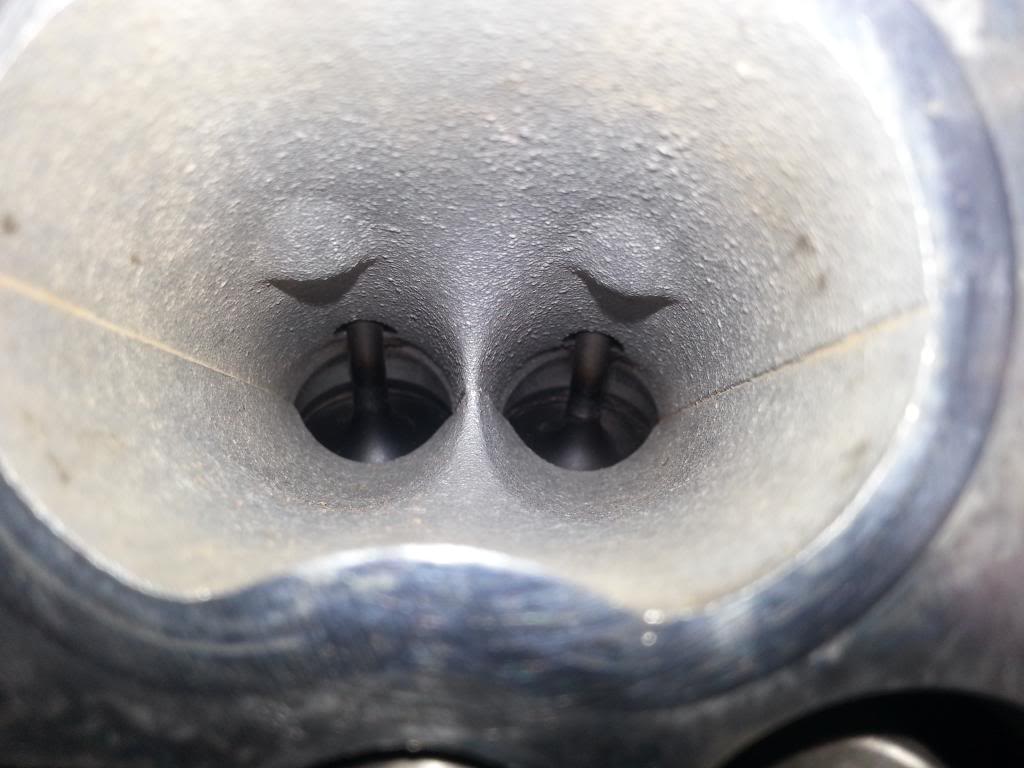
Now remove the tape and go to the next set of valves.
For the last port the valves will be open. No problem, just jack one side of the car up (I used the driver side) and put it in 4th gear. Have your buddy spin the tire until another cylinder opens and your final one closes. It is really easy to tell. Then cover the other cylinder ports with tape again.
GOOD JOB! You finished! Now have a beer (or that girly wine cooler) and get ready to put stuff back together.
REINSTALL/CLEANUP
Now you want to put everything back together. It is the reverse of the removal steps but you add a new intake gasket. Try to vacuum all the clever beast walnut shell from all the hidey holes (like between the head and the fuel rail/injector insulation foam).
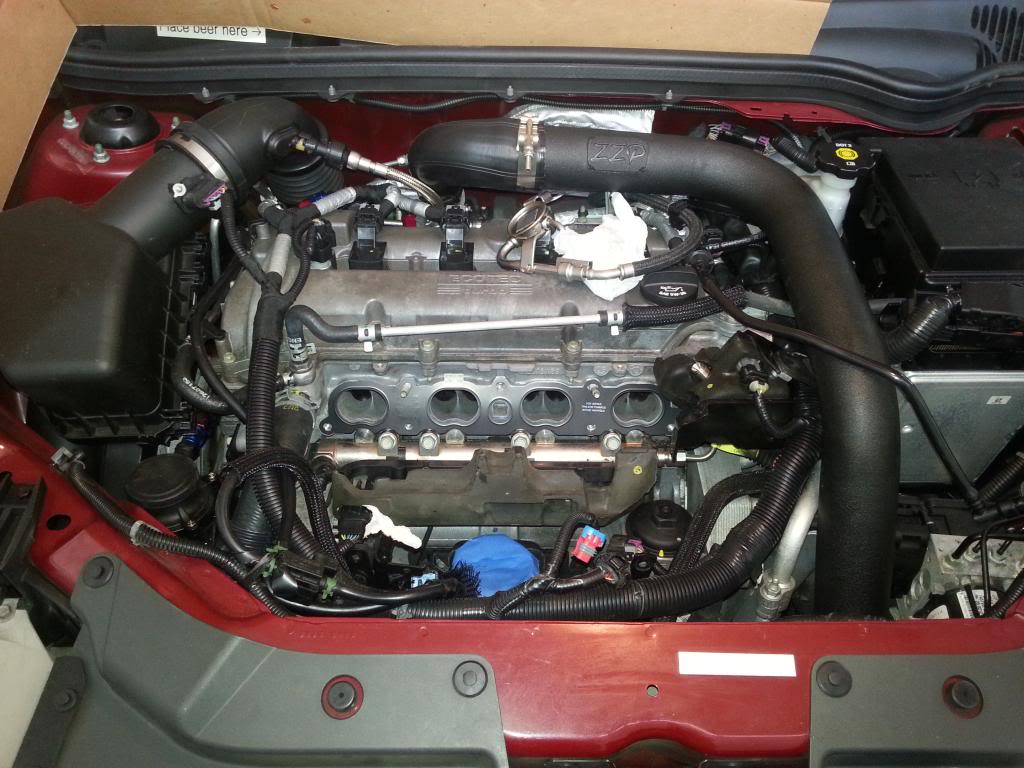
Torque for 10mm is 89 inch lbs while the 13mm are 16 ft lbs. Make sure to tighten till snug from the center out alternating and then torque to specs in the same order (on the manifold)
Double check all your plugs and harnesses/ support bars/ hoses/ etc.
Now take her on a test drive (after you change out of your dust storm clothing) and feel the difference. She will purr and idle much more smoothly than before. You might want to wash it as well as it is most likely covered in dust. I had gunk bits on the top of my hood!
So that concludes the how-to. If I missed something or you have a better way of doing it please let it know and we can add it to the post. Special thanks to John Powell of Powell Race Parts for his advice as well as some of the other members here that also showed their experience.
Alright, so I was having a bunch of misfires on my 2010 SS GMS1 (stock otherwise) with 29000 miles. It had a turbo replaced under warranty at 25000 miles after the shaft bearing went. The misfires usually happened right after Cat Warm up if it was cold outside that morning or during wide open throttle near the mid upper RPM’s when in third gear. It was noticeable in your seat to the point that my passengers noticed it.
Took it to Stealership and they couldn’t figure anything out and then when it finally happened in front of them (as I was picking up the car) they decided it was valve gunk and told me it was not covered under warranty. They wanted to do a fuel induction service for 150 bucks which would have done squat, according to John Powell. GM Customer Care also told me I was on my own.
I used a bore scope that I got off of Amazon to take this following photo. I recommend you use one before pulling your manifold. This turned out to be one of the CLEANER valves of the bunch.

Needless to say, it looked like I needed a vale cleaning. Here are the steps I took. I hope they make the whole process easier for you.
EQUIPMENT NEEDED
1. Fridge with Beer. None of those bitch beers, only good ole Murica beers (Mexican beers count because Mexico really is part of America, right?)

2. New Manifold gasket. Get it from Crateenginedepot.com for about 10 bucks.
3. Plastic drop cloths. (I used plastic garbage bags that I cut into sheets.
4. Blue/Masking tape
5. Blasting device (I got mine from Harbor Freight for 12 bucks. It worked OKAY but not great. I would have rather grabbed the 55 dollar 20 pound pressurized blast tank with hose and nozzle. If you get the cheapy one you can use a hose on the end to get further into the port. Also, take the cap off and load your walnut shell through the front, do not take the bag off and on, it’s a PITA.
6. Personal Protection Equipment. You will want a dust mask/ respirator/ nuclear biological chemical warfare gas mask, (you know... same thing), eye protection, gloves, and ear protection. When you hit the intake ports with compressed air, it sometimes makes the highest pitch, most painful whistle I have ever heard. Seriously, I cannot describe how awful of a sound it is.
7. Walnut Shell. Pick up a box of FINE grade from harbor freight for 24 bucks for 25 pounds. You will not even need one box.

8. Vacuum, Air compressor, broom, etc.; normal shop stuff that every guy with a garage has to have to maintain his man card.
9. Brushes, picks, etc. These are useful for pre-scraping the valves to remove the hard to blast stuff. I should have grabbed the dental pick set from harbor freight but neglected to. It would have helped a TON.
10. Optional: de gunking chemical. I used the GM Top engine cleaner from CED. It works as a foam and dissolves gunk great without knocking you out from fumes like carb cleaner does.
11. Tunes. You will get bored sitting there kneeling in front of your car. Crank up some music as long as it’s not some Lady Gaga or Kesha garbage. I rocked Floyd and similar.
12. Flashlight/droplight: It’s dark in those ports!
13. Patience. This is not a quick job if you are doing it right. If you finished in an hour – you’re doing it wrong.
PROCESS
1. Manifold Removal
Read how to remove the intake manifold here: https://www.cobaltss.net/forums/how-...nifold-304187/
Remove the old gasket. Mine had a ton of oil build up on it. My head also had oil up to its ears in the PCV port as well as the dead space pockets.

My valves were pretty nasty. Here is a visual of that. The walnut bits were from another cylinder and I had started to scrape a bit before taking this picture. Oddly, on every cylinder, the drivers side port was always cleaner than the passengers side port.

3. Valve Cleaning
Now that your MANifold (you can call it that unless you were drinking a wine cooler and listening to that chick music mentioned above) is off it is time to prep for walnut blasting.
Cover your open ports/hoses/pipes/and the other intake ports with tape. Trust me. Walnut media is a clever beast. It will find its way into anything it can even if you properly plastic cover the bay. I had walnut media sneak into my PCV port, my cold pipe, all over my engine bay, an inch of it in my pockets, my ears, my cell phone case, and even in my hair the next morning while taking a shower. It even ended up in the pockets of jeans that I never even wore in the shop. Practice safe walnut blasting.
Note my garage floor. This was after about only 1 cylinder. I had vacuumed/swept the floor for the previous cylinders. This picture does not do the messiness justice.

Open Valves pictured here. Make sure to tape this port off with the rest of the important stuff!

Now lay the plastic over the bay and cut a hole larger than the port for the one in which you will start. It is easy to see which valves are closed and which one is open. Then lay tape between the plastic and the port face. Then cut a hole in the tape.
Before the chaos:

After the chaos:

Now you can get to business. Use your scrapers to try and remove the brunt of the crap. Then blast with your walnut media. I used 110psi and quick bursts with blasts of compressed air between blasts to remove the piled up media. If you just keep blasting, you load the port up with media and it does nothing. This is when it gets messy. I tried to vacuum at the same time as the blasting and it did not work as well as just hitting it with air and spraying it all over myself.
Alternate these processes until everything looks decent. This will take a while so be patient and try to do a good job. I had to rush so I could have my car ready for college (this took me the whole weekend). I got it to this point and then filled the port with GM top end cleaner and then brushed the remaining gunk off of the valve stem and walls. Then crammed paper towels in the port, hit it with air, and continued to blast. Go until you are happy. I finished with walnut shell, blew it out with air and vacuum, and then paper toweled the walls to remove as much dust as possible.
This is what my valves looked like after:

Now remove the tape and go to the next set of valves.
For the last port the valves will be open. No problem, just jack one side of the car up (I used the driver side) and put it in 4th gear. Have your buddy spin the tire until another cylinder opens and your final one closes. It is really easy to tell. Then cover the other cylinder ports with tape again.
GOOD JOB! You finished! Now have a beer (or that girly wine cooler) and get ready to put stuff back together.
REINSTALL/CLEANUP
Now you want to put everything back together. It is the reverse of the removal steps but you add a new intake gasket. Try to vacuum all the clever beast walnut shell from all the hidey holes (like between the head and the fuel rail/injector insulation foam).

Torque for 10mm is 89 inch lbs while the 13mm are 16 ft lbs. Make sure to tighten till snug from the center out alternating and then torque to specs in the same order (on the manifold)
Double check all your plugs and harnesses/ support bars/ hoses/ etc.
Now take her on a test drive (after you change out of your dust storm clothing) and feel the difference. She will purr and idle much more smoothly than before. You might want to wash it as well as it is most likely covered in dust. I had gunk bits on the top of my hood!
So that concludes the how-to. If I missed something or you have a better way of doing it please let it know and we can add it to the post. Special thanks to John Powell of Powell Race Parts for his advice as well as some of the other members here that also showed their experience.
Last edited by Wired; 11-13-2013 at 11:57 AM.
The following 2 users liked this post by Wired:
MADDOGCORPSMAN (07-12-2016),
Snail_SS (08-01-2017)
#4
#6
Joined: 12-23-09
Posts: 12,766
Likes: 7
From: Mt. Pleasant S.C.
Check with Omiotek. Maybe they ran out again. I see the tb/intake spacer but not the intake/head spacer. I know they have had them recently as I bought mine in June or July. See what Matty says.
The following users liked this post:
MADDOGCORPSMAN (07-12-2016)
The following users liked this post:
MADDOGCORPSMAN (07-12-2016)
#12
#16
PS Just re read your post again, and I am also mystified that GM customer service told you to take a hike, this is an serious emmissions issue, and If I had the time and money and I was you, I would be writing a note to NHTSA/EPA. Come to think of it, just send them this post. Corporate ethics. whats that?
Last edited by Powell Race Parts; 11-17-2013 at 02:27 AM.
#18
if it was me (and it is) I replace the pcv valve in the IM when its out. coz its cheap and to be sure. Although, it is a fail safe sort of thing, no doubt. The dead port the oil builds up from wicking past the gasket. Not sure why this happens, other than a volume of oil, or the gasket/manifold yielding somehow, perhaps. There are still some things about these DI engines that mystify me. You put on a new gasket thats very good. And torqued them correctly! Excellent write up Wired, very well done props to you!!
PS Just re read your post again, and I am also mystified that GM customer service told you to take a hike, this is an serious emmissions issue, and If I had the time and money and I was you, I would be writing a note to NHTSA/EPA. Come to think of it, just send them this post. Corporate ethics. whats that?
PS Just re read your post again, and I am also mystified that GM customer service told you to take a hike, this is an serious emmissions issue, and If I had the time and money and I was you, I would be writing a note to NHTSA/EPA. Come to think of it, just send them this post. Corporate ethics. whats that?
Alway$ $omething
Last edited by Wired; 11-19-2013 at 01:19 PM.
#19
I am totally against trying to get warranty on a modified car, but of course my opinion does not extend to modifications and work to stop DI coking.
#22
#24
did you PM jackie@GM customer svc? They seem so anxious to help. And have iirc according to posts, but why not you? Makes me wonder if they are just trolling for VINS and modd'd cars?
I am totally against trying to get warranty on a modified car, but of course my opinion does not extend to modifications and work to stop DI coking.
I am totally against trying to get warranty on a modified car, but of course my opinion does not extend to modifications and work to stop DI coking.
#25
Passenger belt tension sensor. Wires become stressed and start to acquire a open circuit. Turns airbags off. Light and message on the DIC comes on over and over. Seems like a safety problem due to the airbags turning off and my eyes coming off the road over and over when the light comes on.
https://www.cobaltss.net/forums/prob...ir-bag-299167/
One thing after another!
I'd also like to say that the valve cleaning has not totally made my morning starts ups always smooth. I still get some hiccups now and then. Plus now that my snow tires/wheels are on I can't try WOT or I spin instantly so I have no way to see if the top end misfires went away,


